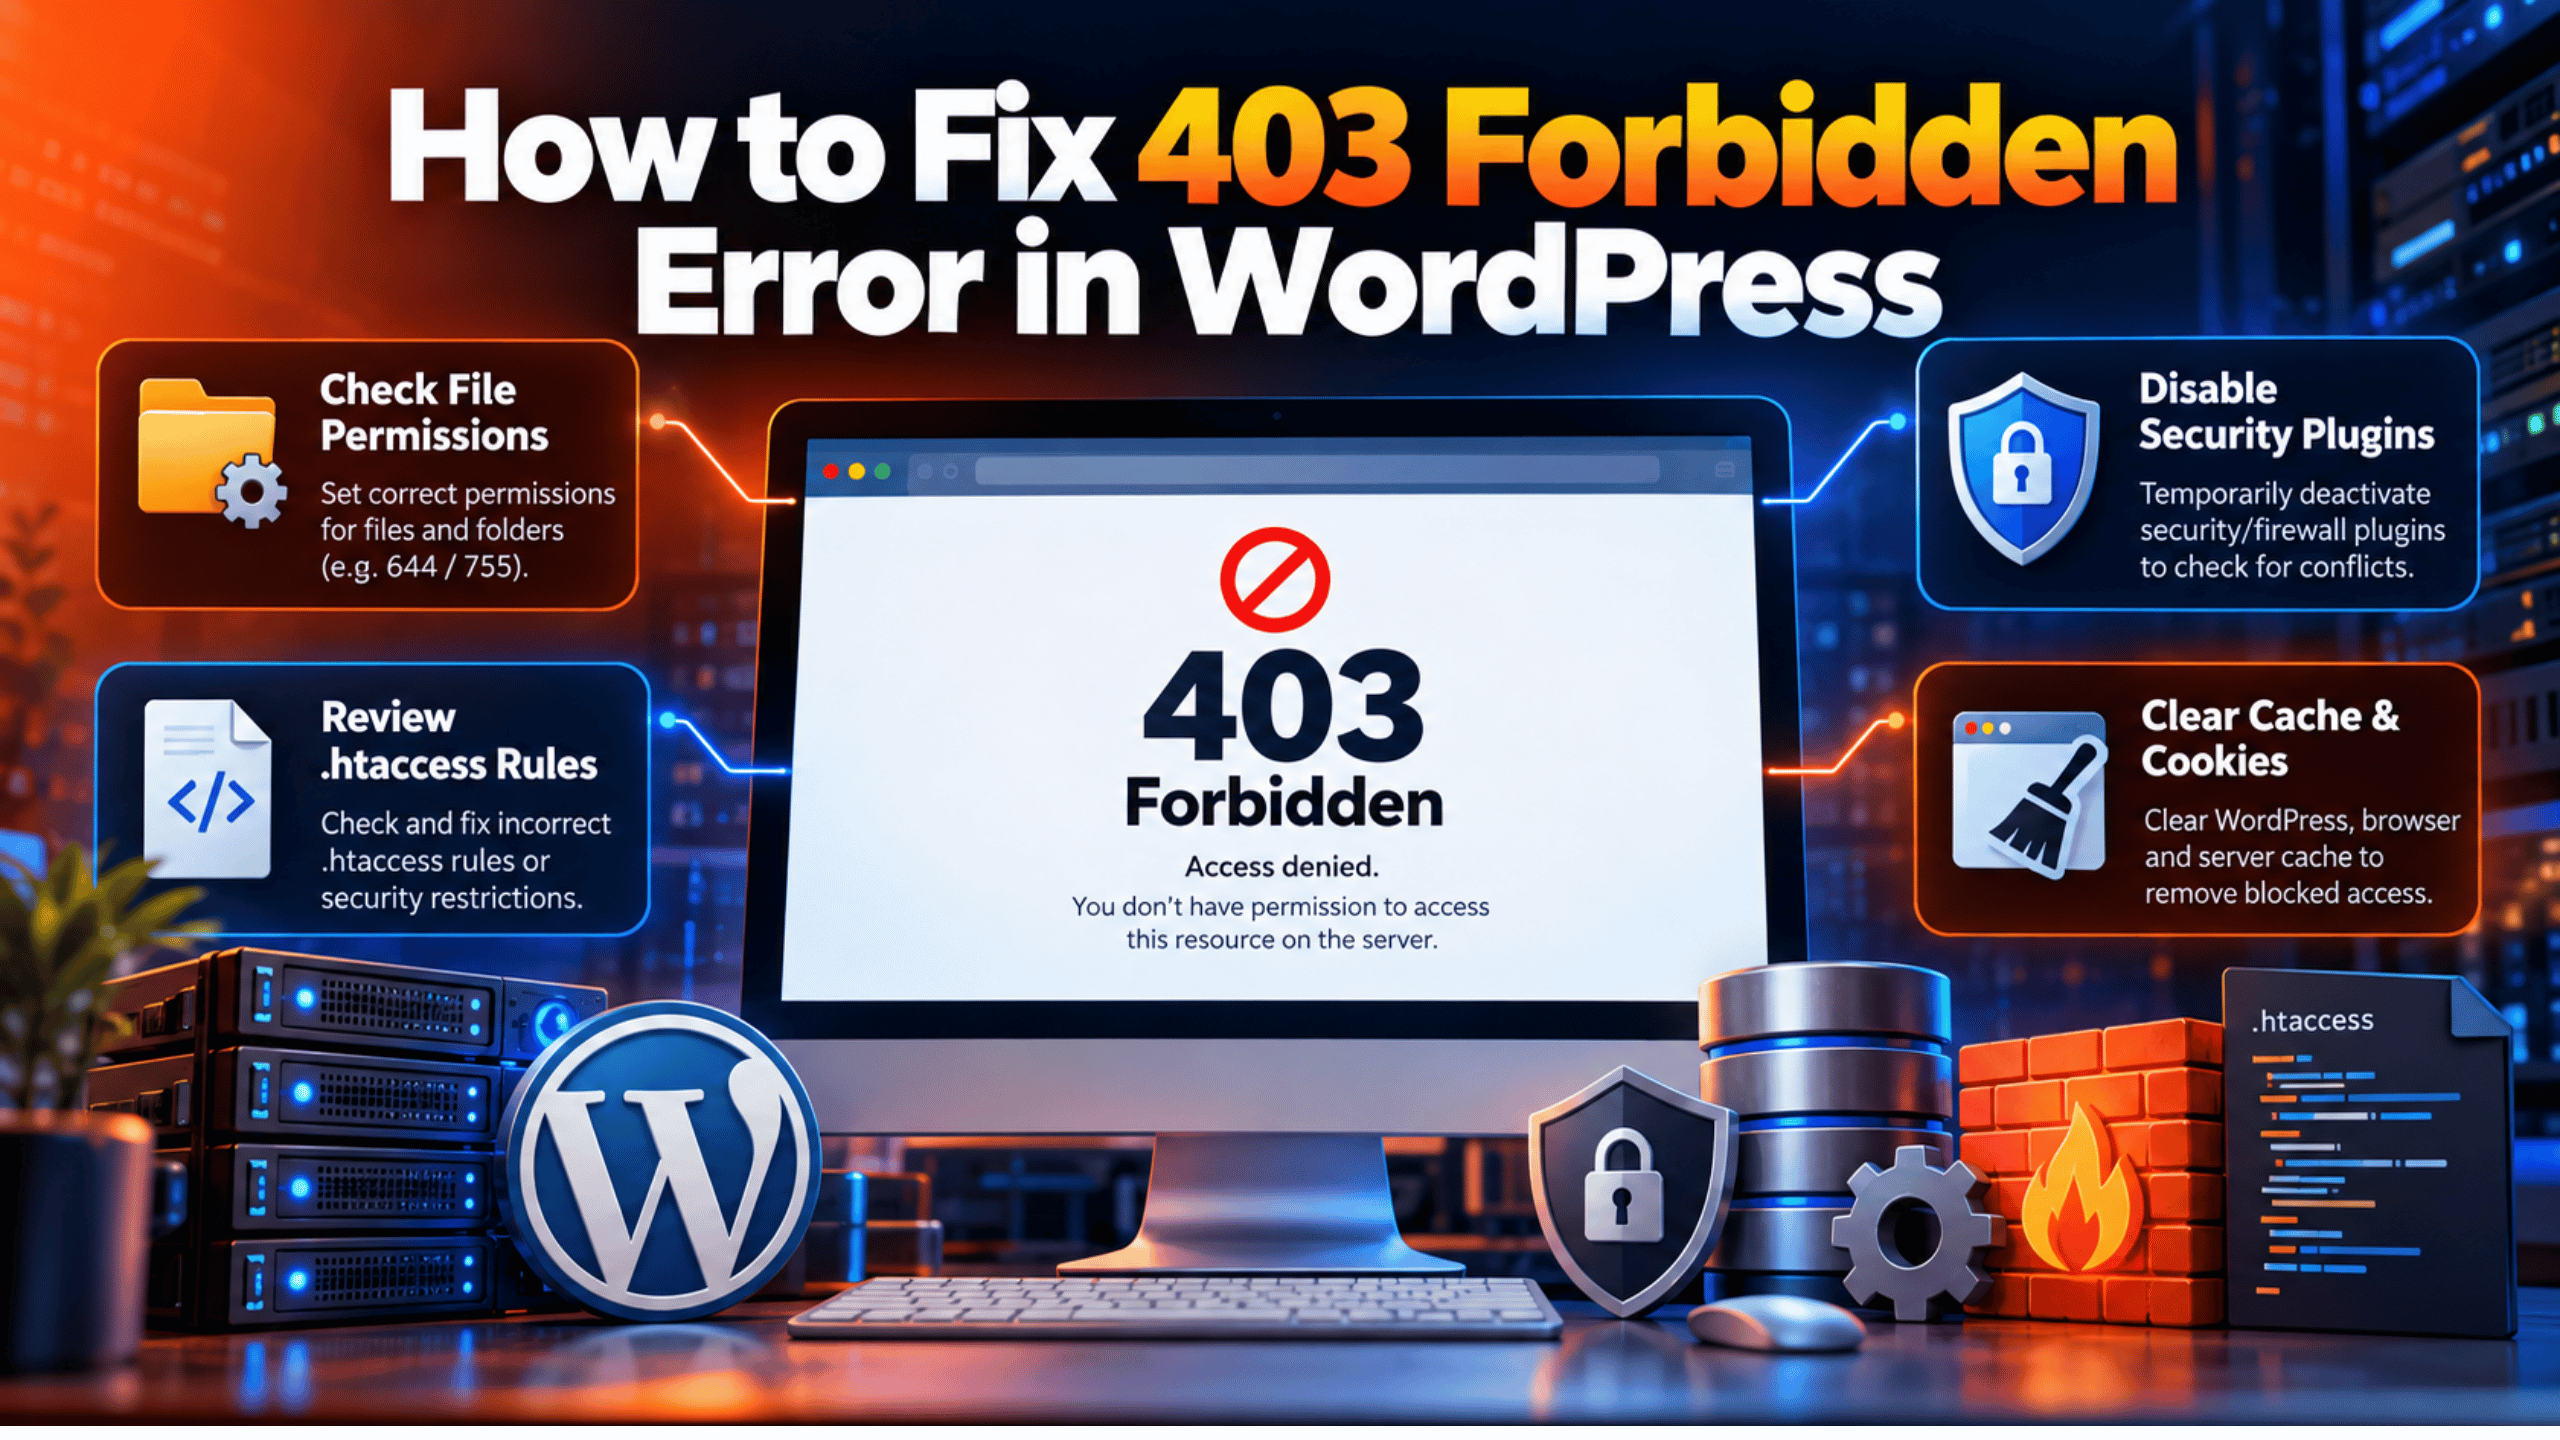
Introduction
You open your site and the page will not load. Instead you see a short, cold message. It says 403 Forbidden. Sometimes it says you do not have permission to access this page. There is no menu, no logo and no way back. The page is simply shut.
A 403 error means the server understood your request. It just refused to serve it. That is different from a 404 error, where the page is missing. Here the page exists. Something on the server has decided you are not allowed to see it.
This is a frightening error for a store owner. Customers cannot browse. Orders stop. You may also be locked out of your own dashboard. The good news is that the cause is almost always small. It is usually one rule, one file setting or one blocked address.
This guide walks you through the whole problem. You will learn the signs that point to a 403 error. You will learn every common cause behind it. Then you will fix each one in order, from the safest check to the deepest test. At the end you will learn how to stop it coming back.
Most 403 errors start after a change. You update a plugin. You tighten a security setting. You edit your permalinks. You move the site to a new host. A caching layer or a firewall then reads a rule the wrong way. The block that follows looks much scarier than it is.
Signs That Show a 403 Forbidden Error in WordPress
The wording changes from server to server. The meaning stays the same. Learning to read the exact message saves you a lot of time. It tells you which part of the stack blocked the request.
Here is what people usually see:
- 403 Forbidden on a plain white page, with no theme around it.
- You don’t have permission to access this resource.
- Forbidden. You don’t have permission to access / on this server.
- Access Denied or Error 403 inside a branded page from your host.
- A block page from a security plugin. It often says your access to this site has been limited.
Now look at how widely the error spreads. This is the single most useful clue you have. A 403 on every page points to a site-wide rule. That usually means the .htaccess file or a firewall. A 403 on one page or one folder points to a narrow rule. That usually means file permissions or a hotlink rule.
Check the dashboard next. Some people can browse the public site but cannot reach /wp-admin/. Others see the opposite. A 403 only on wp-login.php almost always means a security tool is guarding the login page. A 403 on the whole site, including the login page, points to something broader.
Then test from a second network. Open the site on mobile data, with Wi-Fi switched off. If the site loads fine there, your home or office address is blocked. Nothing is wrong with the site itself. A firewall has simply put your address on a block list.
Look for a pattern in the content that fails, too. If only images break and the rest of the page loads, suspect hotlink rules. If only a folder listing fails, suspect a missing index file. If uploads fail with a 403 inside the media library, suspect folder permissions.
Finally, ask your host for the server error log. A line that reads client denied by server configuration confirms a rule blocked the request. A line naming ModSecurity confirms the host firewall did it. That single log line can save you an hour of guessing.
Reasons Why the 403 Forbidden Error Happens in WordPress
A 403 is a decision, not a crash. Some rule read your request and said no. Below are the causes behind nearly every case, and each one has a matching fix later in this guide.
A Corrupt or Wrong .htaccess File
On Apache servers, WordPress writes rules into a file called .htaccess. Those rules turn your plain links into pretty links. Plugins also add lines to the same file. When two plugins write at once, the file can end up broken. A stray character or a half-written rule is enough. Apache then refuses to serve anything under that folder, and every page returns 403.
Wrong File and Folder Permissions
Every file on your server carries a permission number. That number says who may read it. The WordPress handbook sets the normal values at 755 for folders and 644 for files. If a folder drops to 700, the web server can no longer read it. It cannot show you the page, so it returns a 403 instead.
A Security Plugin Has Blocked Your Address
Security plugins watch failed logins and odd requests. After enough of them, they block the visitor’s address. That is the feature working as designed. The problem is that a few wrong password attempts can trigger it. Your own address lands on the block list, and every page you request is refused.
Your Host’s Firewall or ModSecurity Rules
Most hosts run their own firewall in front of your site. Many run a rule engine called ModSecurity. It scans each request for patterns that look like attacks. Sometimes a normal request matches one of those patterns by accident. A long post, a code block or an odd form field can do it. The host firewall then returns a 403 before WordPress ever runs.
Hotlink Protection and Custom Deny Rules
Hotlink protection stops other sites from using your images. It works by checking where a request came from. If the source looks wrong, the rule blocks the file. Apache does this with a rewrite flag, and the Apache docs confirm that flag sends a 403. Deny rules work the same way. A rule meant for one file can easily cover far more.
A Missing Index File
Servers do not like showing a bare list of files. Most turn that listing off. When someone asks for a folder, the server looks for an index file. If it finds none, and listings are off, it has nothing safe to send. So it returns a 403. A failed upload or a bad migration can delete that index file.
A CDN or Cloudflare Rule
A content delivery network sits in front of your site. It has its own firewall and its own block lists. A rule there can block a country, an address range or a browser type. The block happens before the request reaches your server. So nothing in WordPress looks wrong, yet visitors still see 403.
A Plugin or Theme Conflict
Some plugins control who may see what. Membership tools, redirect tools and login tools all do this. When two of them overlap, they can lock each other out. One plugin grants access. The other denies it. The denial wins, and the visitor gets a 403 on a page that should be public.
A Wrong Site Address After a Move
Moving a site changes paths. The folder your domain points to may shift. Your stored site address may still hold the old value. The server then looks in one place while WordPress expects another. It finds a folder it may not serve, and returns 403 rather than guessing.
How to Fix the 403 Forbidden Error in WordPress (Step by Step)
Work through these steps in order. They run from the safest check to the deepest test. After each one, reload the page that failed. If it loads, you are done. If it does not, move on to the next step.
Before you touch any file, take a full backup. You can follow our guide on how to back up WordPress with UpdraftPlus. Better still, make these changes on a staging copy first. A staging site is a private clone of your live site. Most good hosts can create one for you in a click.
Step 1: Unblock Your Own Address in Your Security Plugin
This step handles the cause where a security plugin blocked your address. Those tools count failed logins. After a set number, they refuse every request from that visitor. You are treated like an attacker even though you own the site.
Confirm it first, because the check is quick and costs nothing. Open the site on your phone with Wi-Fi turned off. That gives you a different address. If the site loads on mobile data but not on your usual network, your address is blocked. If it fails on both, skip ahead to Step 2.
If mobile data works, open your dashboard from the phone. Go to your security plugin and find its blocking tool. In Wordfence this lives under the Blocking screen, with a Live Traffic view beside it. In All In One WP Security you will find a lockout list. Search for your own address and remove it. Then add it to the allow list so it cannot happen again. If you do not know your address, search the web for “what is my IP” from the blocked device.
Now reload the site on the network that failed. It should load straight away. If it still fails, put the block list back the way you found it and move to the next step. Also check the plugin’s log while you are there. It usually names the rule that fired, and that name often points at the real cause.
Step 2: Rebuild a Corrupt .htaccess File
This step handles the broken .htaccess file. That file holds the rules Apache reads before serving anything. A bad line in it can block the whole site at once. This is the most common cause of a site-wide 403.
To confirm it, you need to see the file. Connect with your host’s file manager or an FTP app. The file sits in the same folder as wp-config.php. It starts with a dot, so you may need to switch on hidden files. Open it and read it. A healthy file has a block that starts with # BEGIN WordPress and ends with # END WordPress. If you see stray text, repeated blocks or half a rule, you have found your cause.
This step edits a live file, so back the site up first, or work on staging. Rename the file to htaccess-old rather than deleting it. That keeps a copy you can put back. Then reload your site. If it loads, the file was the problem. Now open your dashboard, go to the permalink settings and click Save. WordPress writes a fresh file for you. Our guide on setting up and fixing permalinks in WordPress covers that screen in detail.
If WordPress cannot write the file, create it yourself. The official WordPress server handbook lists the default block:
# BEGIN WordPress
RewriteEngine On
RewriteBase /
RewriteRule ^index\.php$ - [L]
RewriteCond %{REQUEST_FILENAME} !-f
RewriteCond %{REQUEST_FILENAME} !-d
RewriteRule . /index.php [L]
# END WordPress
Reload the site and click through a few posts. Pretty links should work again. If renaming the file changed nothing, put the original back and carry on to Step 3.
Step 3: Remove Deny and Hotlink Rules You Did Not Add
This step handles hotlink rules and custom deny rules. Both work by refusing a request outright. Apache sends a 403 when it hits one. A rule written for a single file often covers far more than intended.
Open .htaccess again and read the lines outside the WordPress block. You are looking for a few shapes. A line reading Require all denied blocks everything below it. A line reading Require not ip blocks one address. A rewrite rule ending in [F] forces a 403. Hotlink rules usually mention HTTP_REFERER and your domain name. If you did not write these lines, and no plugin explains them, they are your likely cause.
Back up the file before you change it. Copy the whole file into a text editor and save it somewhere safe. Then comment out the suspect lines by putting a # at the start of each one. That disables them without losing them. Save the file and upload it. Do not delete rules your host added for security without asking them first.
Reload the page that failed. If images now load, a hotlink rule was the cause. Rewrite it so your own domain is allowed, or turn hotlink protection off in your host panel instead. If nothing changed, remove the # marks you added and go to Step 4.
Step 4: Correct Your File and Folder Permissions
This step handles wrong permissions. The web server reads your files as a separate user. If a folder does not allow that user to read it, the server cannot serve the page. It returns a 403 instead of an empty screen.
Check before you change anything. In your FTP app or file manager, look at the permission column. Folders should read 755. Files should read 644. Your wp-config.php file is the exception and should be stricter, at 440 or 400. If you see a folder set to 700, or a file set to 600, you have found a likely cause. Pay special attention to wp-content, wp-content/uploads and wp-includes.
Permission changes affect the whole site, so take a backup first. Set folders back to 755 and files back to 644. Most FTP apps let you apply this to a folder and everything inside it. Apply the folder value to folders only, then the file value to files only. Never set anything to 777. The WordPress handbook is clear that 777 lets any process on the server write to your files, which is a serious risk.
Reload the page and try an upload in the media library. Both should work. If images still fail to appear, our guide on WordPress media library images not showing covers the next checks. If the 403 is unchanged, move to Step 5.
Step 5: Restore the Missing Index File
This step handles the missing index file. When someone asks for a folder, the server looks for a default page. If listings are off and no default page exists, it has nothing to send. A 403 is its safe answer.
Confirm it by looking at which address fails. This cause shows up on folder addresses, not post addresses. Your home page failing while posts work is a strong hint. So is a 403 on a path that ends in a slash. Open your site root in the file manager and check that index.php is there, sitting beside wp-config.php and the wp-admin folder.
If index.php is missing, you need a clean copy. Download the matching version of WordPress from the official site. Unzip it on your computer. Upload only index.php from that package to your site root. Do not overwrite wp-config.php, and do not touch wp-content. Those hold your settings and your own files. If the file is present but empty, replace it the same way.
Reload your home page. It should render normally. If the file was already correct, nothing here was your cause, and you should move to Step 6.
Step 6: Pause Your CDN or Cloudflare Firewall
This step handles a block from your delivery network. That layer sits in front of your server. It can refuse a request before your site ever sees it. When that happens, every check you run inside WordPress looks fine.
Confirm it by comparing two views. Open your CDN dashboard and find the security or firewall events log. Look for entries matching the time the error appeared. If you see your own visit listed as blocked, the CDN is your cause. The log will also name the rule that fired, which tells you exactly what to change.
Switch that single rule to a logging mode rather than a blocking mode. In Cloudflare this is the Skip or Log action on a custom rule. If you cannot find the rule, turn on development mode for a few minutes. That bypasses the cache and eases some checks. Do not disable your whole firewall on a live store. Narrow the rule instead, or add your own address to the allow list.
Reload the page while the rule is relaxed. If it loads, rewrite that rule properly and switch it back on. If nothing changed, restore your settings and continue to Step 7.
Step 7: Test for a Plugin or Theme Conflict
This step handles a conflict between plugins. Membership, redirect and login plugins all decide who may see a page. Two of them can disagree. The refusal always wins, so a public page starts returning 403.
Confirm it with a clean test. Do this on a staging copy if you can, because visitors will notice on a live site. Turn off every plugin at once. Then reload the page that failed. If it loads, a plugin is your cause. If it still fails, switch to a default theme such as Twenty Twenty-Five and reload again. If that fixes it, your theme is the cause.
Now find the exact culprit. Turn your plugins back on one at a time. Reload the failing page after each one. The plugin that brings the error back is your answer. If you are locked out of the dashboard, rename the plugins folder over FTP to plugins-off. That switches them all off at once. Rename it back afterwards, then turn them on one by one from the dashboard.
Once you know the plugin, check its access settings before removing it. Many have a page or role rule that was set too widely. Fix the rule and keep the plugin. If the plugin is abandoned, replace it with one that is still maintained.
Step 8: Fix the Site Address After a Move
This step handles a wrong address after a migration. Your stored site address tells WordPress where it lives. Your host’s settings tell the server which folder to serve. When the two disagree, requests land in the wrong place and get refused.
Confirm it by comparing the two values. In your dashboard, open the general settings. Look at the WordPress Address and the Site Address. They should match your live domain exactly, including https and the www choice. Then open your hosting panel and find the document root for that domain. It should point at the folder holding index.php. A mismatch here is your cause.
If you cannot reach the dashboard, set the values in wp-config.php instead. Back up that file before editing it, because a typo will take the site down. Add these two lines above the line that says to stop editing:
define( 'WP_HOME', 'https://example.com' );
define( 'WP_SITEURL', 'https://example.com' );
Replace the example domain with your own. Save, upload and reload the site. Correct the document root in your host panel if that was wrong instead. Then clear every cache and check a few inner pages. If the address was already right, this was not your cause, so move to the last step.
Step 9: Ask Your Host to Check ModSecurity and the Server Firewall
This step handles the host firewall. It runs above your account, so you cannot see it or change it yourself. It scans requests for attack patterns and refuses anything that matches. Normal content sometimes matches by accident.
Confirm it by ruling out everything else. If you have reached this step, the cause is probably outside your site. Two patterns point strongly at ModSecurity. The first is a 403 that only appears when you save a long post or a code snippet. The second is a 403 that appears for some visitors and not others, with no plugin block to explain it.
Open a ticket with your host. Give them the exact time the error happened, the full address that failed and your own visiting address. Ask them to check the ModSecurity log and the server firewall for that request. Ask specifically which rule ID fired. Hosts can disable a single rule for your account, which is far safer than switching the whole engine off.
Once they adjust the rule, repeat the action that failed. It should now go through. If your host confirms no rule fired, the block is coming from somewhere else. Go back through Steps 1 to 8 and check anything you skipped. Errors like the 500 internal server error and the 503 service unavailable error can look similar at first glance, so confirm the code you are really seeing.
Best Practices to Prevent the 403 Forbidden Error in Future
Every cause above can be designed out. The habits below map directly onto them. None of them take long, and together they remove most of the risk.
Keep a known-good copy of your .htaccess file. Download it whenever the site is healthy. Store it with your backups and date the filename. When a plugin corrupts the live file, you can restore a working version in seconds. That turns a site-wide outage into a two minute job.
Allow-list your own address in every security tool. Do this the day you install the plugin, not the day it locks you out. Add your office address and your home address. Most lockouts happen to the owner, not to an attacker. This single setting prevents the most common 403 of all.
Set permissions once and leave them alone. Folders at 755, files at 644 and wp-config.php at 440. Never use 777, even briefly. If a plugin asks for it, ask the developer for another way. Loose permissions cause 403 errors today and security incidents later.
Test every change on staging first. This covers plugin conflicts, theme conflicts and bad rules in one habit. Clone the site, make the change there and click through the important pages. Only then repeat it live. Most hosts include staging at no extra cost.
Back up before you touch files. A full backup should include files and the database. Keep at least one copy off the server. Test a restore once a year so you know it works. This is what makes every fix above safe to attempt.
Write down your firewall and CDN rules. Keep a short note of every custom rule, why it exists and who added it. Review it twice a year. Old rules outlive the problem they solved, and they are hard to recognise months later.
Keep WordPress, plugins and PHP current. Old code triggers more firewall rules and more conflicts. Update on staging first, then live. If an update fails part way, our guide on fixing a failed automatic WordPress update will get you moving again.
Monitor the site from outside. An uptime service checks your pages every few minutes. It will tell you about a 403 long before a customer does. Watch the home page, a product page and the checkout page, not just the domain root.
Conclusion
A 403 Forbidden error is a refusal, not a breakage. The page is there. Something simply decided you may not have it. Once you see it that way, the fix becomes a search for the rule that said no.
Start by reading the signs. Note whether the error covers the whole site or one page. Check whether the dashboard is affected. Test from a second network to see if the block follows you. Ask your host for the error log line. Those four checks narrow the field quickly.
The causes are a short list. A corrupt .htaccess file, wrong permissions, a security plugin block, a host firewall rule, a hotlink or deny rule, a missing index file, a CDN rule, a plugin conflict or a wrong site address. Every one of them has a fix in this guide, in the order you should try them.
Work through the steps calmly and one at a time. Back up before each file change, or use staging. Reload the failing page after every step. When the page returns, stop and note what fixed it. That note is worth keeping.
Then close the door behind you. Save a clean copy of your .htaccess file. Allow-list your own address. Set permissions properly. Test changes on staging. Those four habits prevent most repeat 403 errors. If you also hit sign-in problems, our guide on how to fix the 401 unauthorized error in WordPress covers the closely related case where the server asks who you are rather than turning you away.
James is an experienced WordPress and WooCommerce specialist with over 10 years of practical experience. At WPChatSupport, he creates clear guides that help website owners fix WordPress issues, improve speed, secure their sites, and manage WooCommerce stores with confidence. His expertise includes store setup, plugin configuration, theme customization, payment gateway integration, and website troubleshooting. Through simple and helpful content, James supports users in solving technical problems and following best practices for online business growth.