Introduction
You drag a file into your media library. The progress bar moves a little, then stops. A blunt message appears. It says 413 Request Entity Too Large. No theme, no menu, no help.
The error means one thing. Something decided your request was too big and threw it away. It never reached WordPress. Your media library is fine. Your file is fine. A size limit somewhere in the chain said no.
This blocks real work. You cannot add product photos. You cannot upload a new theme. You cannot import a large file of content. On a store, a missing product image costs you sales straight away. On a blog, you simply stop being able to publish.
The frustrating part is the mixed message. WordPress may happily tell you the limit is 128 MB. Your 3 MB file still fails. That contradiction is not a bug. It is the clue that solves the whole problem, and we will come back to it.
The triggers are usually small changes. You moved to a new host. Your host switched web server software. You turned on a content delivery network. You started using a plugin that posts large amounts of data. Somebody tightened a security setting. Any of these can introduce a cap you did not know about.
This guide takes you through all of it. You will learn how to tell this error apart from the two WordPress errors that look similar. You will learn every layer that can impose a size cap, and why each one behaves the way it does. Then you will check and raise each limit in a safe order, with a way to confirm each change. Finally you will set things up so the limit never surprises you again.
Signs That Show the 413 Request Entity Too Large Error
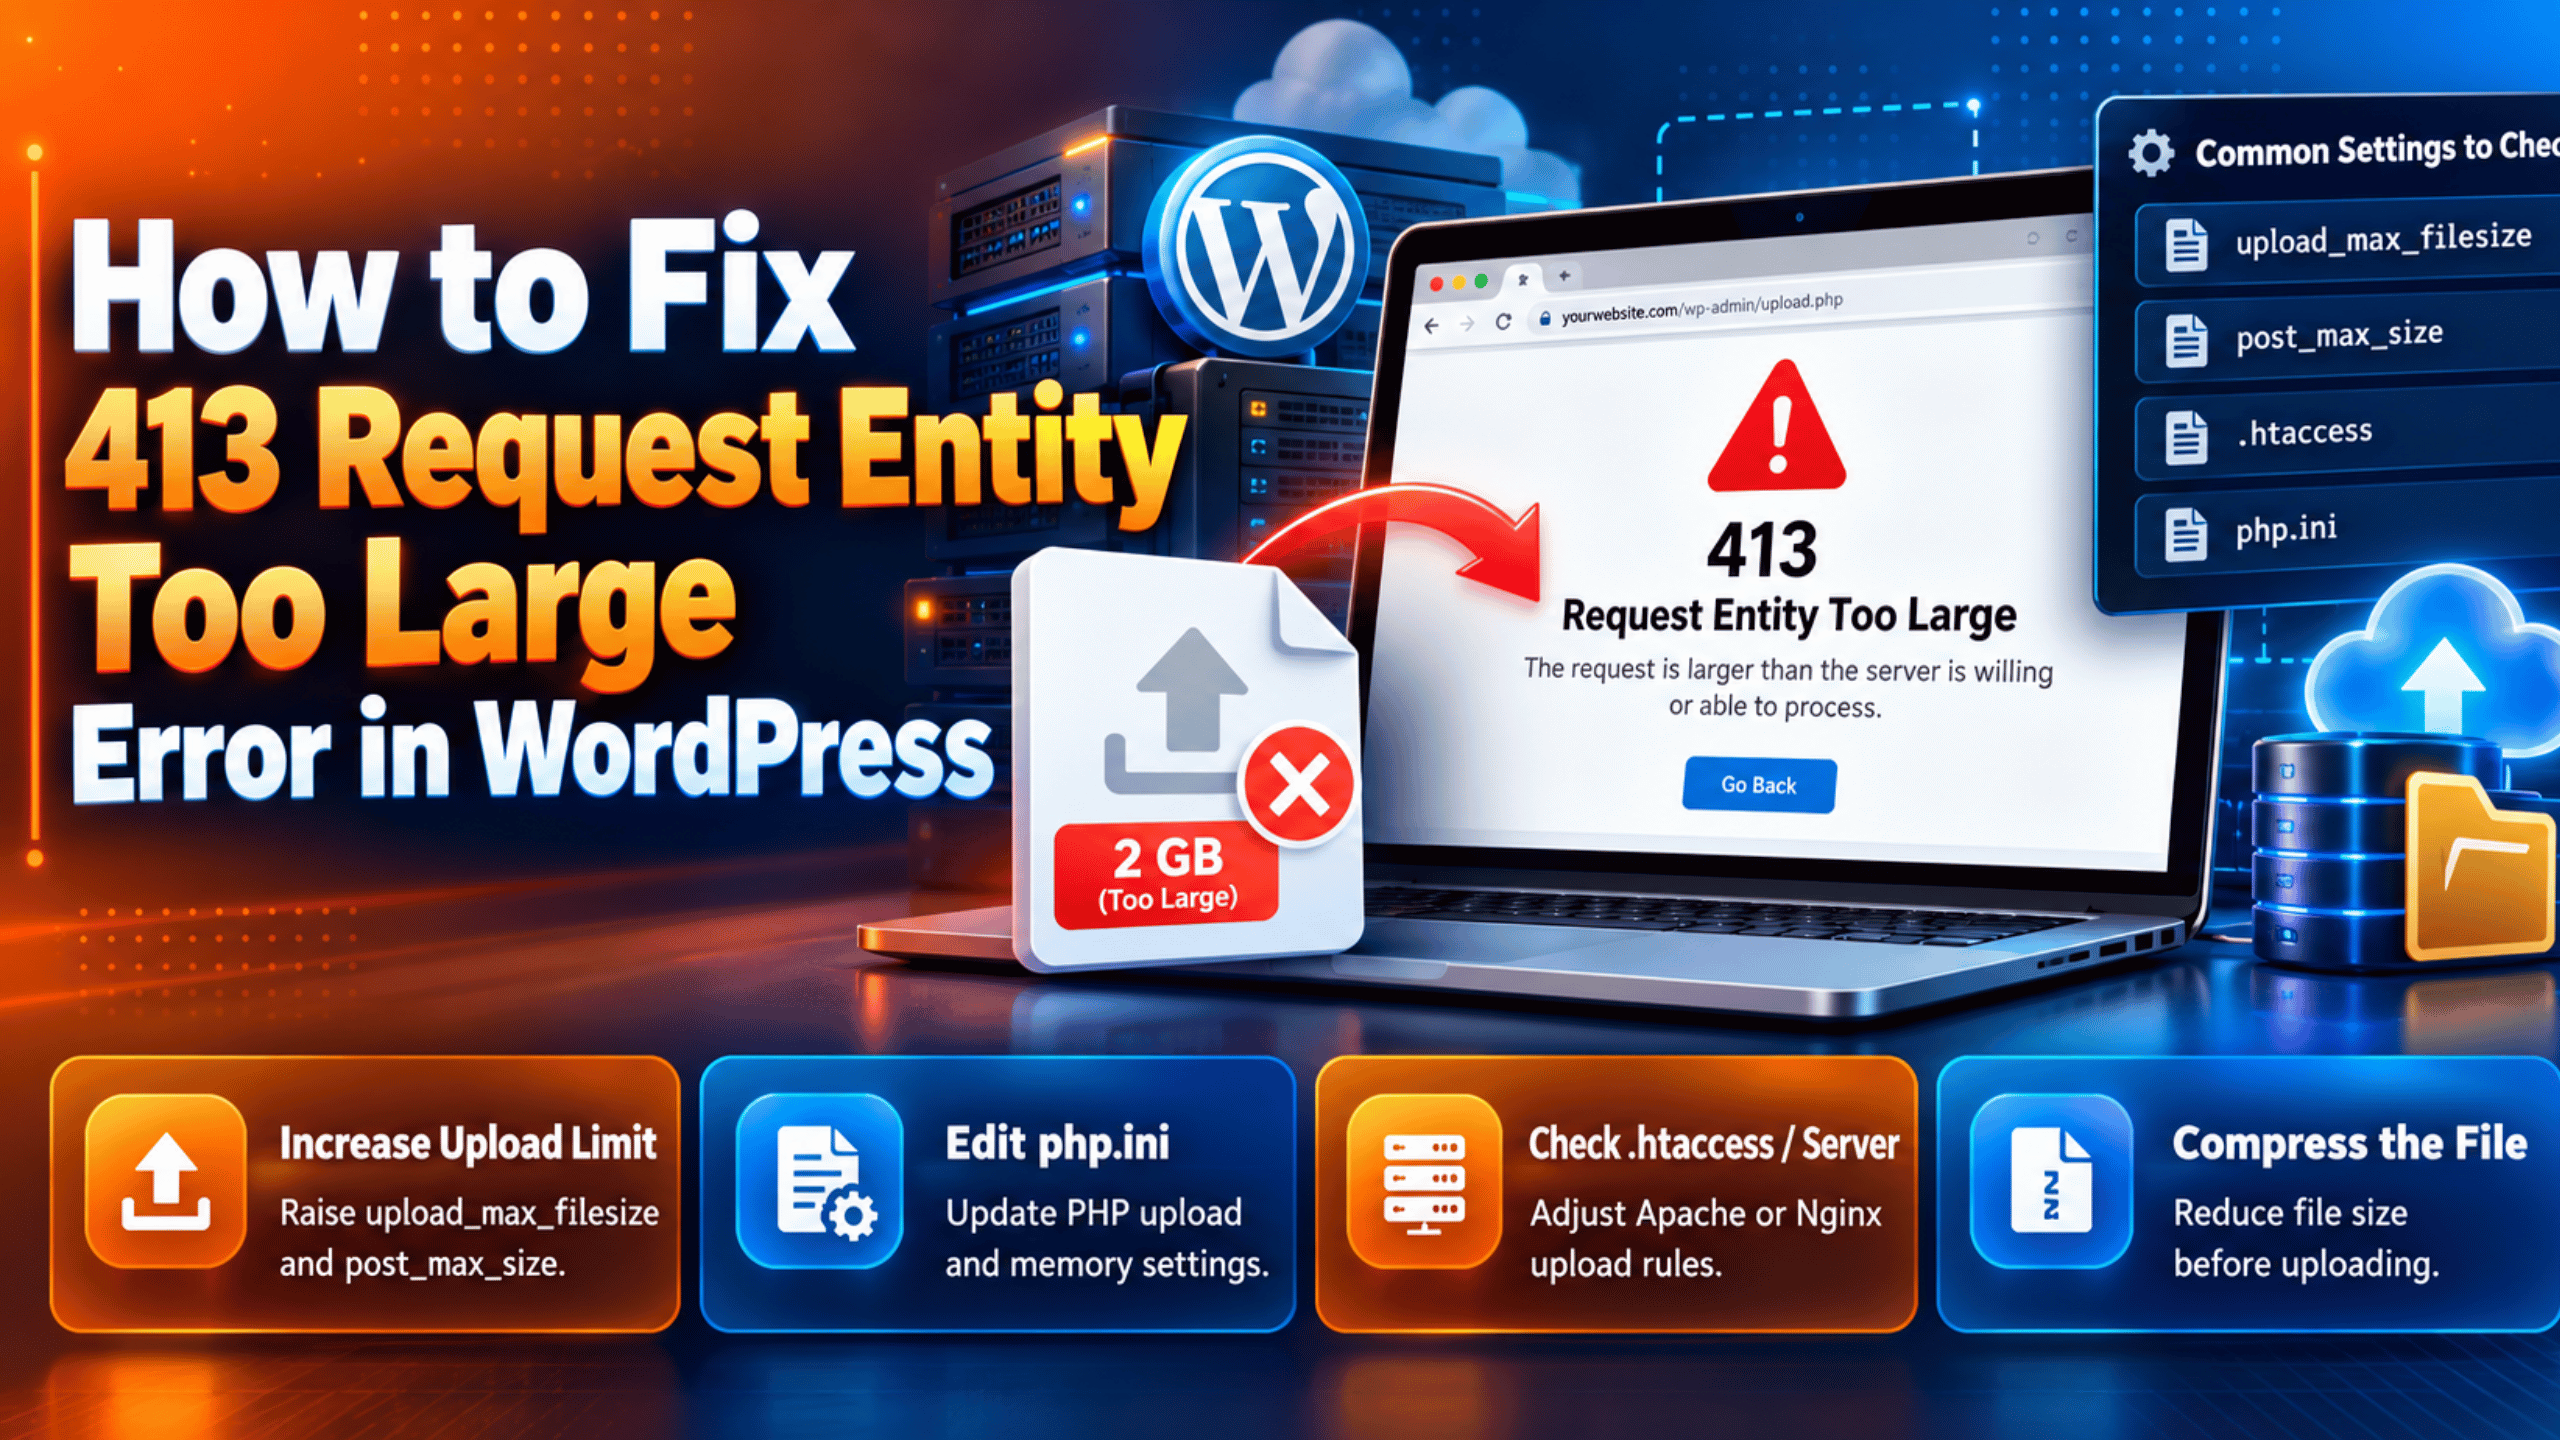
The 413 Request Entity Too Large error has a bare look. You get a plain page with the number and a short line of text. Your theme is missing. On nginx you often get nothing but “413 Request Entity Too Large” and a server name. That plainness is the first clue. It means a web server answered you, not WordPress.
The wording varies. Newer standards call it “413 Content Too Large”. Older ones called it “Payload Too Large”. You may see any of those three. Some browsers also show a blank page instead, because the server closes the connection before the response is read.
Three different errors look like the same problem. Telling them apart saves you hours, because each one lives at a different layer:
- 413 Request Entity Too Large. A bare server page with no WordPress styling. The web server, a proxy, or a firewall rejected the request body. PHP never ran.
- “The link you followed has expired.” A tidy WordPress page with your admin styling. PHP ran, but it discarded the oversized data, so WordPress lost the security token that came with it. Our guide to fixing the link you followed has expired error covers that one.
- “This file exceeds the maximum upload size for this site.” A neat message inside the media uploader itself. WordPress checked the file against its own known limit and refused before sending anything. Nothing is broken here. The limit is simply too low.
Watch where the failure happens, too. These patterns narrow things down fast:
- Small files work, large files fail. There is a hard size line somewhere. Your job is to find which layer draws it.
- Every file fails, even tiny ones. The cap is set absurdly low, often at the default of 1 MB on nginx, or a firewall is rejecting the request for another reason.
- Uploads work, but saving a long page fails. This is not about files at all. A page with hundreds of blocks sends a large request body of its own.
- Uploads work on one site in a network but not another. On a multisite install, a network-wide setting is capping you.
- It started the day you turned on a CDN. The new layer brought its own cap with it.
Now for that contradiction from the introduction. Open Media and then Add New in your dashboard. WordPress prints a maximum upload file size there. That number comes only from PHP. WordPress works it out by taking the smaller of two PHP settings, upload_max_filesize and post_max_size. It has no idea what your web server allows. So WordPress can promise you 128 MB while nginx still refuses anything over 1 MB. The upload fails with a 413 and WordPress never hears about it. If your reported limit looks generous and uploads still fail, you have almost certainly found a server-level cap, which is Step 2 below.
Reasons Why the 413 Request Entity Too Large Error Happens
Every cause below is a size cap at a different point in the chain. A request passes through several layers before WordPress sees it. Each layer can measure the body and refuse it. The lowest cap in the chain is the one that decides.
Your web server caps the request body
This is the most common cause by far, and the reason 413 exists as a status code. On nginx the setting is client_max_body_size, and its default is just 1 MB. The nginx documentation is blunt about what happens next. If a request exceeds that value, nginx returns the 413 error to the client.
On Apache the equivalent is LimitRequestBody. Older Apache releases up to 2.4.53 defaulted to unlimited. From 2.4.54 onward the default is 1 GB, which is rarely the problem, but a host or a control panel may set it far lower.
The mechanism matters. The web server reads the request headers, sees the declared body size, and refuses before handing anything to PHP. That is why WordPress shows no error of its own, and why your PHP settings make no difference at all here.
PHP’s own upload limits are too low
PHP has two separate size settings, and both are small by default. upload_max_filesize defaults to 2 MB and caps a single uploaded file. post_max_size defaults to 8 MB and caps the whole posted request, files included. PHP requires the second to be larger than the first.
These settings do not usually produce a 413. They produce the other two errors instead. If a file is bigger than upload_max_filesize, WordPress compares it first and shows the neat “exceeds the maximum upload size” message. If the whole request is bigger than post_max_size, PHP throws the data away. WordPress then receives an empty request. That is what makes “the link you followed has expired” appear.
So why fix them at all? Because they are the cap you will hit next. Raise the server limit alone and you will simply fail one layer later. Both have to move together.
A CDN or proxy in front of your site has its own cap
If traffic reaches you through a content delivery network, that network measures the body first. Cloudflare caps uploads at 100 MB on its Free and Pro plans. Business plans allow 200 MB and Enterprise allows more. Other proxies and load balancers have their own numbers.
This cause explains a very confusing symptom. You raise every limit on your own server and the error does not move. That is because your server never saw the request. The rejection happened one layer earlier, so your own logs hold no record of it.
A security module rejects large request bodies
Many hosts run a web application firewall in front of PHP. A common one is ModSecurity, which has its own request body limits through settings such as SecRequestBodyLimit. A firewall can reject an oversized body with a 413 just as a web server can.
Firewalls add a twist. They sometimes care about the shape of the request, not only its size. A large body full of form fields may be treated differently from a large file upload. That is why a 50 MB video can succeed while a long block-editor page fails.
A multisite network sets a low upload limit
WordPress multisite adds a cap of its own on top of everything else. In Network Admin, under Settings, there is an Upload Settings section with a Max upload file size field measured in kilobytes. The default is 1500 KB, which is about 1.5 MB.
This setting cannot raise your server’s limit, only lower it further. So on a network you can have generous PHP settings, a generous nginx setting, and still be stuck at 1.5 MB because nobody ever changed the network field.
A plugin or theme lowers the limit in code
WordPress lets code change the reported upload limit through a filter called upload_size_limit. A plugin or theme can hook into it and cap uploads to any value it likes. Some membership and multisite plugins do this on purpose, to control what users can upload.
The giveaway is a mismatch. Your PHP settings say one thing, and the number on the Add New media screen says something smaller. When those two disagree, code on your site is changing the answer.
The request is simply too big to allow
Sometimes no limit is wrong. A 2 GB video, a database export, or a whole-site import really is too large to push through a single web request. Raising caps to fit it would weaken your site for everyone.
The reason is practical rather than technical. Very large single requests tie up server memory and time, and a dropped connection means starting over. The right answer here is not a bigger limit. It is a different route into the site.
How to Fix the 413 Request Entity Too Large Error in WordPress (Step by Step)
Work through these steps in order. They start with the limits you can see and end with the ones you have to ask about. Note the exact size of the file that failed before you begin. That number is your test case all the way through, and you will reuse it to verify each change.
A word of caution before the first edit. Several steps change server settings, and a mistake in those files can take your site offline. Take a full backup before you start, and make the changes on a staging copy if you have one. Our guide to backing up WordPress with UpdraftPlus shows how to get one in place quickly.
Step 1: Check and raise the PHP upload limits
This step addresses the PHP limits cause. PHP caps a single file at 2 MB and a whole request at 8 MB by default. Those numbers are also what WordPress reports to you, so this is where you learn what WordPress thinks is possible.
Confirm it first. Open Media and then Add New in your dashboard and read the maximum upload file size shown there. Then open Tools and then Site Health, and look at the Info tab under the server section. It lists the real PHP values for upload_max_filesize, post_max_size and memory_limit. Compare those with the size of your failed file. If your file is larger than either PHP value, this step applies to you. If both PHP values are already comfortably larger than your file, this is not your cause, so move to Step 2.
Now act on it. Many hosts give you a PHP settings panel in their control panel, and that is always the safest route, so look for it first. Set upload_max_filesize to a value above your largest real file, such as 64M. Set post_max_size higher again, such as 128M, because it must exceed the file limit. Keep memory_limit above post_max_size, such as 256M. If you have no panel, you can create a .user.ini file in your site’s main folder with these three lines:
upload_max_filesize = 64M
post_max_size = 128M
memory_limit = 256M
One warning worth taking seriously. Older guides tell you to add php_value lines to .htaccess. On most modern hosting that breaks the site with a 500 error, because PHP runs separately from Apache there and does not accept those lines. Use your host’s panel or a .user.ini file instead.
Verify it worked. Reload Media and then Add New. The maximum upload file size should now show your new number. Changes to .user.ini are cached, so wait a few minutes and reload again if the old value is still there. Then upload your test file. If it succeeds, you are done. If you still get a bare 413 page, PHP is no longer the lowest cap, and Step 2 is next.
Step 2: Raise the web server’s request body limit
This step addresses the web server cause, which is the usual source of a true 413. nginx refuses anything over client_max_body_size, which defaults to 1 MB, and answers with a 413 before PHP is involved.
Confirm it first. You need to know which web server you run. Site Health, under the Info tab, names it for you. Then test the boundary. Upload a very small file of a few kilobytes, then a 2 MB file. If the small one succeeds and the 2 MB one fails with a bare 413, while WordPress claims a much larger limit, you have confirmed a server-level cap. You can also ask your host to check the error log, where nginx records a “client intended to send too large body” message with the exact size.
This is a server configuration change, so take care. A syntax error in an nginx file stops the web server for every site on it. Keep a copy of the original file, and have your host on hand if you are not confident. On managed hosting, raising this is a support ticket, not a file edit, and that is the right way to do it.
Now act on it. On nginx, the setting goes in your site’s server block, or in the main http block to cover everything:
client_max_body_size 128M;Match or exceed the post_max_size you set in Step 1. nginx must be reloaded before the change takes effect. On Apache the setting is LimitRequestBody, and it is given in bytes. Apache accepts it in .htaccess as well as in the main config file:
LimitRequestBody 134217728If your host runs nginx in front of Apache, both layers need raising, and the lower of the two wins.
Verify it worked. Upload your test file again. A successful upload here confirms the server cap was the problem. If the file still fails, check that the service was actually reloaded, because an unreloaded change does nothing at all. If the setting is confirmed live and the error persists, another layer is capping you, so keep going.
Step 3: Check the network upload limit on a multisite install
This step addresses the multisite cause. A network sets its own Max upload file size, defaulting to 1500 KB, and that cap applies on top of your server and PHP limits.
Confirm it first. This step only applies if you run WordPress multisite. If you see a My Sites menu with Network Admin inside it, you do. Go to Network Admin, then Settings, and scroll to the Upload Settings section. Read the Max upload file size field. If the number there is smaller than your failed file in kilobytes, this is your cap. Remember the field is in kilobytes, so 1500 means about 1.5 MB, not 1.5 GB.
Now act on it. Enter a new value in kilobytes that comfortably covers your real files. For a 64 MB ceiling, enter 65536. Save the settings at the bottom of the page. While you are there, check the Site upload space setting too, which limits total storage per site rather than per file. A site that has filled its quota will refuse uploads for a different reason, with a different message. There is no risk in this step, because it only edits a database setting through the normal admin screens.
Verify it worked. Go to one of the network’s sites, open Media and then Add New, and read the reported limit. It should now match your new value or your PHP limit, whichever is lower. Upload your test file to that site. If it works, you are done. If the number did not change at all, something in code is overriding it, which is Step 4.
Step 4: Rule out a plugin or theme that caps uploads
This step addresses the filter cause. Code on your site can change the reported limit through the upload_size_limit filter, no matter how generous your server settings are.
Confirm it first. Compare two numbers. Look at upload_max_filesize and post_max_size in Site Health, then look at the limit printed on the Add New media screen. WordPress normally shows the smaller of the two PHP values. If the media screen shows something smaller than both, code is changing it. On a multisite you must rule out Step 3 first, because the network setting lowers it in the same way.
Do this test on a staging copy if you can. You are about to switch plugins off, and that will affect anyone using the live site.
Now act on it. Switch off all your plugins, then reload Media and then Add New. If the number jumps up to your PHP value, a plugin was responsible. Switch the plugins back on one at a time, checking the number after each one, until it drops again. The plugin you just enabled is the one. If the number stays low with every plugin off, switch to a default theme such as Twenty Twenty-Four and check once more, which will point at your theme instead. Once you know the source, look in its settings for an upload or file size option, because many offer one. If it has no setting, contact the developer before you consider replacing it.
Verify it worked. Reload Media and then Add New with everything switched back on. The reported limit should now match your PHP settings. Upload your test file to confirm. If the reported number was correct all along, this was not your cause, so continue to Step 5.
Step 5: Check your CDN or proxy for an upload cap
This step addresses the CDN cause. A network in front of your site measures the body before your server does, so its cap wins even when every one of your own settings is generous.
Confirm it first. Work out whether anything sits in front of your site. Your DNS records will show it, and your hosting or CDN dashboard will confirm it. Then run the test that settles it. Compare the size of your largest failing file with the plan limit your provider publishes, because on Cloudflare’s Free and Pro plans that is 100 MB. If your file is under that and still fails, the CDN is probably not your cause. If your file is over it, the CDN is almost certainly the cause, and no change on your own server will help.
Now act on it. You have three honest options and none of them is a settings tweak. You can upload the file by another route, which Step 7 covers and which is usually the right answer. You can move to a plan with a higher cap, if the volume genuinely justifies the cost. Or you can route uploads around the proxy, which some providers support through an unproxied subdomain for admin traffic. That last option is an architecture change, so plan it with whoever maintains your hosting rather than switching it on in a hurry.
Verify it worked. Whichever route you take, test with the same file. If you used a different upload route, check the file appears correctly in your media library and displays on the front end. Our guide to fixing WordPress media library images not showing helps if a file lands but will not display.
Step 6: Ask your host about the firewall’s body limit
This step addresses the security module cause. A web application firewall can refuse an oversized request body on its own terms, and you usually cannot see its settings from inside WordPress.
Confirm it first. Look for the pattern that only a firewall produces. A large file upload succeeds, but saving a long page or running a large import fails with a 413. That split tells you something is judging the shape of the request, not just its size. Also note whether the failure is instant. A firewall rejection is immediate, while a server cap often lets the upload run a while first. Then open a ticket. Ask your host directly whether a firewall rule rejected a request from your IP at the time you tested, and what the request body limit is.
Now act on it. This is your host’s setting, not yours, so the fix is a conversation. Give them three things: the exact time of the failure, the size of the request, and the page you were using. Ask them to raise the body limit for your site or to add an exception for the admin path involved. If they decline, ask which limit applies so you can work inside it. Do not try to disable a firewall yourself to get a file uploaded. It protects your site, and Step 7 gets the file in without that risk.
Verify it worked. Repeat the exact action that failed, at the same size. If your host raised a limit, the request should now complete. Ask them to confirm no new rejections appear in their log for your IP. Keep their answer about the limit on file, because it will explain the next failure before it happens.
Step 7: Get the file in without raising any limit
This step addresses the oversized request cause. Some requests are too large to push through HTTP safely, and the right fix is a different route rather than a bigger cap.
Confirm it first. Ask one question. Is the thing you are uploading unusually large for a website, such as a long video, a full database export, or a site-wide import file? If yes, this step applies, whatever your limits say. If you are only uploading a normal photo and still failing, this is not your answer. Go back to Steps 1 and 2. Something there did not take effect.
Now act on it. For large media, upload the file to your server by SFTP, placing it in the right year and month folder inside wp-content/uploads. Then use a media import plugin to register it in the library, so WordPress knows it exists. For a very large video, host it on a video service and embed it instead. A video file served from your own hosting is slow for visitors and expensive in storage either way. For a large import, split the file into smaller parts and run them one after another, because almost every importer supports that. For a database restore, use your host’s database tool rather than a browser upload. For theme or plugin files, upload the folder by SFTP instead of using the admin uploader, which is also the standard fix when you hit the WordPress plugin installation failed error.
Treat any direct file transfer carefully. Writing to the wrong folder, or with the wrong permissions, can break your media library or your site. Back up before you start, and copy files in rather than moving them, so you always have the original.
Verify it worked. Open your media library and confirm the file is listed with a working thumbnail. Open the page where it should appear and check it loads for a logged-out visitor, not just for you. For an import, compare the number of items created with the number in your source file. If the file is there but will not display, it is a permissions or path problem rather than a size problem, and a 413 is no longer your issue.
Best Practices to Prevent the 413 Request Entity Too Large Error in Future
Each habit below removes one of the causes above, so the error stops being a surprise.
Write down every limit in your stack
This closes off the web server and PHP causes. Keep one short note with four numbers: your PHP file limit, your PHP post limit, your web server body limit, and your CDN cap. Record them when you set the site up. Then any upload failure becomes a quick comparison instead of an investigation. Check the note after any host migration or PHP upgrade, because defaults come back when you least expect them.
Keep PHP and server limits in step with each other
This closes off the mismatch that causes repeat failures. Keep the order right: memory limit above post limit, post limit above file limit, and the web server body limit at or above the post limit. If you raise one, raise the others to match in the same sitting. A chain fails at its lowest link, so a half-finished change just moves the error rather than fixing it.
Set your multisite network limit when you build the network
This closes off the multisite cause. Set the Max upload file size in Network Admin on day one, rather than waiting for the first complaint. Note it in the same place as your other numbers. Review it whenever you add sites that handle bigger media than the originals.
Check the reported limit after installing plugins
This closes off the filter cause. After installing anything that touches media, membership, or user roles, glance at Media and then Add New. If the number has dropped, you know which plugin did it and when. Catching that on install day is far easier than tracing it six months later.
Keep your media small on purpose
This closes off the oversized request cause before it starts. Resize images before upload rather than relying on the server to cope. Serve video from a video service instead of your own hosting. Smaller files are not just easier to upload; they also make pages faster, which helps every visitor. Our guide to fixing page speed issues in WordPress covers the wider benefit.
Test big changes on staging and keep backups
This protects every fix above. Any change to PHP settings, server files, or firewall rules should be tried on a staging copy first. Keep automatic backups, and confirm now and then that one can actually be restored. A broken configuration file found on staging costs you an hour. The same file on a live store costs you orders.
Ask your host what they cap before you need to know
This closes off the CDN and firewall causes, which are the two you cannot see. Ask your host, in writing, for their request body limit and their firewall’s limit. Ask whether a proxy sits in front of your site and what it allows. Save the reply. The two layers you cannot inspect yourself are exactly the ones worth documenting.
Conclusion
The 413 Request Entity Too Large error is a size cap, not a broken site. Its bare, unstyled page tells you the request never reached WordPress. That alone separates it from the two WordPress errors it is often confused with. A tidy “link you followed has expired” page means PHP ran and discarded your data. A neat message inside the uploader means WordPress refused the file before sending it.
The causes sit at different layers of the same chain. Your web server’s body limit, nginx’s 1 MB default being the classic one. PHP’s own 2 MB file limit and 8 MB post limit. A CDN or proxy cap in front of everything. A firewall that judges request bodies. A multisite network field defaulting to 1500 KB. A plugin or theme lowering the limit in code. And requests that are genuinely too large to send in one piece.
The fix process follows that chain from the inside out. Read and raise the PHP limits. Raise the web server’s body limit to match. Check the multisite field. Rule out a plugin changing the number. Check your CDN’s plan cap. Ask your host about the firewall. If the request is simply too big, take a different route in rather than weakening your limits. Confirm each cause before you change anything, and retest with the same file every time, so you always know which change did the work.
Remember the contradiction that started us off. WordPress calculates its reported limit from PHP alone, using the smaller of upload_max_filesize and post_max_size. It knows nothing about nginx, Apache, your firewall, or your CDN. When WordPress promises a large limit and uploads still fail, that gap is telling you to look at a layer further out.
Prevention comes down to writing your numbers down, keeping them in step, and asking your host about the layers you cannot see. Sometimes a site refuses requests for being too frequent instead of too large. That is a different error with a different fix. Our guide to fixing the 429 Too Many Requests error in WordPress will take you through it. For the settings themselves, the nginx documentation for client_max_body_size and the PHP manual for core ini directives are the sources worth bookmarking.

James is an experienced WordPress and WooCommerce specialist with over 10 years of practical experience. At WPChatSupport, he creates clear guides that help website owners fix WordPress issues, improve speed, secure their sites, and manage WooCommerce stores with confidence. His expertise includes store setup, plugin configuration, theme customization, payment gateway integration, and website troubleshooting. Through simple and helpful content, James supports users in solving technical problems and following best practices for online business growth.