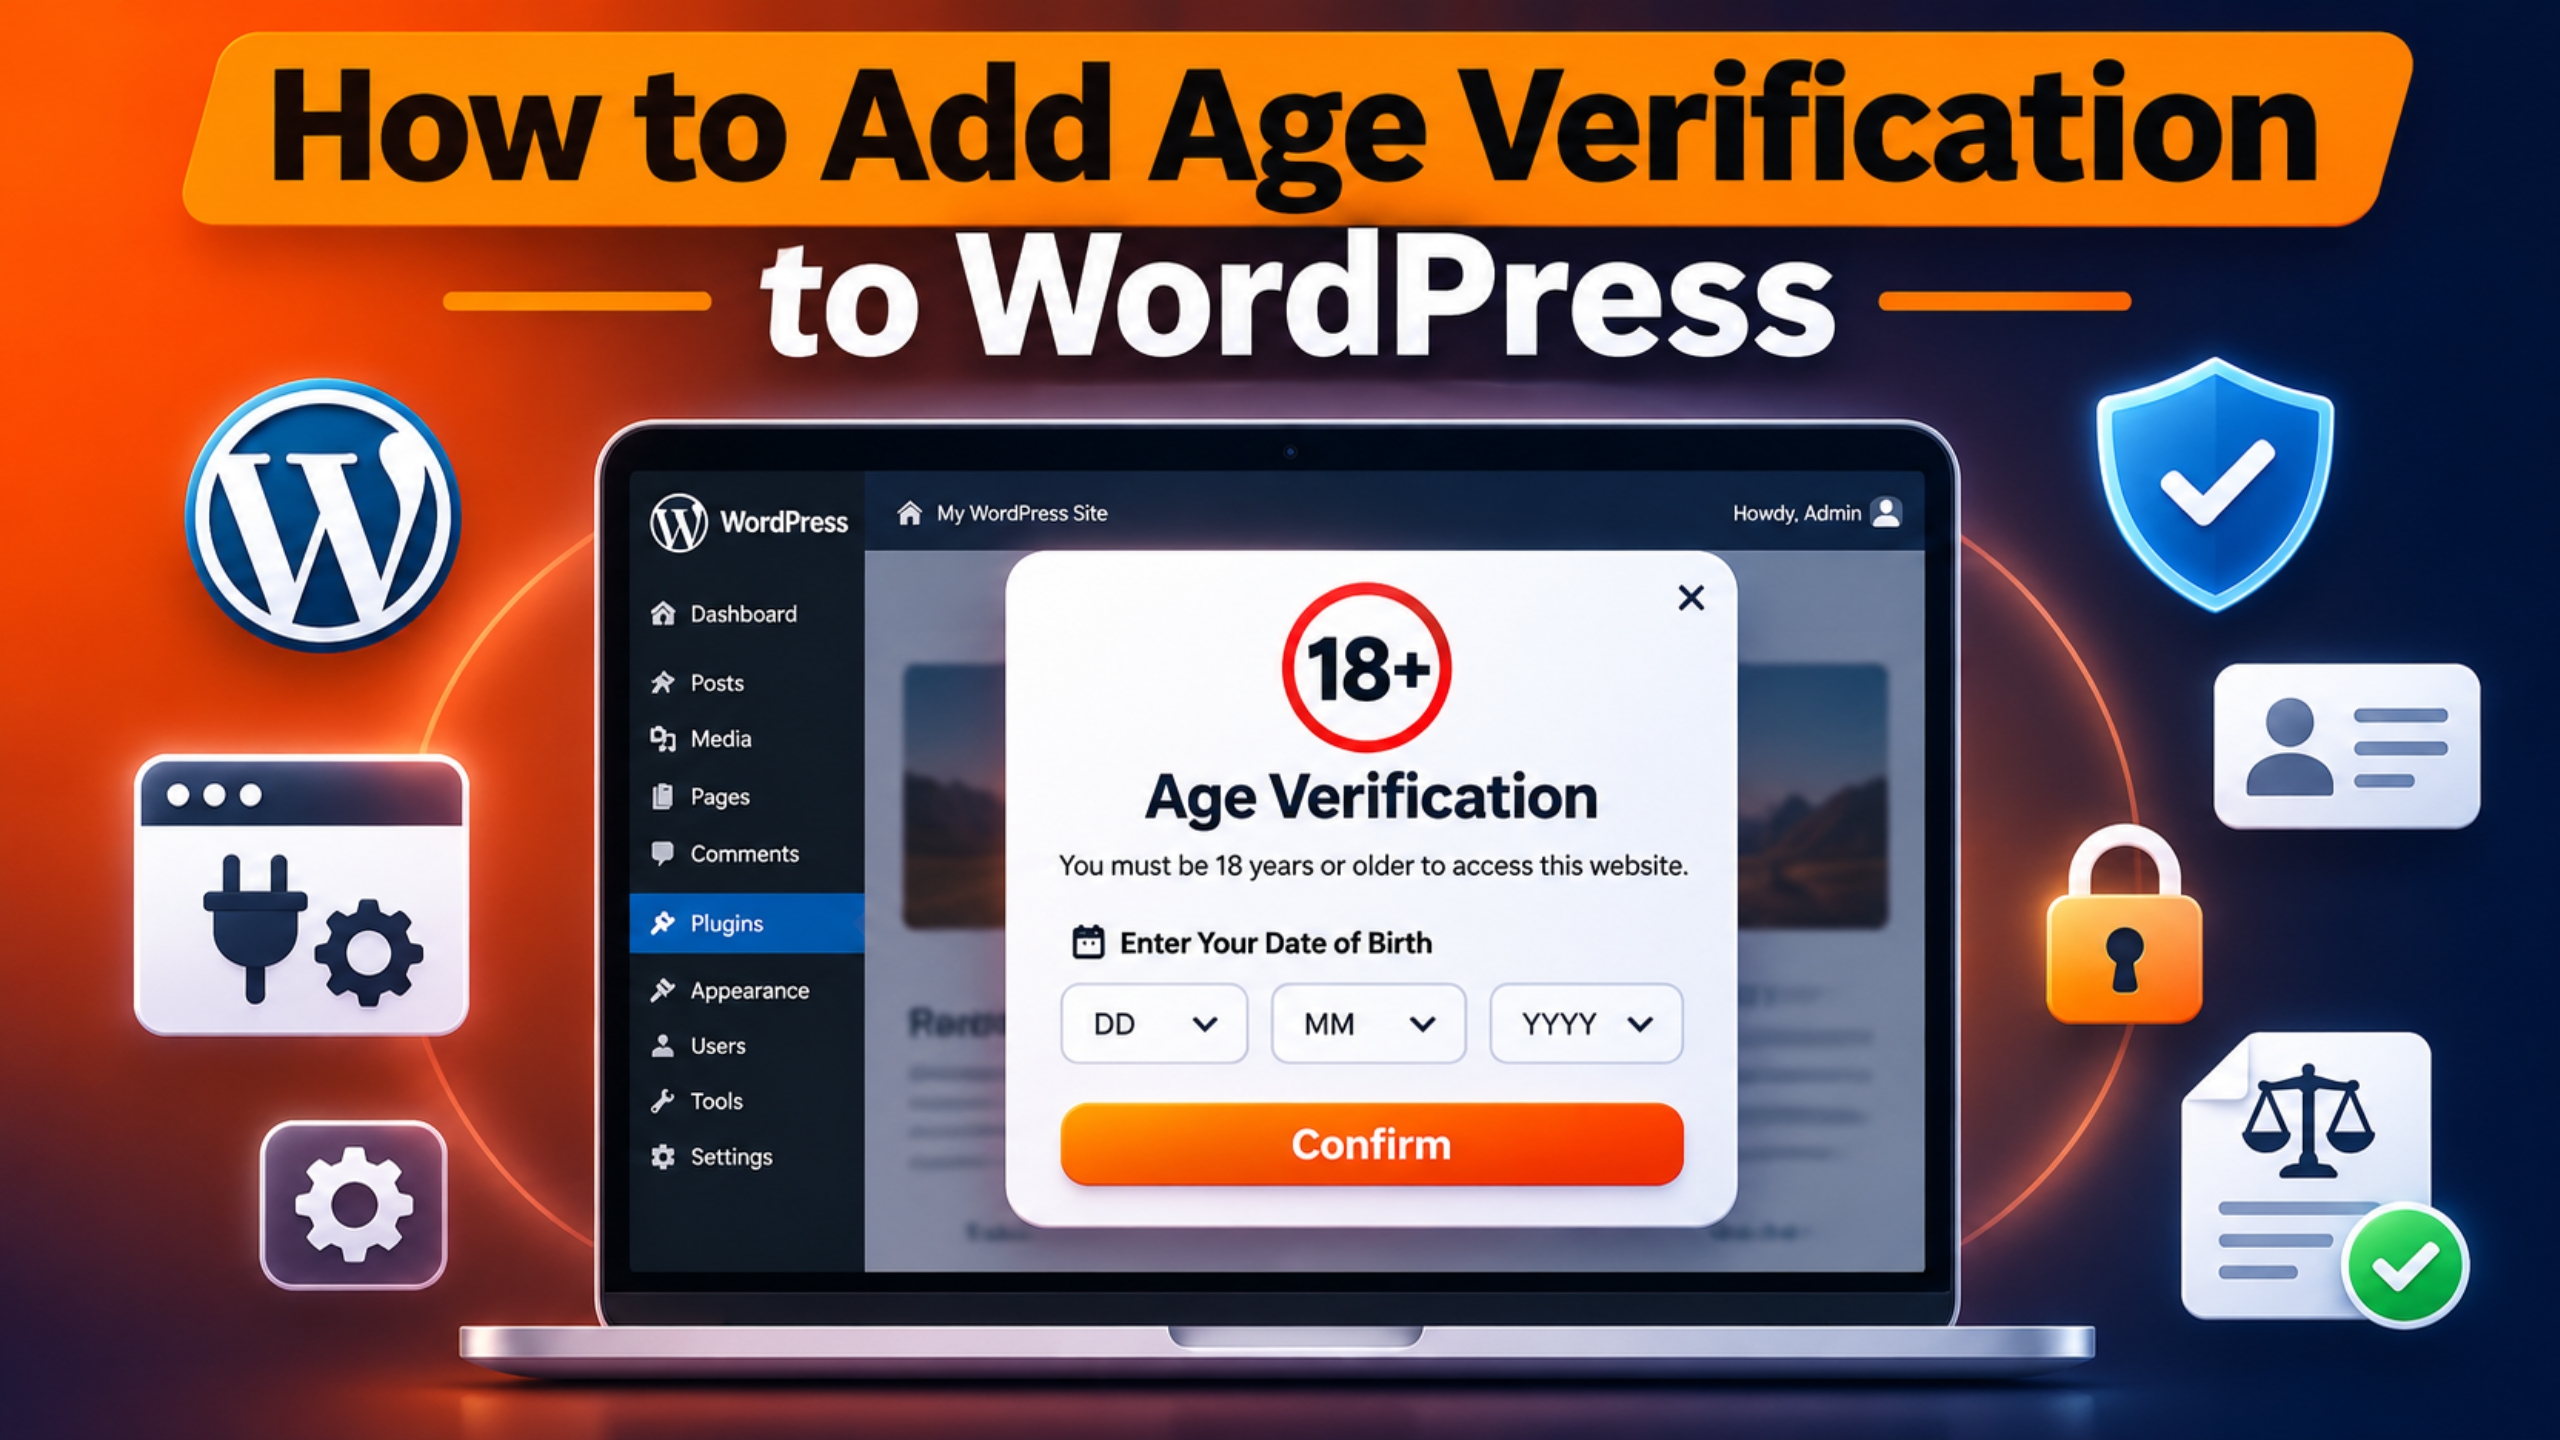
Some content is not meant for everyone. Stores that sell beer, wine, vapes or knives know this well. So do sites with mature films, games or art. If you run a site like that, you need a way to ask visitors how old they are. WordPress has no such tool built in. You have to add one. This guide shows you how to add age verification to WordPress with a free plugin. It covers setup, testing, caching, WooCommerce stores and search engines.
Why Add Age Verification to WordPress?
The main reason is the law. Many countries limit who can buy or view certain things. Alcohol, tobacco, vaping goods and gambling are common examples. Adult content is another. The rules differ from place to place. A site that ignores them can face fines or lose its payment provider. So check the rules for each country you sell to.
There are other good reasons too. An age check shows that you take care with your content. It warns visitors before they see something they may not want. It also keeps some ad networks and payment firms happy. Many of them ask for an age screen on restricted goods. And it costs you very little. A simple gate takes about fifteen minutes to set up.
Age Gate vs Real Age Verification: Know the Difference
These two terms sound alike. They are not the same thing. An age gate is a screen that asks a question. The visitor types a birth date or clicks a button. The site trusts the answer. Nothing checks if it is true. A child can lie and walk right in.
Real age verification checks proof. It may scan a photo ID. It may use a face scan or a credit card check. A third-party service does this work. It costs money and adds steps for your visitors. But it is much harder to fool.
Which one do you need? That depends on your content and your country. For many shops, a simple age gate is the normal first step. For some content it is not enough. The UK is a clear case. Its regulator, Ofcom, says that asking users to state their own age is not a highly effective check. You can read this on the Ofcom age checks page. If you are not sure which rules apply to you, ask a lawyer. This guide sets up an age gate, and it tells you where stronger tools fit.
What to Do Before You Add an Age Gate
A little planning saves trouble later. Start with a backup. An age gate sits in front of your whole site. A bad setting could lock out real customers. With a backup you can roll back in minutes. See our guide on how to back up WordPress with UpdraftPlus. If your host gives you a staging site, test there first.
Next, decide three things. What is the minimum age? It may be 18 or 21, based on your country and goods. What should the gate cover? It can cover the whole site or only some pages. And who should skip it? You may want logged-in staff to pass freely.
Last, find out if your site uses page caching. Caching saves a copy of each page and serves it fast. It can come from a plugin or from your host. It matters a lot here. A cached page can skip the age check, or show it to the wrong people. You will choose a setting for this in Step 6. So note now if a cache is in use.
How to Add Age Verification to WordPress With the Age Gate Plugin
We will use the free Age Gate plugin from the WordPress plugin directory. It is widely used and kept up to date. Follow the eight steps in order.
Step 1: Install and Activate Age Gate
Log in to your WordPress dashboard as an administrator. Open the Plugins screen and click the button to add a new plugin. Type “Age Gate” in the search box. Look for the plugin named Age Gate by Phil. Click Install Now and wait a moment. Then click Activate.
After that, look at your dashboard menu. Find the new Age Gate entry. Click it to open the settings. The settings are split into tabs. They are named Restrictions, Messages, Appearance, Advanced, Access, Content and Tools. You will work through the main ones below. If the install fails, see our guide on the plugin installation failed error.
Step 2: Set the Minimum Age and What to Restrict
Open the Restrictions tab. This is where the main rules live. Find the setting named Default age. Type the lowest age you allow, such as 18 or 21. Every visitor must meet this age unless you set a different one for a page.
Now find the setting named Restrict. It has two modes. One covers all content. The other covers selected content only. Choose all content if your whole site is for adults. An online wine shop is a good example. Choose selected content if only a few pages need the check. A news site with one mature section is a good example.
You may need different ages on different pages. A store may sell some goods at 18 and others at 21. For that, switch on the setting named Varied ages. You can then set a custom age on single posts and pages. Save your changes before you leave the tab.
Step 3: Choose How Visitors Confirm Their Age
Stay on the Restrictions tab. Find the setting named “Validate age using”. It controls what the visitor sees. There are three styles. The first shows text boxes for a birth date. The second shows dropdown lists for day, month and year. The third shows simple yes and no buttons.
Buttons are the fastest for visitors. One click and they are in. But a birth date makes people stop and think. Some rules and payment firms prefer it. Pick the style that suits your goods and your country.
If you use a birth date, check the Date format setting too. It sets the order of the fields. Use day, month, year for most of Europe. Use month, day, year for the United States. The wrong order confuses people. Some will enter a wrong date by mistake and fail the check.
Step 4: Set Remember Me and Logged-In User Rules
No one wants to prove their age on every page. Age Gate saves a small cookie once a visitor passes. By default that cookie lasts for one browser session. When the visitor closes the browser, it is gone. The gate will ask again on the next visit.
You can make this kinder for repeat visitors. Find the setting named Remember. It adds a “remember me” checkbox to the gate. Then set Remember length. That is how long the cookie lasts when the box is ticked. A few days or weeks suits most shops. Shared family computers are a risk, so do not set it too long.
Next, look at the setting named “Ignore logged in”. When it is on, logged-in users skip the gate. That helps your staff and your known customers. Last, find Redirect failures. Here you can enter a web address. Visitors who are too young get sent there. A page that explains your age policy works well.
Step 5: Write the Messages and Style the Gate
Open the Messages tab. This tab holds every word on the gate. Fill in the Headline first. Keep it short and clear, such as “Please confirm your age”. Add a line in the Sub headline to explain why you ask. You can also edit the button text. And you can change the error that shows when a visitor fails. Use plain, polite words. The gate is the first thing people see.
Now open the Appearance tab. Upload your logo so the gate looks like part of your brand. Set the background colour or add a background image. Set the text colour so the words are easy to read. There is also a setting to blur the page behind the gate. That hides your content until the visitor passes.
Make sure the gate looks right on a phone. Most visitors will see it on a small screen. Big buttons and short text work best. Save your changes when you are done.
Step 6: Choose the Right Method for Cached Sites
This step is the one most people miss. Open the Advanced tab and find the setting named Method. It controls how the plugin runs the age check. There are two choices. One runs the check on the server with PHP. The other runs it in the visitor’s browser with JavaScript.
Here is why it matters. A page cache saves a finished copy of each page. It then sends that same copy to everyone. With the PHP method, the saved copy may or may not hold the gate. So some visitors skip the check. Others get stuck on the gate even after they pass. The plugin’s own guide is clear on this. If you use any caching, choose the JavaScript method.
So pick JavaScript if you noted a cache earlier. Pick it too if you are not sure. Many hosts cache pages without telling you. Save the setting. Then clear every cache you have. That means your cache plugin, your host cache and any CDN. Our guide on a WordPress site not updating right away explains each cache layer.
Step 7: Restrict or Bypass Single Pages and Posts
Your global rules are now set. Next you can fine-tune single items. Open any post, page or product in the editor. Look for the Age Gate box on the edit screen. What it offers depends on the mode you chose in Step 2.
In selected content mode, the box lets you restrict that one item. Tick it on each page that needs the gate. In all content mode, the box does the reverse. It lets one item bypass the gate. This is useful for pages that anyone should read. Your privacy policy, terms and contact page are good examples. If you turned on Varied ages, you can also set a custom age here.
You can also gate content inside a page, not just the whole page. The plugin has an [age-gate] shortcode for this. It can take its own age, like [age-gate age="21"]. The plugin’s shortcode guide lists every option. And you can decide which staff roles may change these settings. Open the Access tab in the plugin settings to do that. Give this right only to people you trust.
Step 8: Test the Age Gate as a Visitor
Never trust a gate you have not tested. Open a private browser window. That gives you a clean session with no cookies and no login. Visit a restricted page. The gate should show before any content.
Run four quick tests. First, enter an age that is too low. You should be blocked or sent to your redirect page. Second, close the window and open a new private one. Enter a valid age. You should get in. Third, click through to a few other pages. The gate should not ask again. Fourth, visit a page you set to bypass. It should load with no gate at all.
Now repeat the tests on your phone using mobile data. This checks the cached copy that real visitors get. Did the gate fail to show? Or did it trap you after you passed? Both point to caching. Go back to Step 6, confirm the JavaScript method and clear your caches again. If it still fails, another plugin may be in the way. Our guide on how to fix a WordPress plugin conflict shows how to find it.
How to Add Age Verification to a WooCommerce Store
Age Gate works on WooCommerce stores too. Products are just another type of content. So the steps above still apply. Use all content mode if every product is restricted. Use selected content mode if only some are. Then tick the Age Gate box on each restricted product.
Some stores need more than a gate at the door. You may want a check at the cart or at checkout. You may want rules by product category. Age Gate does not focus on these. For that, look at the paid add-ons on the official WooCommerce Marketplace. Age Verification Manager can gate products, categories, add-to-cart and checkout. Age Verification Popup offers similar rules and adds a selfie-based check through a third-party service.
Keep one more thing in mind. An online check is only part of the job for physical goods. Many carriers offer an adult signature at delivery. Ask your shipping provider about it. If you want help with store setup, see our page on WordPress support for WooCommerce stores.
Will an Age Gate Hurt Your SEO?
This is a fair worry. If search engines hit a wall, they cannot read your pages. Pages they cannot read will not rank. Age Gate handles this for you. It spots common search bots and lets them pass without the check. So Google can still read and index your content.
The plugin uses a known list of bots to do this. Most sites never need to touch it. But you may rely on a less common tool. A niche search engine or an uptime monitor is a good example. If that tool gets blocked, you can add it by hand. Open the Advanced tab and find User Agent Strings. Enter the tool’s user agent there, one per line.
After launch, check that search engines still see your pages. Google Search Console has a URL inspection tool. Enter a restricted page and view the crawled page. You should see your real content, not the gate. Check again a week later to be sure nothing dropped.
Frequently Asked Questions
These are the questions site owners ask most about age checks.
Is there a built-in age verification feature in WordPress?
No, there is not. WordPress core has no age check of any kind. You can password-protect a post or make it private. But neither option asks for an age. So you need a plugin. Age Gate is a free and popular choice from the official plugin directory.
Why can’t I get past the age gate after entering my age?
The most likely cause is caching. Your browser gets an old saved copy of the page with the gate still on it. Open the plugin’s Advanced tab and set Method to JavaScript. Then clear your cache plugin, your host cache and your CDN. Also check that your browser accepts cookies. The gate cannot remember you without one.
Is an age gate enough to meet the law?
It depends on where you are and what you offer. For many shops, a self-declared age screen is the accepted first step. For some content, the law asks for stronger proof. The UK rules on adult content are one example. A gate that trusts the visitor does not meet that bar. Check the rules for your country, and ask a lawyer if you are unsure.
Can I show the age gate on only one page?
Yes, you can. Open the Restrictions tab and set Restrict to selected content. Then edit the page you want to protect. Tick the Age Gate box on the edit screen and save. Only that page will show the gate. The rest of your site stays open to everyone.
Does the age gate slow down my site?
In normal use you should not notice it. The gate adds only a little code to each page. With the JavaScript method, your pages can still be cached in full. So your normal speed gains stay in place. For extra safety on a busy store, pair it with good security habits. Our guide to the All In One WP Security plugin is a good next read.
Conclusion
You now know how to add age verification to WordPress. Start with a backup and a clear plan. Install Age Gate and set your minimum age. Choose if the gate covers the whole site or only some pages. Pick how visitors confirm their age, and how long the site remembers them. Then write clear messages and match the gate to your brand.
Do not skip the two steps that catch most people out. Set the Method to JavaScript if your site uses any caching. And test the gate in a private window and on a phone. Those two checks prevent nearly every problem.
Keep the limits in mind too. An age gate trusts what the visitor says. Some laws ask for real proof of age, so check what applies to you. WooCommerce stores can add checkout rules with a paid add-on. While you tidy up your site, you may also want to learn how to change the author in WordPress. That way every restricted post shows the right name.

James is an experienced WordPress and WooCommerce specialist with over 10 years of practical experience. At WPChatSupport, he creates clear guides that help website owners fix WordPress issues, improve speed, secure their sites, and manage WooCommerce stores with confidence. His expertise includes store setup, plugin configuration, theme customization, payment gateway integration, and website troubleshooting. Through simple and helpful content, James supports users in solving technical problems and following best practices for online business growth.