Introduction: What It Means to Install WordPress on XAMPP
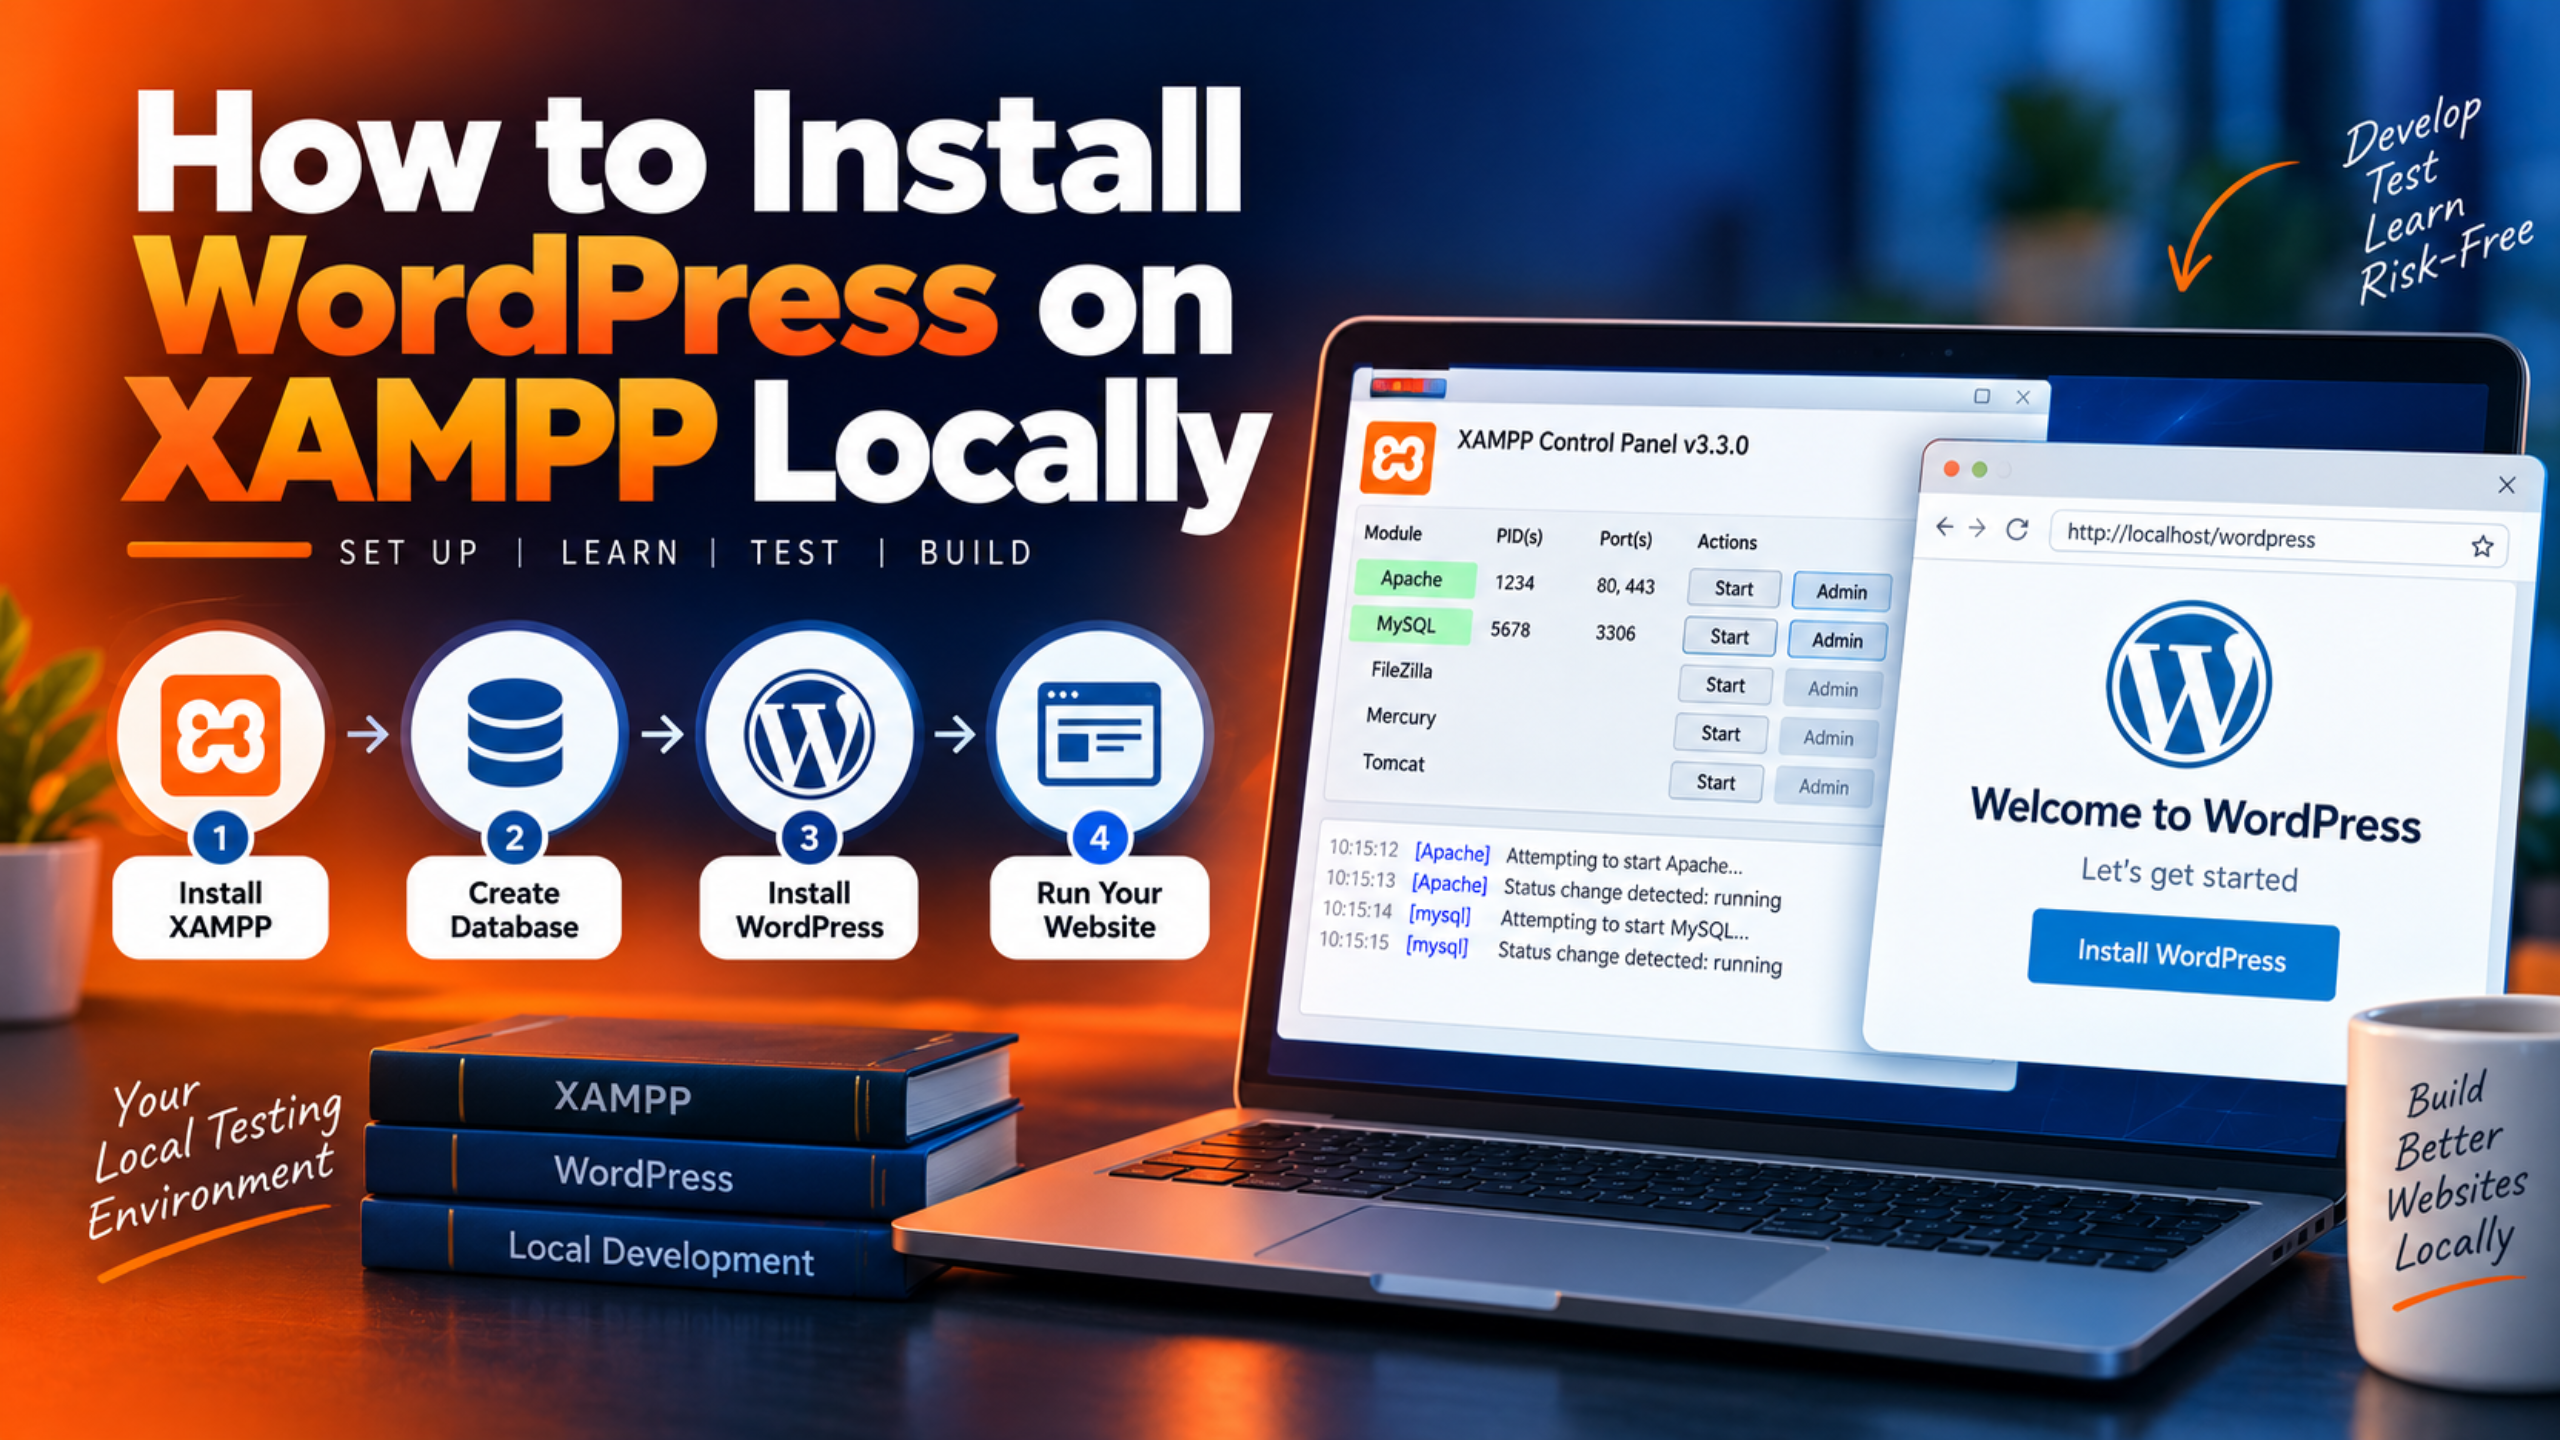
XAMPP turns your own computer into a small web server. It is a free bundle from Apache Friends. Inside it you get Apache, MariaDB, PHP and Perl. Once it runs, your machine can serve WordPress the same way a host does. You open the site at a local address instead of a domain name. Nobody else on the internet can see it.
That makes XAMPP a very safe place to learn. You can try a new theme without touching your live site. You can break a plugin and no visitor ever notices. You can rebuild the same page ten times until it looks right. You can even work with the internet switched off. Agencies use it to build client sites before a domain exists.
This guide walks you through the whole setup in plain steps. You will install XAMPP, start the server, and create a database. Then you will copy WordPress into place and run the installer. We also cover the errors that trip most people up. Each one comes with a check, a fix, and a way to confirm it worked. By the end you will have a working WordPress site on your own computer.
What You Need Before You Install WordPress on XAMPP
Two short checks save a lot of time later. Sort them out before you download anything.
Check Your Computer Can Run WordPress
WordPress publishes a short list of what it wants. The official requirements page asks for PHP 8.3 or greater. It also asks for MariaDB 10.11 or greater, or MySQL 8.0 or greater. The same page notes that WordPress still works with PHP 7.4 and above. XAMPP ships its own PHP and MariaDB, so you do not install those yourself.
There is one thing worth thinking about here. Your local PHP version should sit close to your live server. A large gap can hide bugs that only appear after you go live. Ask your host which PHP version your site runs on. Then pick the XAMPP build that gets you closest to it. Apache Friends lists older builds under the “other versions” link.
Check your free disk space too. XAMPP installs a very large number of files. Leave a few gigabytes free before you start.
Download XAMPP and WordPress
Get XAMPP from the Apache Friends website. That is the only source you should trust. Copies on other sites can carry bundled extras you do not want. The download page lists builds for Windows, Linux and macOS. Each build shows the PHP version it contains, so read that line before you click.
Next get the WordPress zip file from wordpress.org. Save it somewhere easy to find, such as your desktop. Do not unzip it yet. We will do that at the right moment in step four.
One last thing before you install. Close any program that might use the same network ports. Skype and other web servers are the usual culprits. We cover that problem in full further down.
How to Install WordPress on XAMPP Locally (Step by Step)
Work through these six steps in order. Each one ends with a quick check, so you always know where you stand.
Step 1: Install XAMPP on Your Computer
Run the installer you just downloaded. On Windows you may see a warning about User Account Control. Apache Friends explains the reason in its Windows FAQ. Folders inside C:\Program Files are locked down by Windows. You do not get full write access there, even as an admin. That would stop you editing your own site files later.
So install XAMPP to C:\xampp instead. The installer suggests that path by default, so just accept it. The next screen lets you pick components. For WordPress you only need Apache, MySQL and PHP, plus phpMyAdmin. You can leave FileZilla, Mercury and Tomcat unticked.
Now let the installer finish. It can take several minutes on a slow machine. Antivirus scanning is usually the reason it drags. Do not cancel it halfway through.
Step 2: Start Apache and MySQL in the Control Panel
Open the XAMPP Control Panel. On Windows it sits at \xampp\xampp-control.exe. On a Mac the app is called manager-osx. You will see one row for each service, with a Start button beside it.
Click Start next to Apache. Then click Start next to MySQL. Both names should turn green within a few seconds. A port number appears beside each one when it works.
Now confirm it really is serving pages. Open your browser and go to http://localhost. Apache Friends says you should see the XAMPP start page. If that page loads, Apache is healthy. If nothing loads, or the service turns red again, jump to the port problem below.
Leave the Control Panel open while you work. You will need it again to restart Apache after any settings change.
Step 3: Create a Database in phpMyAdmin
WordPress keeps every post, page and setting in a database. It cannot finish its install without one. XAMPP includes phpMyAdmin so you can build one in your browser.
Go to http://localhost/phpmyadmin. Apache Friends notes that phpMyAdmin only answers on localhost or 127.0.0.1 by default. Leave that setting alone, because it keeps your database private.
Click the Databases tab at the top. Type a short name in the box, such as wp_local. Use plain lowercase letters and no spaces. If you are asked for a collation, choose utf8mb4_general_ci. The official WordPress install guide recommends a utf8 collation for new sites. Click Create, and the name appears in the list on the left.
You also need a database user. In XAMPP that user is root, and the password is blank. Apache Friends confirms this in its FAQ and warns that it is a development default. It is fine on your own machine. Never copy those details onto a live server.
Step 4: Copy the WordPress Files into htdocs
Apache only serves files from one folder. Apache Friends calls it the main directory for all WWW documents. On Windows it is \xampp\htdocs. On a Mac it is /Applications/XAMPP/htdocs. Anything you drop in there becomes reachable from your browser.
Now unzip the WordPress file you downloaded. You will get a folder called wordpress. Move that whole folder into htdocs. Rename it to something short, such as mysite. Use plain letters with no spaces, as Apache Friends advises.
Your site now lives at http://localhost/mysite. Check the folder before you move on. It should hold wp-admin, wp-content, wp-includes and a file named wp-config-sample.php. If those are missing, you copied the wrong level of folder.
Give every project its own folder and its own database. That keeps your test sites fully apart. It also means one broken site never damages another.
Step 5: Run the WordPress Installer in Your Browser
Open http://localhost/mysite in your browser. WordPress asks for your language first. Then it asks for the database details you created in step three.
Enter your database name, such as wp_local. Enter root as the username. Leave the password box empty. Leave the host as localhost. Leave the table prefix as wp_ unless you have a reason to change it. Click Submit.
WordPress now writes those details into a file called wp-config.php. The official install guide explains that WordPress creates this file for you when it can. Sometimes it cannot write to the folder. In that case it shows you the text on screen. Copy that text, save it as wp-config.php inside your site folder, and reload the page.
The welcome screen comes next. Give the site a title you will recognise. Create an admin username and a strong password. Add any email address, even a fake one, because nothing is sent locally. Click Install WordPress and wait for the success message.
Step 6: Log In and Test Your Local Site
Go to http://localhost/mysite/wp-admin. Sign in with the username and password you just made. You should land on the normal WordPress dashboard.
Run three quick checks before you call it done. Open the front of your site and confirm it loads with a theme. Open the plugins screen and confirm the list appears. Upload a small image to the media library. If all three work, your install is healthy.
Turn on debug mode while you are testing. Open wp-config.php in a plain text editor. Find the line that sets WP_DEBUG and change false to true. Errors then show on screen instead of hiding behind a blank page. Set it back to false when you finish a session.
Back up wp-config.php before you edit it. It holds your database details, and a typo there stops the whole site. A copy on your desktop takes two seconds to make.
Installing WordPress on XAMPP on a Mac
The steps are the same. Only the paths and the control app change. Apache Friends offers two options for macOS, and it is worth knowing the difference. XAMPP for OS X is a native installer that puts Apache and PHP straight onto your Mac. XAMPP-VM runs the same tools inside a small Linux virtual machine.
With the native installer, open the DMG image and double-click it. XAMPP lands in /Applications/XAMPP. Open the control app, which is named manager-osx, and start Apache and MySQL there. Then visit http://localhost to check the start page loads.
Your web folder is /Applications/XAMPP/htdocs. Copy your renamed WordPress folder into it exactly as described above. Everything after that happens in the browser and works the same way.
Two paths are worth writing down for later. The PHP settings file sits at /Applications/XAMPP/xamppfiles/etc/php.ini. The Apache settings file sits at /Applications/XAMPP/xamppfiles/etc/httpd.conf. You will need both if you raise upload limits or fix permalinks.
Common Problems When You Install WordPress on XAMPP
Most XAMPP problems come from a short list of causes. Each fix below starts with a way to confirm the cause is yours.
Apache Will Not Start Because Port 80 Is Busy
Apache uses port 80 for normal web traffic. Only one program can hold a port at a time. If something else already has port 80, Apache stops before it starts. Apache Friends names the usual causes. Another web server such as IIS is the most common. Older Skype versions also grabbed port 80.
Confirm it first. Look at the log box in the XAMPP Control Panel. A port clash shows a line about not being able to bind to address 0.0.0.0:80. XAMPP also ships a small tool called xampp-portcheck.exe. Apache Friends suggests it when ports are causing trouble, so run it and read what it reports.
On Windows 10 and later, IIS is usually to blame. Apache Friends gives the exact fix. Open the Services panel in Computer Management. Find World Wide Web Publishing Service and stop it. Double-click it, set the startup type to Disabled, and click OK. Apache should now start on port 80.
You may prefer to leave IIS running. In that case move Apache instead. Open \xampp\apache\conf\httpd.conf and change the Listen line from 80 to 8080. Save a copy of that file first, because a bad edit stops Apache completely. Restart Apache and reach your site at http://localhost:8080/mysite.
MySQL Will Not Start or Stops Straight Away
This has the same root cause in a different place. MySQL uses port 3306, and only one database service can hold it. Many developers already have MySQL or MariaDB installed for another project. Apache Friends is clear that two servers cannot start on the same port.
Check it before you change anything. Look at the MySQL row in the Control Panel log. A clash usually mentions port 3306 or says the service shut down unexpectedly. Then open the Windows Services panel and look for a MySQL or MariaDB entry you did not create.
If you find one, decide which server you want. You can stop your other MySQL service and start the XAMPP one. Apache Friends also confirms the opposite works. You can leave your own MySQL running and simply never start XAMPP’s copy. If you do that, update \xampp\phpMyAdmin\config.inc.php with the right password.
Reload the Control Panel and confirm MySQL turns green. Then open http://localhost/phpmyadmin and check your database list appears. If it does, the clash is gone.
Error Establishing a Database Connection
This message means WordPress found its settings file but could not reach the database. Two different causes produce it. Confirm which one you have before you edit anything.
Open the XAMPP Control Panel and look at the MySQL row. If it is not green, the database is simply not running. Start it, then reload your site. That alone fixes it more often than people expect.
If MySQL is green, the details inside wp-config.php are wrong. Open the file in a plain text editor and read four lines. DB_NAME must match the database name in phpMyAdmin exactly, including case. DB_USER should say root. DB_PASSWORD should be empty unless you set one. DB_HOST should say localhost.
Hidden characters break this file too. The official install guide warns that some editors add a byte order mark or curly quotes. Use a plain editor such as Notepad, Notepad++ or VS Code. Save the file, reload your site, and the dashboard should return. If you set a root password with the XAMPP security tool, put that same password into DB_PASSWORD.
Permalinks Return 404 Errors
Your posts load fine on the default setting. Then you switch to pretty permalinks and every post shows a 404. The cause is Apache, not WordPress. Pretty links need Apache’s rewrite module and an .htaccess file it can read.
Confirm it in two places. First open Settings and then Permalinks in WordPress, and click Save Changes without altering anything. That forces WordPress to rewrite the rules. Reload a post. If it still fails, look at \xampp\apache\conf\httpd.conf. Find the line that loads rewrite_module and check there is no hash mark in front of it.
Also check the block that covers your htdocs folder. AllowOverride should be set to All, not None. If it says None, Apache ignores your .htaccess file entirely. Copy httpd.conf to a safe place before you change it. Save your edit and restart Apache from the Control Panel.
Reload the post one more time. It should now open at its pretty address. Our guide on how to set up and fix permalinks in WordPress covers the remaining cases in more depth.
Media Uploads Fail or Time Out
Local PHP limits are often lower than a live host’s. So a theme demo file or a large image can be rejected. WordPress shows a message about the file being too large, or the upload simply stalls.
Find the right settings file before you edit anything. Apache Friends gives a neat trick for this. Open http://localhost/xampp/phpinfo.php and look for “Loaded Configuration File”. That line shows the php.ini PHP is really using. People often edit the wrong copy and wonder why nothing changes.
On Windows that file is usually \xampp\php\php.ini. Open it and raise four values. Set upload_max_filesize and post_max_size above the size of your file. Raise memory_limit if the dashboard feels starved. Raise max_execution_time if large imports stop halfway. Keep post_max_size larger than upload_max_filesize.
Save the file and restart Apache. Apache Friends stresses that the restart is required, or PHP keeps the old values. Then reload the phpinfo page and confirm the new numbers appear. Try the upload again. If a long import still stops, our guide to the maximum execution time exceeded error in WordPress explains the rest.
WordPress Emails Never Arrive
Password resets and form notices go nowhere on a fresh XAMPP install. That is normal. XAMPP has no mail server set up for you out of the box.
Confirm it quickly. Try a password reset on your local site. If no error shows but no mail arrives, mail delivery is the issue. WordPress may also show an error about the mail function.
Apache Friends documents a working setup for Windows. Open php.ini, find the [mail function] section, and point sendmail_path at XAMPP’s sendmail.exe. Then open sendmail.ini and fill in the SMTP server, port and login for an external account. Restart Apache and send a test mail.
Think carefully before you do this. Those files store the password in plain text on your disk. Use a throwaway test account or an app password, never your main email password. Many developers skip local mail completely and test it on staging instead. If the mail function itself errors, see our fix for the could not instantiate mail function error in WordPress.
Your Antivirus Blocks or Flags XAMPP
Some antivirus tools treat XAMPP as a threat. Apache Friends addresses this directly. It says scanners often flag xampp-manager.exe, and that this is a false positive. The team scans each release before it ships.
Confirm the file came from the right place first. Only download XAMPP from apachefriends.org. Apache Friends also publishes checksums so you can compare your download against the official one. If your copy came from somewhere else, delete it and start again.
Once you trust the file, adjust your antivirus. Apache Friends suggests three changes. Add firewall exceptions for Apache and MySQL. Reduce scanning on the server executables, which slows them badly. Exclude localhost traffic from web scanning.
Restart XAMPP and start both services again. They should stay green instead of dropping out. Installs also run far faster afterwards.
How to Keep Your Local WordPress Site Safe
XAMPP is a development tool and nothing more. Apache Friends states plainly that it is not meant for production use. It ships as open as possible so developers are never blocked. That design choice creates real risks if the machine is ever reachable.
The gaps are documented in the same FAQ. The database root user has no password. The database service is reachable over the network. Default users for the bundled FTP and mail servers are public knowledge. None of that matters on a laptop behind a home router. All of it matters the moment you forward a port.
So build three habits. Never expose your XAMPP machine to the internet, and never forward port 80 or 3306 to it. Stop Apache and MySQL in the Control Panel when you finish for the day. Run the security console if you want passwords in place. On Windows that lives at http://localhost/security/, and on macOS you run the xampp security command as root.
Remember what the security console changes. It sets a password for the database root user. If you do that, open wp-config.php and put the same password into DB_PASSWORD. Otherwise your local site stops connecting straight away.
Back up your work as well. A local site is not backed up by anyone. Copy your folder out of htdocs, and export the database from phpMyAdmin as an SQL file. Keep both together, because one without the other is useless.
How to Move Your Local WordPress Site to a Live Server
A local build is usually step one. At some point the site needs a real domain. The move is simple if you take it in order.
Start with a full backup of both halves. Export your database from phpMyAdmin using the Export tab. Then copy your whole site folder out of htdocs. Keep both files somewhere safe before you touch anything.
Next prepare the live side. Create an empty database on your host and note the name, user and password. Import your SQL file into it. Upload your site files to the correct folder on the server. Then edit wp-config.php on the live server with the new database details.
The last piece is the site address. Your database still holds localhost URLs in many places. Those must be swapped for your real domain. Never run a search and replace on a live database without a backup you have tested. A migration plugin handles this far more safely than a hand-written query. If you would rather use a backup plugin for the whole move, our guide on how to back up WordPress using UpdraftPlus walks through the process.
Finish with a short check. Open a few posts and confirm the links work. Re-save your permalink settings. Compare the live PHP version against the one XAMPP gave you. If plugins misbehave after the move, our guide to the WordPress plugin installation failed error is a good next stop.
Frequently Asked Questions About Installing WordPress on XAMPP
Is XAMPP Free to Use?
Yes, XAMPP is completely free. It comes from Apache Friends, a non-profit project that promotes the Apache web server. There is no trial, no licence key and no paid tier. You can install it on as many of your own machines as you like. The bundled software is open source as well.
Can Other People Visit My XAMPP Site?
No, not by default. Your local site answers on localhost and 127.0.0.1 only. Those addresses point back at your own computer. Even someone on your home network cannot reach it without extra setup. That is exactly why XAMPP is safe for testing.
Do I Need an Internet Connection to Use It?
Not once everything is installed. Your site runs entirely on your own machine. You can write posts, edit themes and test plugins offline. You only need a connection to download plugins, themes or updates. That makes XAMPP handy on trains and planes.
Can I Run More Than One WordPress Site on XAMPP?
Yes, and it is easy. Give each site its own folder inside htdocs. Give each site its own database in phpMyAdmin. Then run the installer once for each folder. You reach them at addresses like http://localhost/site1 and http://localhost/site2.
Is XAMPP the Same as WordPress.com?
No, they are very different things. XAMPP is a private server on your own computer, and nobody else can see it. WordPress.com is a hosted service that puts your site online for visitors. The software inside is the same WordPress in both cases. Our comparison of WordPress.com vs WordPress.org explains where each one fits.
Can I Host a Real Website on XAMPP?
You should not. Apache Friends says XAMPP is not meant for production use. The defaults leave the database open and unprotected. A public XAMPP box is an easy target. Use proper hosting for anything real, and keep XAMPP for testing.
Conclusion
Installing WordPress on XAMPP is far simpler than it looks. You install the bundle, start Apache and MySQL, and make a database in phpMyAdmin. Then you drop WordPress into htdocs and run the installer in your browser. Six steps and you have a full site on your own machine.
Most of the trouble people hit comes from a short list of causes. A busy port stops Apache or MySQL. Wrong details in wp-config.php break the database connection. A missing rewrite module breaks permalinks. Low PHP limits block uploads. No mail server means no emails. Each one has a clear check and a clear fix, and you now have both.
Keep the safety rules in mind as you work. XAMPP is built open on purpose, so never expose it to the internet. Stop the services when you finish. Back up your folder and your database together, because a local site has no safety net. And when the site is ready, move it to real hosting rather than serving it from your desk.
Use your local site the way it was meant to be used. Break things there instead of on your live site. Test every update before your visitors see it. That single habit prevents most of the emergencies a WordPress site ever has.
James is an experienced WordPress and WooCommerce specialist with over 10 years of practical experience. At WPChatSupport, he creates clear guides that help website owners fix WordPress issues, improve speed, secure their sites, and manage WooCommerce stores with confidence. His expertise includes store setup, plugin configuration, theme customization, payment gateway integration, and website troubleshooting. Through simple and helpful content, James supports users in solving technical problems and following best practices for online business growth.