Introduction
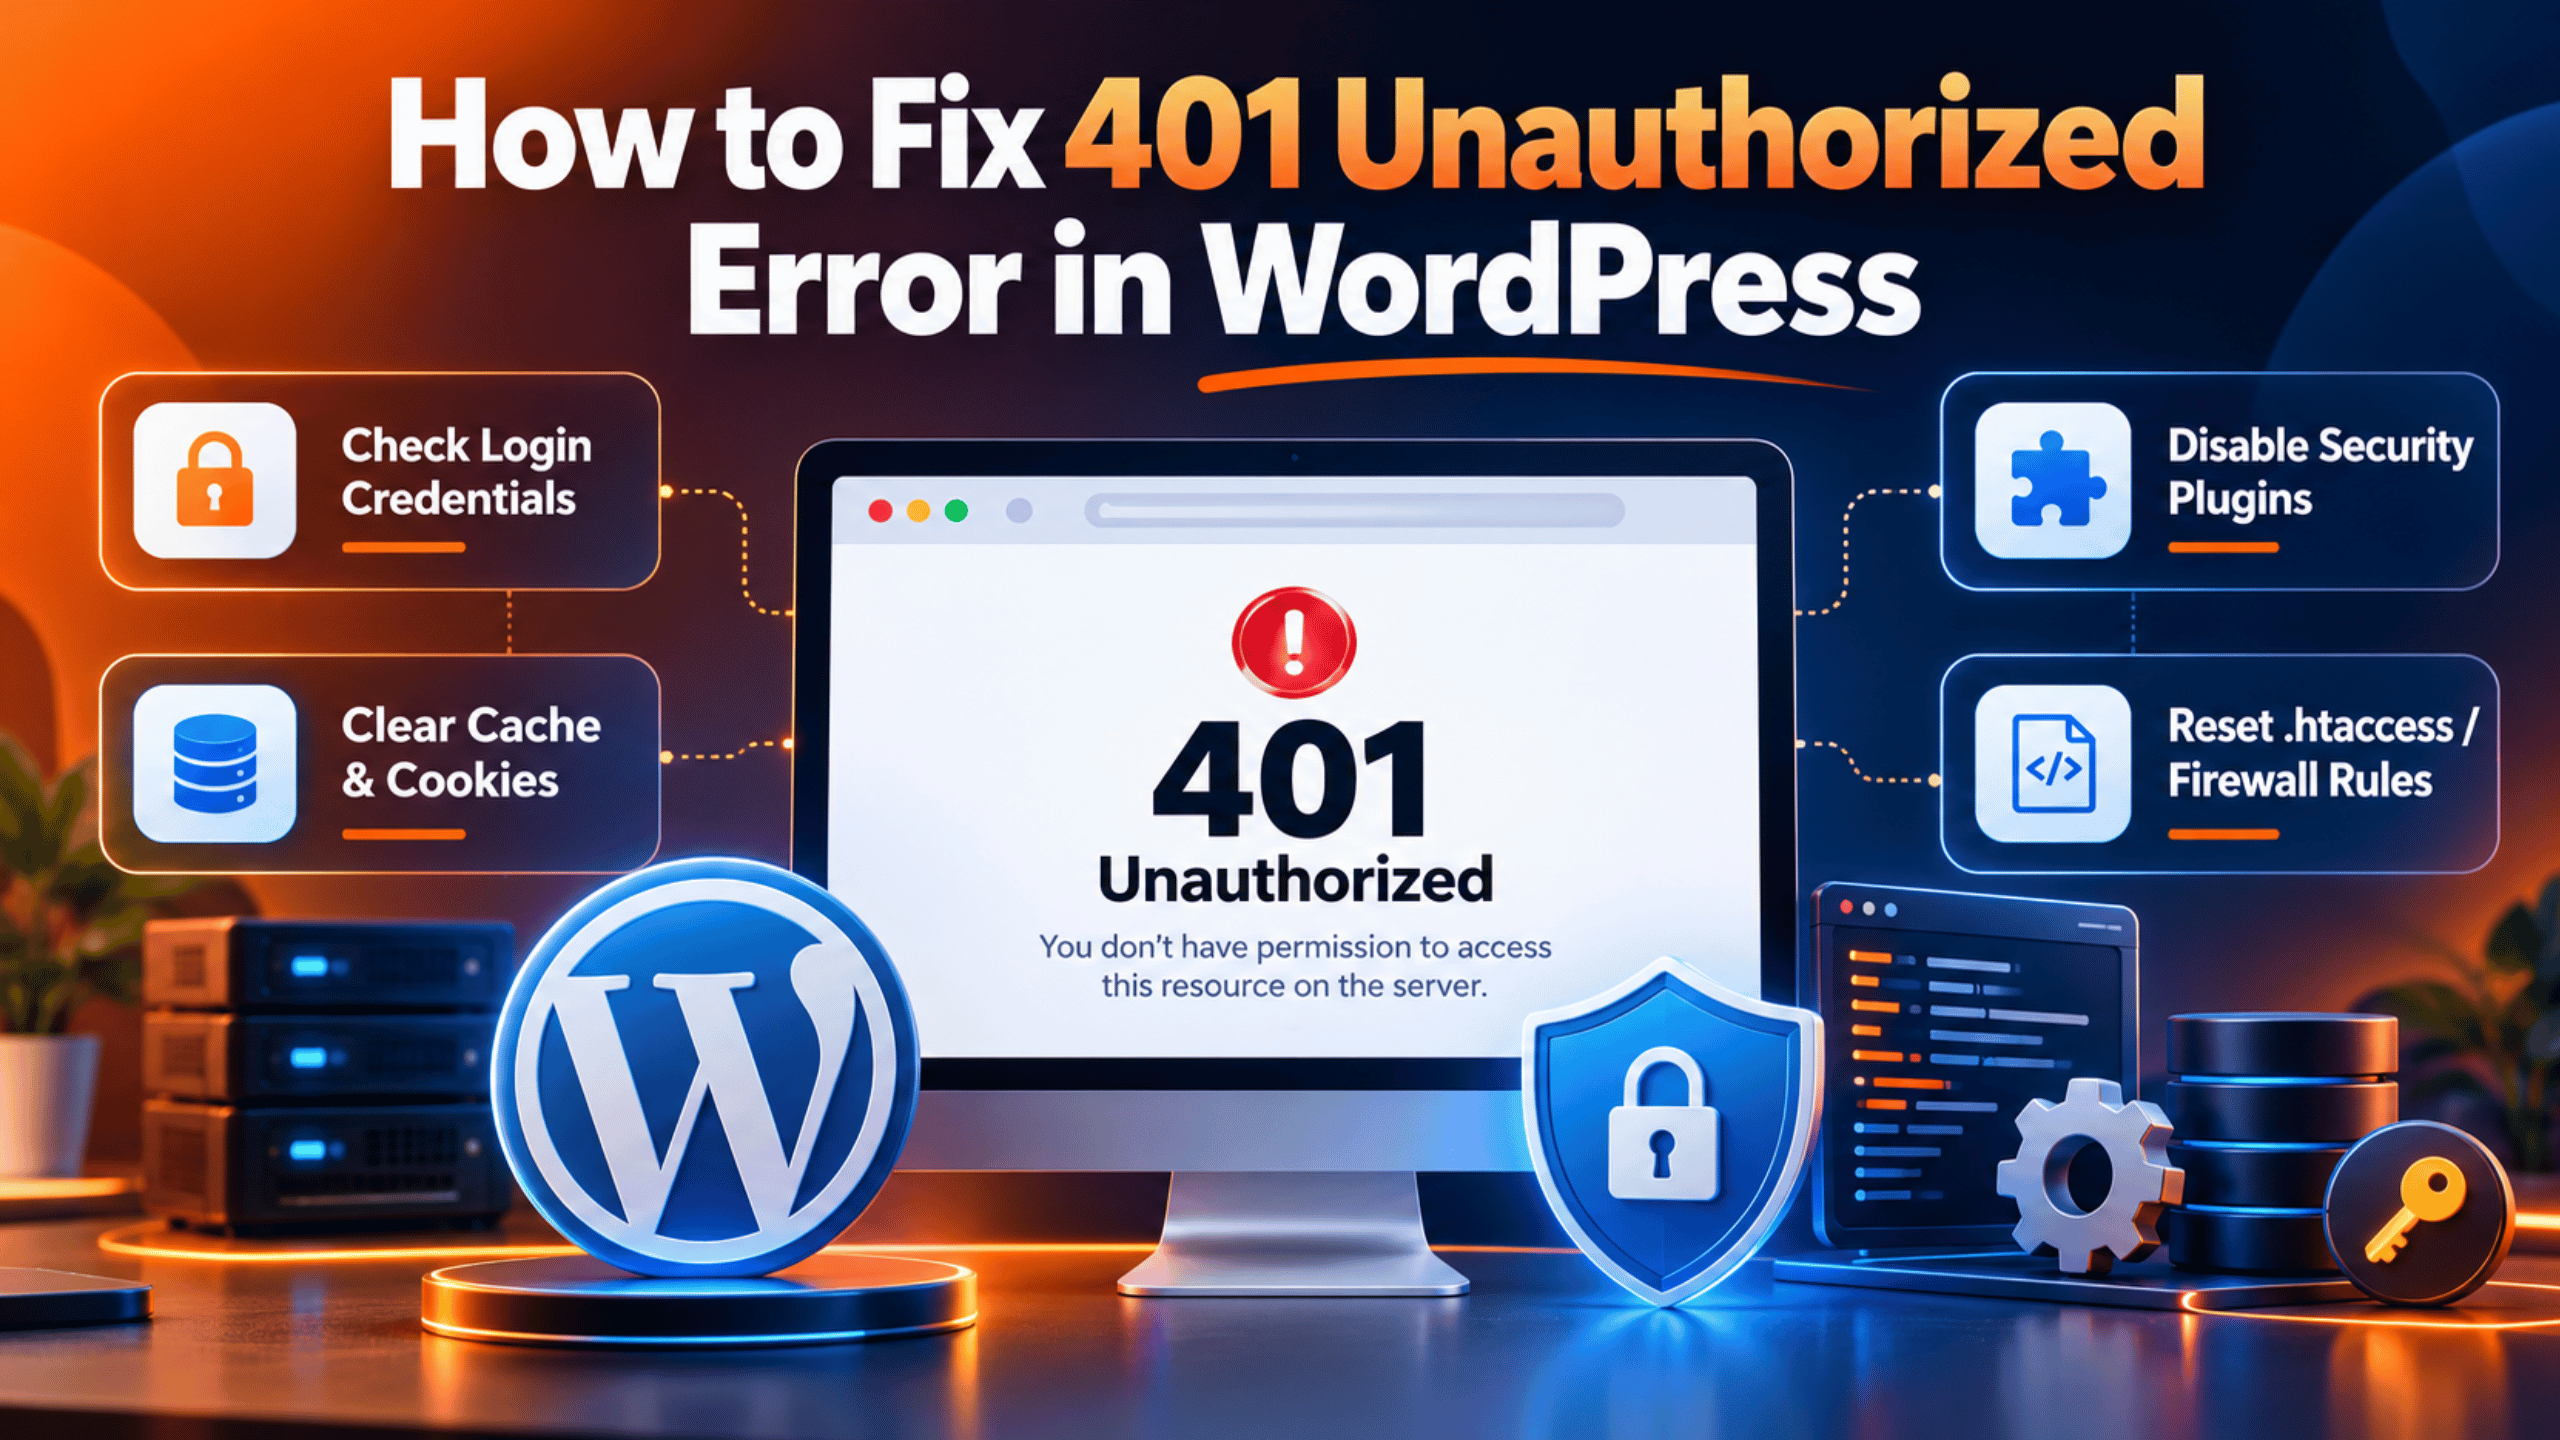
You try to open your dashboard and a grey box appears. It asks for a username and a password. You type yours in and nothing happens. The box comes back. Then a bare page loads that reads 401 Unauthorized. Your own site is asking who you are, and refusing every answer you give.
A 401 error means the server wants proof of identity. It has not rejected you outright. It has asked you to sign in and has not accepted what it received. That makes it different from a 403 error, where the server knows who you are and still says no.
The error hits in two very different places. Sometimes it blocks a person at the login page. Sometimes it blocks a program. An app, a mobile client or the block editor can all throw a 401 while your browser works perfectly. Both cases share the same root idea and the same set of causes.
This guide covers the whole problem. You will learn the signs that mark a real 401 error. You will learn each cause and why it produces the symptom you see. Then you will fix them in order, starting with the safest check. At the end you will learn how to keep the error away.
Most 401 errors follow a change. A staging site goes live with its password box still on. A security plugin adds a second lock to the login page. A caching layer stores the wrong response. A host migration drops a header that carries your credentials. The block looks alarming, but the cause is usually one setting.
Signs That Show a 401 Unauthorized Error in WordPress
The 401 error wears several faces. Reading the exact one you have narrows the cause fast. Start with what appears on screen, then look at where it appears.
These are the common forms:
- A browser pop-up asking for a username and password, with a short label beside it.
- A plain page reading 401 Unauthorized or Authorization Required.
- Access denied due to invalid credentials on some servers.
- A raw block of text ending in
"status":401when a program made the request. - You are not currently logged in from the WordPress interface itself.
That pop-up box is the strongest single clue you will get. It comes from the web server, not from WordPress. WordPress never asks for a password that way. It always shows a styled login form instead. So a grey box from the browser means the server layer is doing the asking. A styled WordPress form means the block is inside your site.
Next, note where the error lands. A 401 on the whole site points at a password on the top folder. A 401 only on /wp-admin/ or wp-login.php points at a lock on the login area. A 401 on the public site but not the dashboard is rare, and usually means a caching layer stored a bad response.
Watch the block editor closely if the front end looks fine. You may be able to write a post but not save it. The editor shows an update failed message. Open your browser tools, look at the network tab and reload. A request to /wp-json/ returning 401 confirms the problem is in the interface layer, not in your login.
Check whether programs fail while people succeed. A backup tool, a mobile app or another site pulling your posts may all return 401 while your browser works. That split points at credentials sent in a header rather than a cookie. It is a strong sign that the header is being lost before it reaches WordPress.
One last check is worth knowing. A real 401 response always carries a header named WWW-Authenticate. That header tells the browser how to ask for credentials. You can see it in the network tab of your browser tools. If that header is present, a password layer really is in play. If it is absent, you may be looking at a mislabelled error instead.
Reasons Why the 401 Unauthorized Error Happens in WordPress
Each cause below produces a slightly different version of the error, and each has a matching fix later in this guide.
A Password Box on the Folder or the Login File
Web servers can lock a folder with their own password. Apache calls this basic authentication. It needs two things: a few rules and a password file. The Apache handbook shows the rules, which begin with AuthType Basic. Hosts add these when they build a staging site. If the rules survive the move to live, every visitor meets the password box, and a wrong answer returns 401.
A Security Plugin Guarding the Login Page
Many security plugins add a second lock to the login area. Some rename the login address. Some demand a shared password before the real form loads. Some limit who may reach it by address. Each of those can answer with a 401 when the extra check fails. The plugin is working as designed. It simply does not know you are the owner.
Credentials That No Longer Match
The simplest cause is also easy to miss. The password stored for your account may no longer be the one you are typing. A password reset, a database restore or a migration can all leave an old value in place. Saved browser passwords make this worse, because they fill in the old one for you. The server checks it, finds no match and refuses.
Broken Cookies and a Mismatched Site Address
WordPress keeps you signed in with a cookie. That cookie is tied to the exact domain that set it. If your stored site address uses www and the visitor arrives without it, the cookie does not match. The same happens when http and https are mixed. WordPress then treats you as a stranger, even though you just signed in.
A Missing or Stale Nonce
The editor talks to your site over an interface called the REST API. Each request carries a short one-time token called a nonce. The official REST API documentation is blunt about what happens without it. If no valid token arrives, the request is treated as coming from nobody at all, even while you are signed in. Tokens also expire, which is why a page left open overnight often fails to save.
A Rule That Demands a Login for Every Request
Site owners sometimes lock the whole REST API down. A snippet or a plugin can require a login for every single request. WordPress ships a documented way to do this. It returns an error code of rest_not_logged_in with a status of 401. That is fine for private sites. It breaks any part of your own site that reads data while signed out.
The Server Dropping the Authorization Header
Programs sign in with an application password. WordPress has supported these since version 5.6. The password travels in a header named Authorization. On some server setups that header is stripped before PHP sees it. WordPress then receives a request with no credentials at all, and answers 401. Nothing is wrong with the password itself.
A Cache Storing the Wrong Response
Caching layers save a copy of a page and serve it to everyone. They should never cache a signed-in page or an error page. Sometimes they do. A 401 answer meant for one visitor then gets handed to every visitor. The underlying problem may already be fixed while the stored copy keeps failing.
A Plugin or Theme Conflict
Plugins can hook into the sign-in process. Two-factor tools, single sign-on tools and membership tools all do. When two of them run together, one can undo the other’s work. The result is a login that looks accepted but is then rejected. A badly written theme function can cause the same thing.
How to Fix the 401 Unauthorized Error in WordPress (Step by Step)
Take these steps in order. They run from the quickest check to the deepest test. Reload the page or repeat the action after each one. Stop as soon as it works.
Take a full backup before you touch any file. Our guide on backing up WordPress with UpdraftPlus walks through it. If your host offers a staging site, make these changes there first. A staging site is a private copy of your live site, so mistakes cost you nothing.
Step 1: Remove the Password Box on the Folder
This step handles a server password on your folder or login file. It is the cause behind almost every grey pop-up box. Staging sites are the usual source, because the lock is added there and then forgotten.
Confirm it before you change anything. If you see a browser pop-up rather than a styled WordPress form, this is very likely your cause. Then look for the rules. Connect with your host’s file manager or an FTP app and open .htaccess in your site root. Check inside the wp-admin folder too, because a second file often lives there. Rules that read AuthType Basic, AuthUserFile or Require valid-user confirm it.
Copy the file to your computer before editing it, or work on staging. The safest fix is not in the file at all. Open your hosting panel and look for a directory privacy or password protection tool. Switch it off for the folder in question. That removes the rules cleanly and deletes the password file with them. If your host has no such tool, comment out each rule by adding a # at the start of the line. Leave the WordPress block between # BEGIN WordPress and # END WordPress alone.
Now close every browser window and open the site again. A fresh window matters here, because browsers remember basic passwords for the whole session. The pop-up should be gone. If you never found any such rules, this was not your cause, so move to Step 2.
Step 2: Turn Off Extra Login Protection in Your Security Plugin
This step handles a security plugin guarding the login area. Those tools add their own check before the real form. When the check fails, some of them answer with a 401 instead of a friendly message.
Confirm it by looking at where the error sits. If the public site loads fine and only the login address fails, a login guard is the likely cause. Open your site on a phone using mobile data. That gives you a different address, which bypasses most address-based limits. If the login page loads there, an address rule is blocking you.
Sign in from the working device and open your security plugin. Look for login protection, login lockdown or a renamed login address. Switch each extra layer off one at a time. Also check the lockout list and remove your own address. If you cannot get in at all, rename the plugin’s folder over FTP. Change wordfence to wordfence-off, for example. That disables it without deleting your settings. Our guide on setting up the All In One WP Security plugin shows where these options live in one popular tool.
Reload the login page on the network that failed. You should reach the normal form. Once you are in, turn the protection back on and add your own address to the allow list. If the login page still fails, put the plugin folder name back and go to Step 3.
Step 3: Reset Your Password and Confirm the Account
This step handles credentials that no longer match. It sounds obvious, but a stale saved password is a common cause. Browsers fill in the old value silently, so you never see what was sent.
Confirm it in under a minute. Open a private browsing window and type your password by hand. If it works there, your saved password was wrong. If the reset email never arrives, the account may hold an old address, or your site may not be sending mail at all. Our guide on fixing the mail function error in WordPress covers that case.
Use the lost password link on the login screen first. It is the safest route. If email is broken, you can set the password through your host’s database tool instead. Take a database backup before you edit anything there, because a wrong change can lock everyone out. Find the users table, edit your row, and set the password field using the MD5 function your database tool offers. WordPress upgrades that value to a stronger form the first time you sign in.
Now sign in with the new password. You should reach the dashboard. Update your saved browser password so the old one stops being offered. If a fresh password still returns 401, the problem is not your credentials, so move to Step 4.
Step 4: Match Your Site Address and Clear Your Cookies
This step handles broken cookies and a mismatched address. Your sign-in cookie is tied to one exact domain. If the address WordPress stores differs from the one you visit, the cookie is ignored and you look like a stranger.
Confirm it by comparing the two. In your dashboard, open the general settings and read the WordPress Address and the Site Address. Both should match what you type in the browser, letter for letter. Check the www choice and check that both use https. Then visit your site with and without www. If one version signs you in and the other does not, you have found your cause.
Fix the values in the general settings if you can reach them. If you cannot, set them in wp-config.php instead. Back that file up first, because a typo will take the whole site offline. Add these lines above the line that tells you to stop editing:
define( 'WP_HOME', 'https://example.com' );
define( 'WP_SITEURL', 'https://example.com' );
Use your own domain in place of the example. Then add a redirect so one version always wins. Finally, clear your cookies for the site. In most browsers this sits under privacy settings, where you can clear data for a single site.
Sign in again and click through a few dashboard pages. You should stay signed in. If you are still asked to sign in repeatedly, continue to Step 5, because a cache may be serving you an old page.
Step 5: Clear Every Cache Layer
This step handles a cache holding the wrong response. A stored 401 answer gets served to everyone who asks. That keeps the error alive long after the real cause is gone.
Confirm it with a simple comparison. Open the failing address in a private window. Then open it again with a harmless value added to the end, such as ?test=1. That unique address usually skips the cache. If the second one works and the first does not, a cached copy is your cause.
Clear the layers from the inside out. Start with your caching plugin and use its clear all option. Next clear your host’s own cache, which most panels expose as a single button. Then purge your delivery network, such as Cloudflare. Finally, check that your caching plugin is set to skip signed-in visitors. Nearly every plugin has that option, and it should stay on. Also make sure it never caches the login address or anything under /wp-json/.
Reload the page in a private window. It should load normally now. If the error came straight back on the very next request, the cause is still live, so go on to Step 6.
Step 6: Fix a Missing or Stale Nonce in the Editor
This step handles a missing or expired one-time token. The editor sends that token with every save. Without a valid one, WordPress treats the request as coming from nobody, and answers 401. That is why saving fails while reading works.
Confirm it in the editor. Try to save a post and watch for an update failed message. Open your browser tools, switch to the network tab and save again. Look for a request to an address containing /wp-json/. Click it and read the response. A body mentioning an invalid nonce, or a plain 401 status, confirms this cause.
The quick fix is a hard refresh of the editor page. Hold shift and click reload, then sign in again if asked. That fetches a fresh token. If it happens constantly rather than occasionally, look for a cache that is storing the editor page itself. Add the admin area to your cache exclusion list. Also check any plugin that changes the login session length, because a short session expires the token early. If you use a security plugin that blocks the interface for signed-out visitors, allow the editor’s own requests through.
Save the post again. It should go through without a warning. If you see a JSON response error rather than a 401, our guide on fixing the not a valid JSON response error covers that related case. Otherwise move to Step 7.
Step 7: Remove a Rule That Demands a Login for Every Request
This step handles a rule locking down the whole REST API. Someone may have added a snippet, or a plugin may have added it for you. Every request without a login then returns 401, including requests your own theme makes.
Confirm it by testing while signed out. Open a private window and visit your site with /wp-json/wp/v2/posts added to the end of the address. A healthy site returns a wall of raw text. A locked site returns a short message instead. If that message contains rest_not_logged_in, this rule is your cause.
Now find where it came from. Search your theme’s functions file and any code snippet plugin for rest_authentication_errors. That is the hook such rules use. Back up the file before editing, and use staging if you can. Comment the block out rather than deleting it, so you can put it back. If it came from a security plugin, look for a setting named something like restrict REST API access and turn it off. Keep in mind that some hardening plugins enable this quietly by default.
Visit that same address again in a private window. You should now see the raw text. Your editor and any connected apps should start working too. If the response was already healthy, this was not your cause, so continue to Step 8.
Step 8: Stop Your Server Dropping the Authorization Header
This step handles a stripped credential header. Programs sign in with an application password sent in the Authorization header. Some server setups remove that header before PHP reads it. WordPress then sees no credentials and answers 401, even though the password is correct.
Confirm it by comparing two routes into the same site. Sign in through the browser and load the dashboard. If that works, but a backup tool or app using an application password returns 401, the header is the suspect. First make sure the password itself is valid. Create a fresh one under your own user profile, in the application passwords section, and copy it exactly including the spaces. If a brand new password still fails, the header is being lost.
The official REST API questions page gives the fix for each server type. Back up .htaccess before you edit it. On Apache, add this above the WordPress block:
<IfModule mod_setenvif>
SetEnvIf Authorization "(.*)" HTTP_AUTHORIZATION=$1
</IfModule>
On Nginx you cannot fix this yourself. Ask your host to add fastcgi_pass_header Authorization; to your site settings. Also make sure the request uses https, because application passwords are meant for secure connections only.
Now retry the tool that failed. It should connect. If it still returns 401, ask your host whether a firewall is stripping or rewriting headers for your account. That is worth checking before you go further.
Step 9: Test for a Plugin or Theme Conflict
This step handles a conflict between plugins. Two-factor tools, single sign-on tools and membership tools all touch the sign-in process. When two of them overlap, one can undo the other’s work, and the sign-in fails after it looked accepted.
Confirm it with a clean test. Use a staging copy if you can, because visitors will notice on a live site. Turn off every plugin at once, then try to sign in. If it works, a plugin is your cause. If it still fails, switch to a default theme such as Twenty Twenty-Five and try again. If that fixes it, the theme is at fault.
Then narrow it down. Turn your plugins back on one at a time and test the sign-in after each one. The plugin that brings the error back is your answer. If you are locked out entirely, rename the plugins folder over FTP to plugins-off. That switches them all off in one move. Rename it back once you are in, then re-enable them one by one from the dashboard.
Once you know the culprit, check its settings before removing it. A two-factor tool with the wrong time settings is a common offender, and so is a login tool pointed at the wrong address. If the dashboard loads but shows nothing at all, our guide on the WordPress blank admin page issue picks up from there.
Best Practices to Prevent the 401 Unauthorized Error in Future
Each habit below closes off one of the causes above. Together they remove most of the risk, and none of them takes long.
Remove staging passwords before you go live. Add a step to your launch checklist for it. Check the site root and the wp-admin folder for leftover rules. This one habit prevents the most common 401 of all, and it takes thirty seconds.
Use application passwords for programs, not shared logins. WordPress has built these in since version 5.6. Give each tool its own password and name it clearly. You can then revoke one tool without touching the others. It also tells you instantly which tool broke when a 401 appears.
Keep one canonical site address. Pick www or no www, pick https, and redirect everything else to it. Make sure the general settings match that choice exactly. This prevents the cookie mismatch that silently signs people out.
Exclude signed-in visitors and the admin area from every cache. Check this setting after each caching plugin update, because updates sometimes reset it. Also exclude the login address and anything under /wp-json/. That stops a stored error page reaching other visitors.
Allow-list your own address in every security tool. Do it the day you install the plugin. Add your home address and your office address. Most login lockouts happen to the owner, not to an attacker.
Test every change on staging first. This covers plugin conflicts, theme conflicts and hardening rules in one habit. Sign in on the staging copy and save a post there before repeating anything live. Most hosts include staging at no extra cost.
Re-test your integrations after a host move. Migrations are where credential headers get dropped. Run your backup tool, your app and any connected site straight after the move. Finding it the same day is far easier than finding it a month later.
Keep WordPress, plugins and PHP current, and take backups. Old login and security plugins cause more conflicts than any other kind. Update on staging, then live. A tested backup is what makes every fix in this guide safe to attempt.
Conclusion
A 401 Unauthorized error is a question, not a rejection. The server is asking who you are. Something in the chain is either asking badly or losing your answer. Once you see it that way, the fix is a search for the layer doing the asking.
Start with the signs. A grey browser pop-up means the server layer is asking. A styled WordPress form means the block sits inside your site. A failure that hits programs but not people points at a lost header. Note whether the whole site fails or only the login area.
The causes are a short list. A server password box, a security plugin login guard, a stale password, a cookie and address mismatch, a missing one-time token, a rule locking the REST API, a stripped credential header, a bad cached response, or a plugin conflict. Every one has a fix above, in the order you should try them.
Work through the steps calmly. Back up before each file change, or use a staging copy. Retry the exact action that failed after every step. When it works, write down what fixed it, because the same cause tends to return.
Then close the door behind you. Clear staging passwords at launch. Use application passwords for tools. Keep one site address. Exclude signed-in visitors from your cache. If you also meet a flat refusal rather than a password prompt, our guide on how to fix the 403 Forbidden error in WordPress covers that closely related case.

James is an experienced WordPress and WooCommerce specialist with over 10 years of practical experience. At WPChatSupport, he creates clear guides that help website owners fix WordPress issues, improve speed, secure their sites, and manage WooCommerce stores with confidence. His expertise includes store setup, plugin configuration, theme customization, payment gateway integration, and website troubleshooting. Through simple and helpful content, James supports users in solving technical problems and following best practices for online business growth.