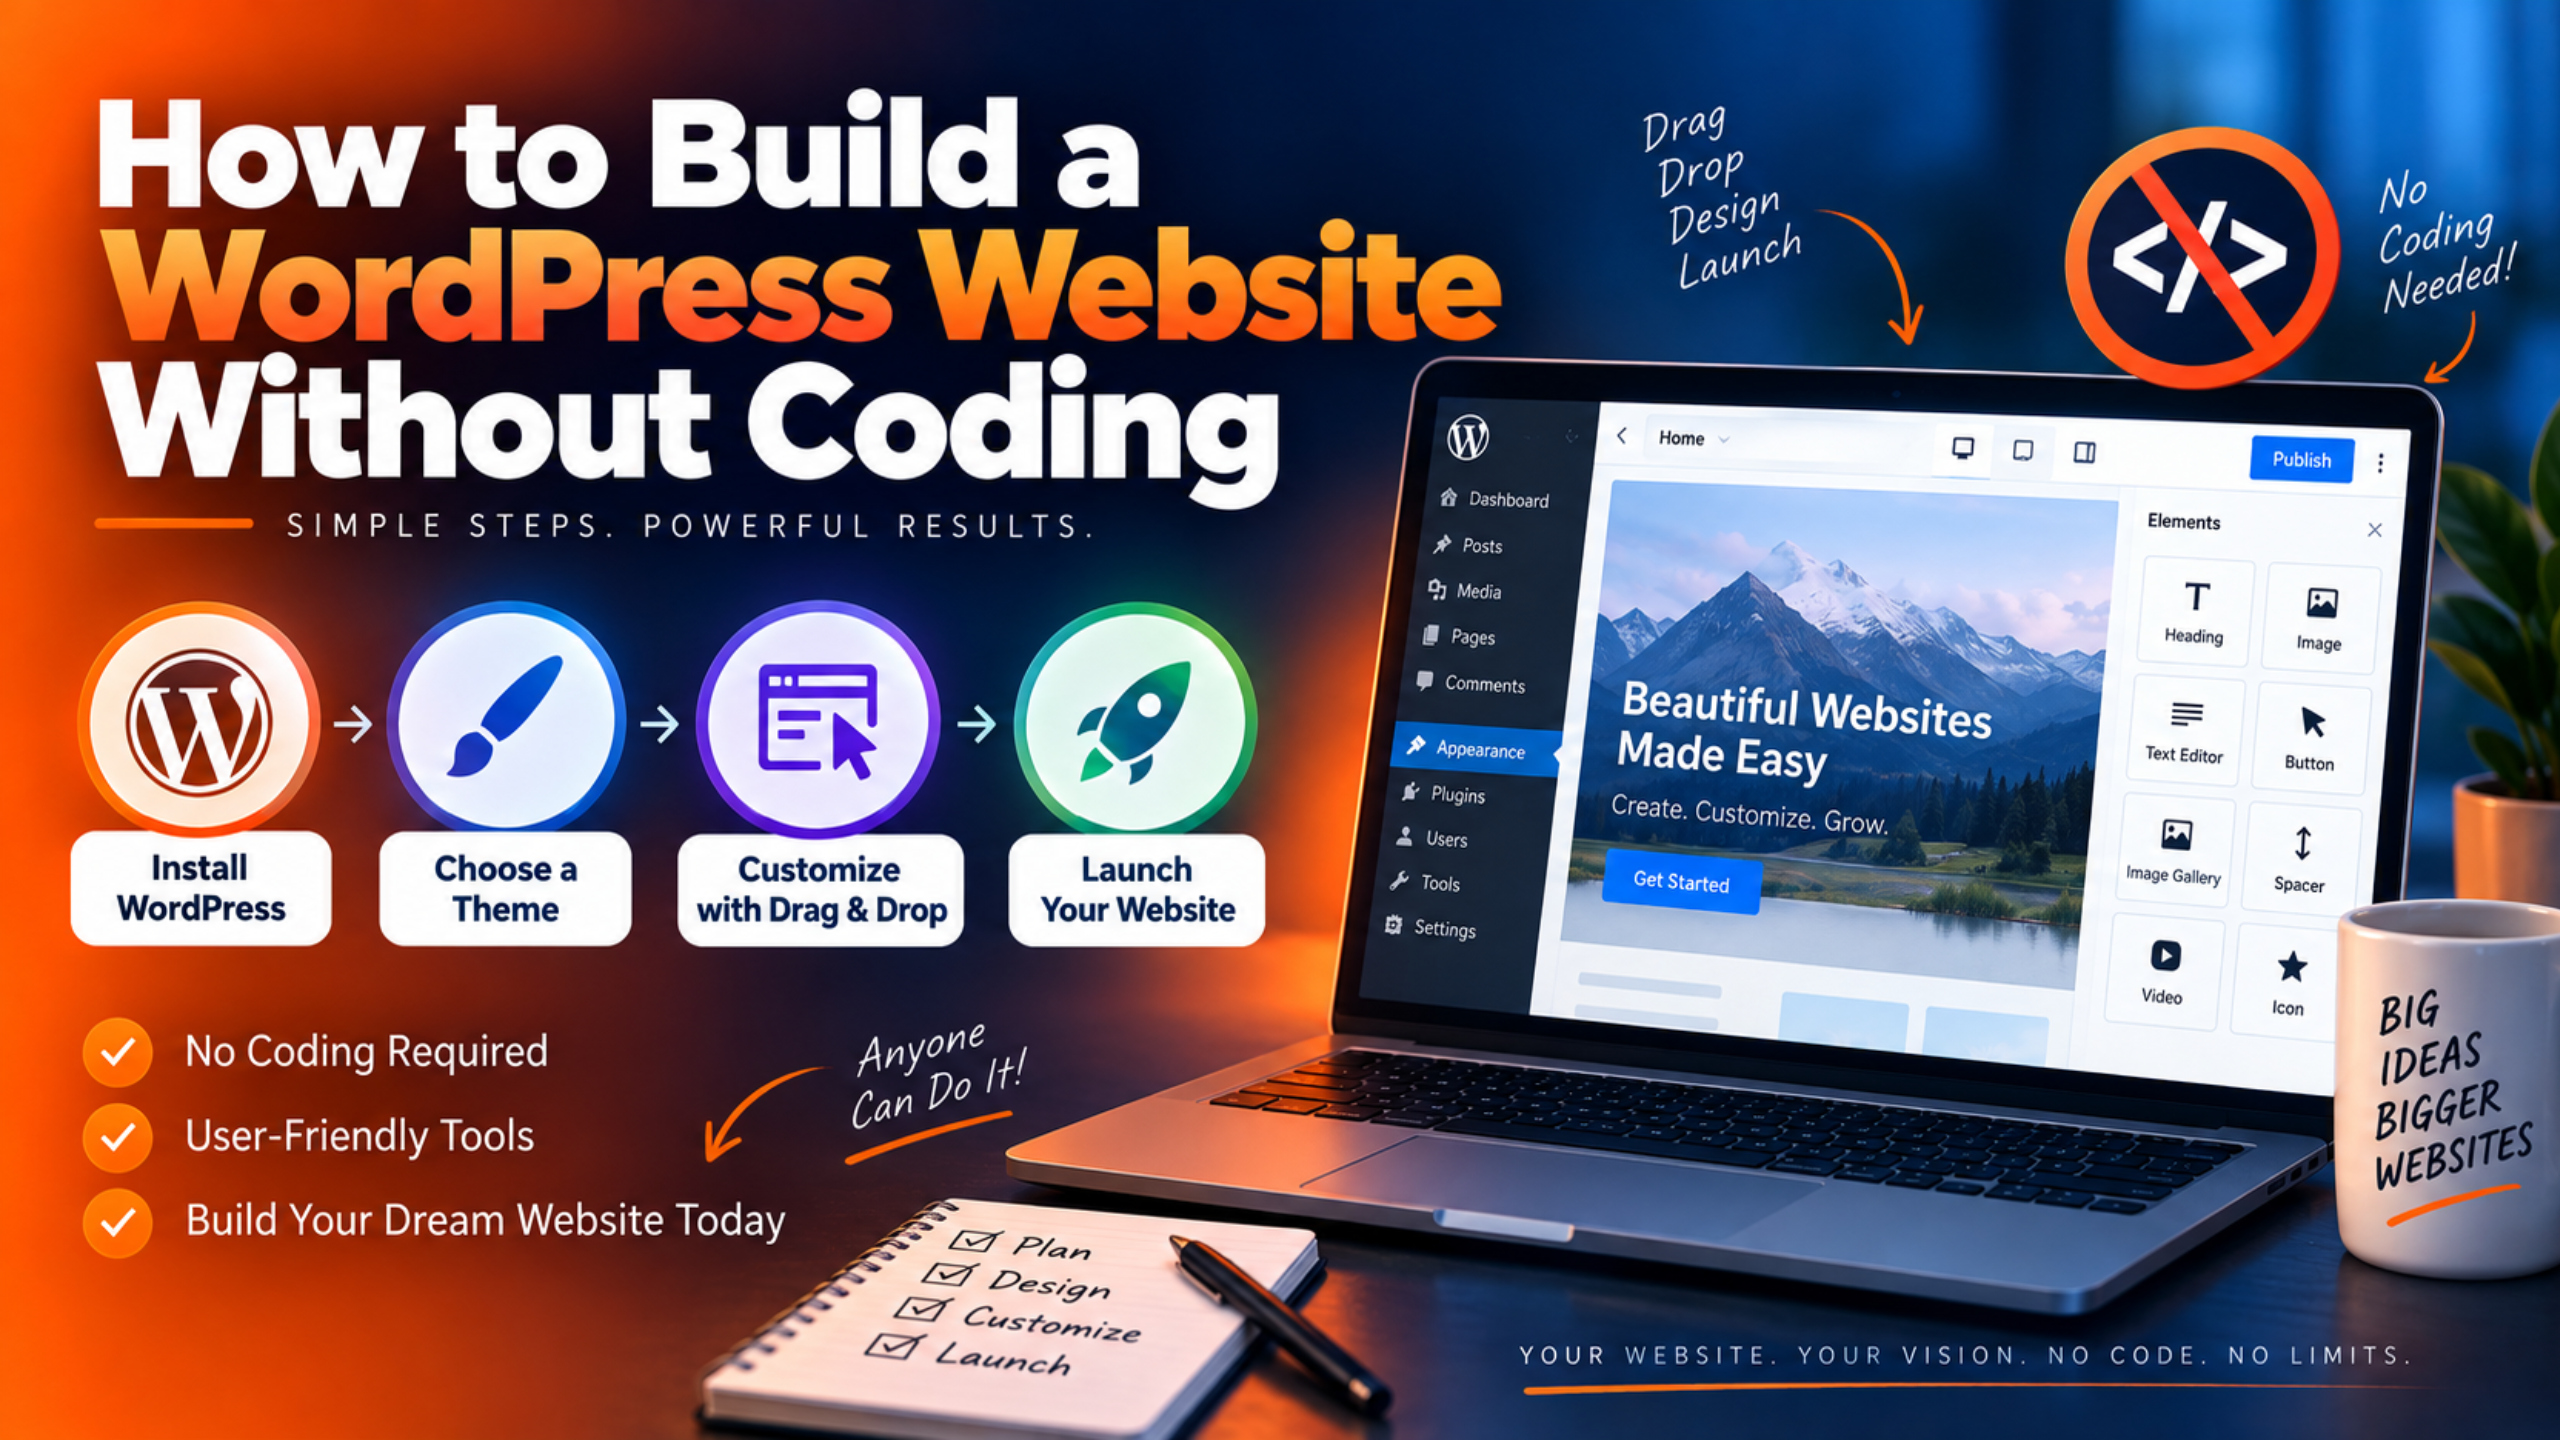
You want a website. You do not want to learn PHP. That is a completely reasonable place to start. WordPress powers a huge share of the web, and most of those sites were built without a single line of code. The tools have moved on a long way. You can now drag, drop, click and publish. This guide shows you how to build a WordPress website without coding, from an empty domain to a live page. It also shows you what to skip, because half the advice online is out of date.
Can You Really Build a WordPress Website Without Coding?
Yes, and not in a watered down way. A no code WordPress site can have a shop, a blog, a booking form and a members area. None of that needs you to open a code editor. The work is done by themes, plugins and visual editors.
WordPress splits cleanly into three parts. The core software runs the site. A theme controls how it looks. Plugins add features. You install all three from inside your dashboard. You then shape everything with visual controls, not files.
The change that made this possible was the block editor. WordPress content is now made of blocks. A paragraph is a block. So is an image, a button, a gallery and a product grid. You add blocks, drag them around and set their options in a sidebar. It works much like a slide deck.
There is one honest limit worth naming. No code does not mean no learning. You still have to learn the dashboard, the editor and a few settings. Budget a weekend, not an hour. After that, changes take minutes.
What You Need Before You Start
The shopping list is short. You need a domain name, hosting and about two hours of quiet. Everything else on this page is free or optional.
A domain name is your web address, like yoursite.com. You rent it yearly from a registrar. Hosting is the computer your site lives on. Those are two separate things, even when you buy them together.
Your host has to meet the WordPress requirements. WordPress recommends PHP 8.3 or newer. It also wants MariaDB 10.11 or MySQL 8.0 or newer. HTTPS is required for every install now, not optional. You can check the current list on the official WordPress requirements page.
You do not need design skills either. You do not need to buy a premium theme on day one. You also do not need ten plugins. Start small and add things when a real need appears. That habit alone will keep your site fast.
WordPress.com or WordPress.org: Which Should You Use?
This is the first fork in the road, and it confuses everyone. The two names look alike but work differently. Getting it wrong costs you a rebuild later.
WordPress.org is the free open source software. You download it, or your host installs it for you. You own the site fully. You can install any theme and any plugin. You handle updates, backups and security yourself, or pay someone to.
WordPress.com is a hosted service built on that software. Someone else runs the server for you. The free and cheap plans block plugin installs. That single limit rules out most no code page builders. Higher plans lift it, but by then the price is similar to normal hosting.
For a real business site, choose WordPress.org with your own hosting. You get every tool in this guide. Choose WordPress.com only if you want a simple blog with no maintenance. Our comparison of WordPress.com and WordPress.org support explains what changes when something breaks.
How to Build a WordPress Website Without Coding, Step by Step
Work through these steps in order. Each one builds on the last, and skipping ahead creates rework.
Step 1: Choose a Domain Name
Pick the name before anything else. It shapes your email address, your branding and your links. Changing it later is painful and costs you search rankings.
Keep it short and easy to say out loud. Two or three words is plenty. Avoid hyphens and numbers, because people mishear them on the phone. Avoid deliberate misspellings for the same reason.
Check the name is free as a social handle too. Consistency across channels is worth more than a clever word. Then check nobody holds a trademark on it in your country.
Buy it for at least two years and turn auto renew on. An expired domain takes your whole site offline. It also puts your name back on the open market. Turn on domain privacy while you are there.
Step 2: Choose Hosting That Meets the Requirements
Hosting is where most beginners overspend or underspend. The cheapest plans are slow and crowded. The most expensive are aimed at traffic you do not have yet.
Look for four things. It must run PHP 8.3 or newer. It must include a free SSL certificate. It must offer one click staging. It must take daily backups you can restore yourself.
Staging matters more than beginners expect. It is a private copy of your site for testing. You try updates there before touching the live site. Hosts that skip this feature are usually skipping other things too.
Ignore the unlimited claims in the marketing. Ask instead about PHP workers, memory limit and where the servers are. Pick a data centre near your customers. That one choice can halve your load time.
Step 3: Install WordPress
Nearly every host installs WordPress for you. Look for a WordPress installer or a one click install button in your hosting panel. The whole process takes a few minutes.
You will be asked for a site title, an admin username and a password. Do not use admin as the username. Bots try that name first on every site on the internet. Pick something unpredictable and let the password manager generate the password.
Use a real email address you check daily. Password resets and critical error notices go there. A typo here locks you out of your own site.
Once it finishes, log in at yoursite.com/wp-admin. You will land on the dashboard. Take a moment to look around before changing anything. The menu on the left is where everything lives.
Step 4: Set Up HTTPS and Permalinks
Two settings should be fixed on day one. Both are quick, and both are expensive to change later.
First, turn on HTTPS. Your host issues a free certificate, often automatically. Check your site loads with a padlock in the address bar. Then open the general settings in WordPress and confirm both address fields start with https. Without this, browsers warn visitors away.
Second, set your permalinks. A permalink is the shape of your page addresses. The default uses a question mark and a number, which helps nobody. Open the permalink settings and choose the post name option. Your links then read like yoursite.com/about-us.
Do this before you publish pages. Changing the structure later breaks every existing link. If you have already published, our guide on how to set up and fix permalinks in WordPress covers the safe way to change them.
Step 5: Choose a Theme You Can Edit Visually
Your theme decides your layout, fonts and colours. Choose one you can edit without code. That rules out a surprising number of older themes.
Look for a block theme. Block themes let you edit headers, footers and templates visually. The current default theme is Twenty Twenty-Five, and it is a block theme. There is no Twenty Twenty-Six, because WordPress skipped a year. Twenty Twenty-Five is still the theme you get on a fresh install.
Browse themes from Appearance in your dashboard. Filter by block themes if the option is there. Kadence, Astra, Blocksy and GeneratePress are popular free starting points. Install one, preview it, and only then activate it.
Avoid themes that lock your content into their own shortcodes. If you switch away, your pages fall apart. A plain block theme keeps your content portable. That is worth more than any bundled demo.
Step 6: Pick the Site Editor or a Page Builder
You now have two visual routes. Both work without code. Picking one and sticking to it keeps your site consistent.
The Site Editor is built into WordPress. You reach it from Appearance, then Editor, with a block theme active. You can edit the header, footer, page templates, colours and fonts there. The official Site Editor documentation walks through each panel. It is free, fast and adds nothing extra to your page weight. It is also stricter, and complex layouts take more patience.
A page builder is a plugin that replaces the editing screen. Elementor is the best known and sits on over ten million sites. Beaver Builder is another long standing option. Builders give you fine control over spacing, columns and effects. They are easier for pixel level design work.
The trade is weight and lock in. Builders load extra CSS and JavaScript on every page. They also store layouts in their own format. Leaving a builder later means rebuilding pages.
There is a middle path many people prefer. Stay with the Site Editor and add a block library. Spectra and Kadence Blocks both add advanced blocks to the normal editor. You get more layout options without a second system.
Step 7: Build Your Core Pages
Now make the pages themselves. Start with the five most sites need. Home, About, Services or Shop, Contact and Privacy Policy.
Create each one from the Pages screen. Give it a clear title. Then build the content with blocks. Use a heading block for each section title. Use a columns block to place text beside an image. Use a cover block for a large banner with text on top.
Write the words before you fuss over design. Empty boxes tempt you into decoration. Real content shows you what the page actually needs. Many sections you planned turn out to be unnecessary.
Save a page as a draft and preview it as you go. Preview on a phone as well as a desktop. Most visitors will arrive on a phone. A layout that only works on a wide screen is half a layout.
Step 8: Set Your Homepage and Menu
WordPress shows your latest posts on the homepage by default. Most business sites want a fixed page instead. That is a two minute change.
Open the reading settings in WordPress. Switch the homepage display to a static page. Choose your Home page in the first dropdown. If you want a blog, create an empty page called Blog and choose it in the second dropdown. Your posts then appear there.
Next, build the menu. With a block theme you edit the navigation block inside the Site Editor. Click the header, select the navigation block and add your pages. Keep it to five or six items. A long menu hides your important pages rather than showing them.
Add a footer menu too. Privacy policy, terms and contact belong there rather than in the main menu. Then click through every link on the live preview. A menu item pointing at a draft page is a dead end.
Step 9: Add a Contact Form
Never publish a bare email address on a page. Bots harvest it within days. A form gives visitors a simple way to reach you and keeps your inbox cleaner.
Install a form plugin from the Plugins screen. WPForms, Fluent Forms, Contact Form 7 and Forminator all have free versions. Build a short form with name, email and message. Then place it on your contact page with the block or shortcode the plugin gives you.
Test it before you trust it. Send yourself a real message from a logged out browser. WordPress mail often fails silently on shared hosting. Install WP Mail SMTP and connect a proper sending service to fix that.
If enquiries become a real workload, upgrade the process later. You can connect a WordPress contact form to a help desk so each message becomes a tracked ticket. That is a step for month three, not day one.
Step 10: Install Only the Plugins You Need
Plugins are where no code sites go wrong. Every plugin adds code, queries and another thing to update. Ten well chosen plugins are fine. Forty random ones are a slow, fragile site.
Start with four categories. One SEO plugin, one form plugin, one backup plugin and one security plugin. Add a caching plugin if your host does not handle it. Add WooCommerce only if you genuinely sell something.
Check three things before installing anything. Look at the active install count. Look at the date of the last update. Look at whether it is tested with your WordPress version. A plugin untouched for two years is a risk, however good the reviews are.
Delete what you do not use. Deactivating is not enough, because the files stay on your server. Deleting removes that attack surface completely. Do this review every few months.
Step 11: Set Up the SEO Basics
Search engines need help understanding your pages. An SEO plugin gives you the controls without code. Yoast SEO and Rank Math are the two common choices, and both have free versions.
Install one and run its setup wizard. Then do three things on every page. Write a page title of roughly sixty characters. Write a meta description of about one hundred and fifty characters. Set one clear focus topic for the page.
Check your site is visible to search engines. Open the reading settings and confirm the box discouraging search engines is unticked. Installers sometimes leave it ticked. That single checkbox can hide your site for months.
Then submit your sitemap to Google Search Console. Your SEO plugin creates the sitemap for you. Search Console is free and shows you what Google actually sees. It is the only honest feedback you will get early on.
Step 12: Add Backups and Security
Do this before you launch, not after your first scare. A backup you have never tested is not a backup.
Install a backup plugin such as UpdraftPlus. Set it to run weekly, or daily if you publish often. Send the files to an off site location like Google Drive or Dropbox. A backup stored only on the same server dies with the server. Our guide to backing up WordPress with UpdraftPlus walks through the settings.
Then add basic security. A security plugin gives you a firewall, login limits and file scanning. Wordfence and All In One WP Security are widely used free options. Our setup guide for the All In One WP Security plugin covers a sensible starting configuration.
Add two factor login for every admin account. Use strong unique passwords from a password manager. Then restore one backup to your staging site. That proves the backup works while the stakes are low.
Step 13: Test on Mobile and Check Speed
Your site is not finished when it looks right on your laptop. Most visitors will be on a phone with a weaker connection.
Open every page on a real phone. Check the text is readable without pinching. Check buttons are big enough to tap. Check no image runs off the side of the screen. Then check your menu opens and closes properly.
Next, test the speed. Run your homepage through PageSpeed Insights or GTmetrix. Look at the largest contentful paint figure first. Anything under two and a half seconds is healthy.
Most slow no code sites share the same three causes. Huge uncompressed images, too many plugins, and a heavy page builder. Resize images before you upload them. Use modern formats like WebP. Our guide on fixing page speed issues in WordPress goes through the rest.
Step 14: Launch and Keep It Maintained
Launch day is a checklist, not a leap of faith. Work through it calmly.
Confirm every page loads over HTTPS. Confirm the contact form still sends. Confirm search engines are no longer discouraged. Confirm your backup ran this week. Then remove any placeholder text the theme left behind.
After launch, the job becomes maintenance. Update plugins, themes and core regularly. Test updates on staging first when you can. Check your backups actually ran. Review your forms monthly to be sure they still deliver.
Set a reminder for this. Fifteen minutes a month prevents almost every emergency. A site that is never updated is the single easiest target on the web.
Site Editor or Page Builder: A Closer Look
This choice shapes how you work for years. It is worth a little more detail than a step allows.
Choose the Site Editor if speed and independence matter most. It ships with WordPress, so there is nothing extra to load. Your layouts are stored as normal block markup. Switching themes later is far less painful. It suits blogs, brochure sites and service businesses well.
Choose a page builder if design control matters most. You get precise spacing, custom breakpoints and richer effects. Elementor and Beaver Builder both offer template libraries to start from. This suits landing pages and marketing sites with strong visual demands.
Do not run both on the same site. Some pages in one system and some in another is a maintenance trap. Styles clash and nobody can remember which page uses what. Pick one and be consistent.
If you are unsure, start with the Site Editor. Add Spectra or Kadence Blocks if you hit a wall. That combination covers most needs and keeps your pages light. You can always move up to a builder later.
Mistakes Beginners Make When Building Without Code
Almost every new site hits the same handful of problems. Knowing them in advance saves weeks.
The first is plugin sprawl. A plugin for every small wish adds up fast. Each one slows the site and adds an update to track. Ask whether your theme or the block editor already does the job.
The second is uploading giant images. A photo straight from a phone can be several megabytes. Ten of those on a homepage is a very slow page. Resize to the width you actually display, then compress.
The third is building on the live site. Every experiment is visible to visitors and to search engines. Use staging for anything bigger than a text change.
The fourth is skipping the content. People spend days choosing fonts and an hour writing. Visitors come for the words, not the spacing. Write first, design second.
The fifth is ignoring updates after launch. Sites are not finished objects. Plugins get security fixes every week. An unpatched site is a hacked site waiting to happen.
Frequently Asked Questions
How long does it take to build a WordPress site without coding?
A simple five page site takes a weekend for a beginner. Most of that time goes on writing content and choosing a theme. The technical setup is usually under two hours. A shop takes longer, because products, payments and shipping all need attention. Set aside a week for a small online store.
How much does it cost?
The software itself is free. You pay for a domain and hosting, which are the two fixed costs. A domain is modest each year. Decent shared hosting costs a small monthly fee. Everything in this guide can be done with free themes and free plugins, so premium tools are a choice, not a requirement.
Do I need a page builder like Elementor?
No. The built in Site Editor handles most sites well. A builder helps when you want precise control over spacing and effects. It also adds weight to every page and locks your layouts into its own format. Try the Site Editor with a block library first, and only move up if you hit a real limit.
Can I sell products without coding?
Yes. WooCommerce is a free plugin that turns WordPress into a shop. It handles products, carts, tax and shipping through normal settings screens. Payment providers connect through their own plugins. You will need to write product descriptions and set up shipping rules, but none of it involves code.
Can I change my theme later without losing content?
Your pages and posts stay safe, because they live in the database, not the theme. What changes is the design, and sometimes the layout. Content built with a page builder is the exception, since it depends on that plugin. Always test a theme change on staging before doing it live.
What happens when something breaks?
Restore your most recent backup first, then work out the cause. The usual trigger is a plugin or theme update. Deactivate plugins one at a time on staging to find the culprit. If you are locked out or out of your depth, our guide on how to get WordPress support lists the options.
Conclusion
You can build a real WordPress website without writing code. The block editor, block themes and visual builders have made that normal. What you need is a domain, decent hosting and a clear order of work.
Start by choosing WordPress.org with your own hosting. Fix HTTPS and permalinks on day one. Pick a block theme you can edit visually. Then choose either the Site Editor or a page builder, and stay with it. Build your core pages, set the homepage, and add a short contact form.
Keep your plugin list short and deliberate. Set up SEO basics, backups and security before you launch, not after. Test every page on a phone and check your load time. Then walk your launch checklist calmly.
After that, the work is small and regular. Update, test, back up and review your forms. Fifteen minutes a month keeps the whole thing healthy. Build it carefully once and it will serve you for years.
James is an experienced WordPress and WooCommerce specialist with over 10 years of practical experience. At WPChatSupport, he creates clear guides that help website owners fix WordPress issues, improve speed, secure their sites, and manage WooCommerce stores with confidence. His expertise includes store setup, plugin configuration, theme customization, payment gateway integration, and website troubleshooting. Through simple and helpful content, James supports users in solving technical problems and following best practices for online business growth.