Introduction
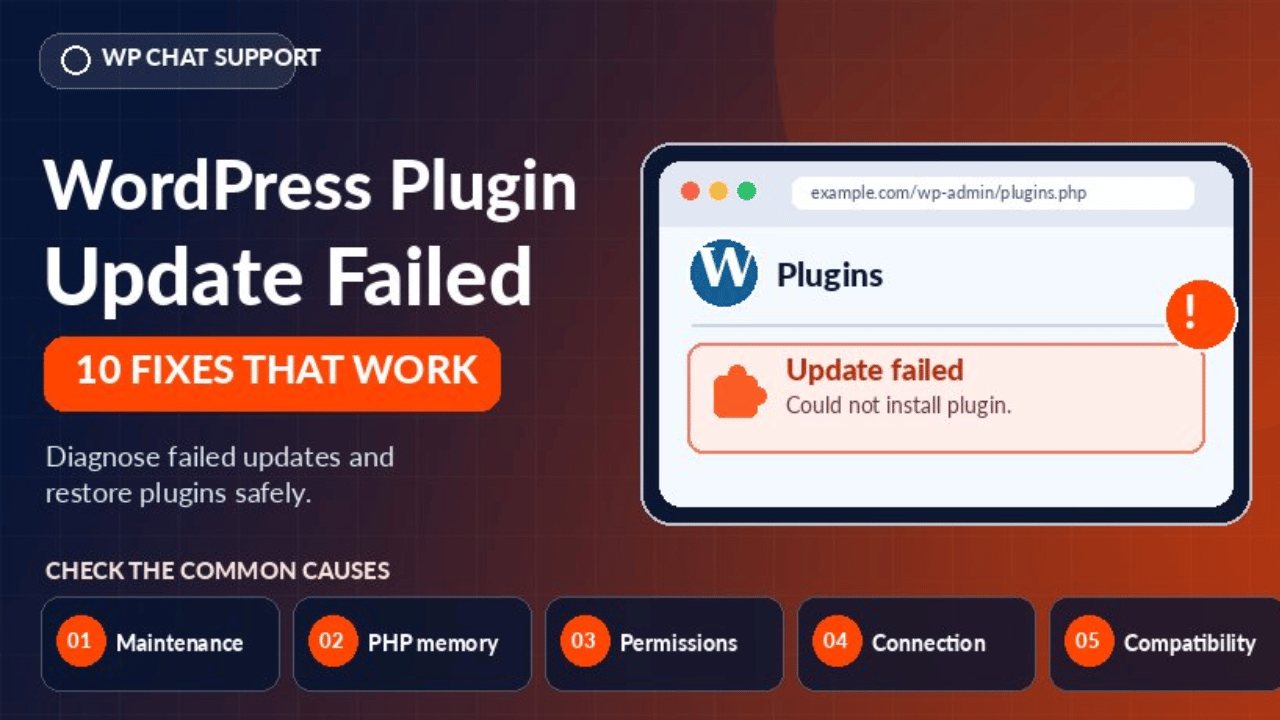
You click the update button and wait. Then WordPress shows a red message. The update failed. Your plugin is still on the old version, and you do not know why. Sometimes the site even gets stuck in a maintenance message, and visitors see nothing at all.
A failed plugin update matters for more than looks. Plugins get updates to fix security holes and bugs. An old version leaves your store or blog open to attack and to errors. A half-finished update can also leave a plugin broken, with missing files.
The problem often appears after a change on the server. You may have moved hosts, changed file permissions, switched on a firewall, or added a security plugin. It can also happen when your site is busy, when the disk is nearly full, or when the plugin needs a newer version of PHP.
This guide explains how to find the real cause and fix it. You will learn the signs, the common causes, and ten fix steps. Each step shows you how to check if it fits your case before you change anything. You will also learn habits that keep updates working. If your problem is a failed core update instead, read our guide on fixing a failed automated WordPress update.
Signs That Show a WordPress Plugin Update Failed
The clearest sign is a red message after you click update. Read it closely. The exact words matter, because each message points to a different cause. Common examples are Update failed, Could not create directory, Download failed, and The plugin could not be updated.
Another sign is the maintenance message. Your site may show a line saying it is briefly unavailable for scheduled maintenance. If that message stays for many minutes, the update stopped halfway and left the site locked.
Some updates seem to run forever. The progress spinner turns, but nothing finishes. The page may end with a white screen or a timeout error. In that case the server probably stopped the process before the work was done.
You may also see the plugin vanish or break. After a failed update, the plugin might show as missing, or it might throw an error on activation. Sometimes the plugin list still shows an update waiting, even though you ran it many times. Finally, check Site Health in your dashboard. It may show warnings such as a failed connection to WordPress.org, or a folder that is not writable.
Reasons Why a WordPress Plugin Update Fails
Each cause below has a matching step in the fix section. Find the one closest to your error message, then jump to that step.
The site may be stuck in maintenance mode. During an update, WordPress puts the site into maintenance mode by creating a small file named .maintenance in the main folder. When the update ends, WordPress removes the file. If the process dies halfway, the file stays and your site keeps showing the maintenance message. Later updates may also fail.
The server may run out of time or memory. Updating a large plugin means downloading, unzipping, and copying many files. WordPress has a default memory limit for this work. The wp-config documentation says the default is 40MB on a single site. The server also has a time limit for each request. If either limit is too low, the update stops before it ends.
The disk may be full. The update needs room to download the zip file, unpack it, and keep a backup copy. If your hosting account is at its storage limit, any of these steps can fail. The error may look like a permission problem, which makes the real cause hard to see.
File permissions or ownership may be wrong. WordPress must be allowed to write to the plugins folder. The WordPress documentation explains that if the web server does not own the files, or lacks write access, updates can fail or ask for FTP details. Messages such as Could not create directory and Could not copy file usually point here.
A leftover or damaged folder may block the update. If an earlier update stopped halfway, a partial plugin folder or a temporary upgrade folder may remain. WordPress then cannot remove the old plugin or write the new one. The error often says it could not remove the old plugin.
The server may not reach WordPress.org. Updates for free plugins download from WordPress.org. A firewall, a host rule, or a blocked outgoing request can stop that download. Site Health can even warn about this. The result is a Download failed error or a timeout message.
A paid plugin may have a license problem. Premium plugins do not update from WordPress.org. They check a license with the vendor. If the license has expired, the key is missing, or the vendor server cannot be reached, the update shows as unavailable or fails.
The plugin may not suit your server. A plugin can need a newer version of PHP or WordPress than you run. If your site is too old, the update can be blocked or can cause an error after it installs. A new plugin version may also clash with another plugin or your theme.
Your own settings may block updates. A constant in wp-config.php can turn off updates and file changes from the dashboard. A security plugin or host rule can do the same, or can block the update request as if it were an attack. In both cases the update never has a chance to run.
Last, the one-click method itself may not work on your server. Some setups cannot write files from the dashboard at all. For these sites, a manual update is the dependable route.
How to Fix a WordPress Plugin Update Failed Error (Step by Step)
Work through the steps in order. They start with the easiest, safest checks. Take a full backup of your files and database before you begin. If you can, try risky changes on a staging copy first. After each step, try the update again. If it works, you can stop.
Step 1: Remove a Stuck Maintenance Mode File
This step fixes the stuck maintenance cause. If your site shows a maintenance message that will not go away, the leftover file is the problem. To confirm, wait a few minutes first, because a large update may still be running. If the message is still there after five to ten minutes, the file is stuck.
Open your hosting file manager or an SFTP program. Go to the main WordPress folder, the one that holds wp-config.php. Look for a file named .maintenance. Hidden files may not show, so turn on the option to show hidden files. A healthy site does not have this file.
Take a backup first. Then delete the .maintenance file and nothing else. To verify, reload your site. The maintenance message should be gone. Then log in to the dashboard and check the plugin. It may be half updated, so go on to run the update again. If the same error returns, move to Step 2.
Step 2: Raise the Memory Limit and Time Limit
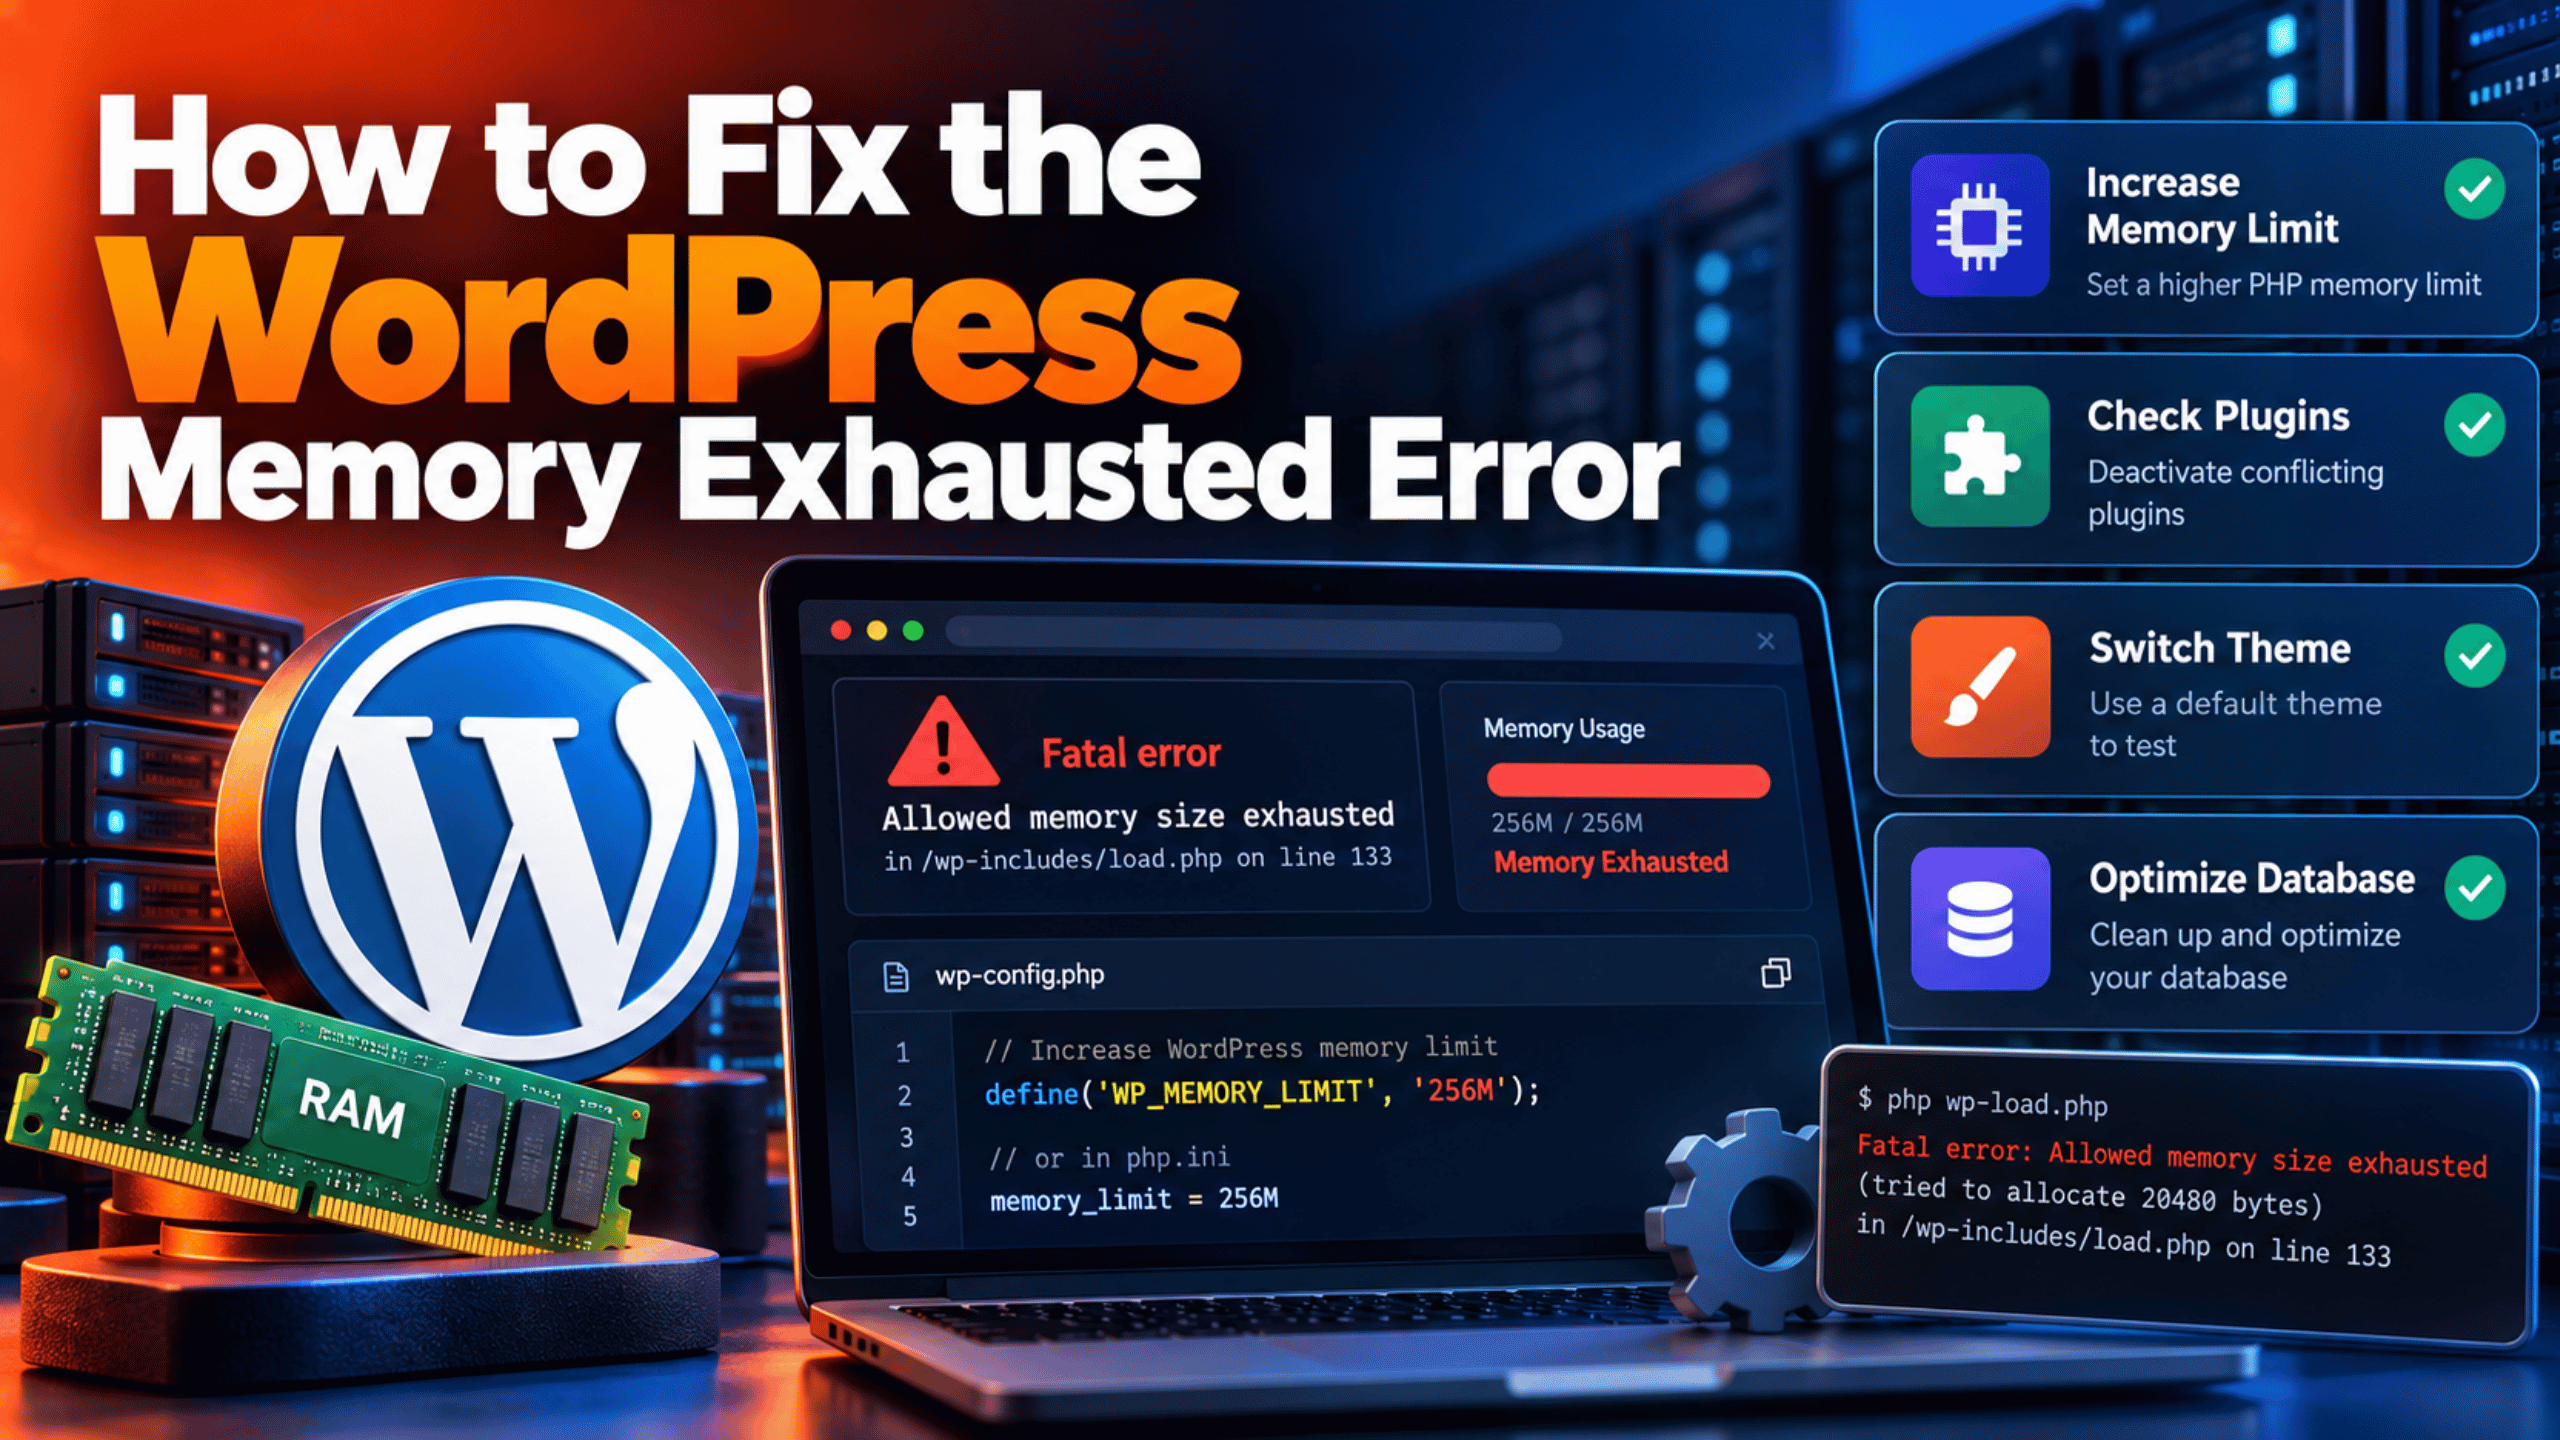
This step fixes the memory and timeout cause. To check, look at Site Health. Open the Info tab and expand the server section, where you can see the PHP memory limit and the maximum execution time. A memory limit under 128MB or a short execution time can cut a large update short. If the update stops with a white screen or timeout, this is likely your cause. Our guide on the WordPress memory exhausted error covers this in detail.
Take a backup before you edit wp-config.php, because a typing mistake in this file can take your site offline. Open the file and add a line above the comment that says stop editing. A common example is:
define( 'WP_MEMORY_LIMIT', '256M' );Your host may cap memory no matter what you set. If the change has no effect, ask your host to raise the PHP memory and time limits. Our guide on the maximum execution time exceeded error shows the time limit side.
To verify, return to Site Health, check the new values, and run the update again. If it still fails, go to Step 3.
Step 3: Free Up Disk Space
This step fixes the full disk cause. To check, open your hosting dashboard and look at storage usage. If usage is near the limit of your plan, the update may fail while writing files. A healthy account has comfortable free space, well above the size of the plugin.
Look for large items you can safely remove. Old backup files, large log files, and unused plugins and themes often take the most room. Do not delete anything unless you know what it is. Back up your site, and download any backup file before you remove it from the server.
Delete only what you are sure about. Remove unused plugins and themes from the dashboard instead of deleting folders by hand. Clear old backup archives and cache folders through their own plugin settings. If your plan is too small, ask your host to raise the limit.
To verify, check storage usage again and run the update. If the error changes to a permission message, go to Step 4.
Step 4: Check File Permissions and Ownership
This step fixes the permission cause. Messages such as Could not create directory or Could not copy file point here. To check, open Site Health, go to the Info tab, and open the filesystem permissions section. It shows whether WordPress can write to the main folder, the wp-content folder, the uploads folder, the plugins folder, and the themes folder. If any say not writable, you have found the problem.
WordPress documentation explains that files should be owned by your own account, not by a web server account in a way that blocks WordPress. It also warns against setting folders to 777, because that opens them to everyone. If WordPress cannot write, it may ask for FTP credentials during an update, which is another sign.
Take a backup first. Wrong permission changes can lock you out of your own site. Then ask your host to correct the ownership and permissions on the wp-content folder. If you handle this yourself, the documentation suggests directories at 755 and files at 644 on typical shared hosting. Do not use 777 at any point.
To verify, return to Site Health and check that the folders now show as writable. Then run the update again. If the error still says it could not remove the old plugin, go on to Step 5.
Step 5: Clear a Damaged Plugin or Upgrade Folder
This step fixes the leftover folder cause. To check, look in the wp-content folder with your file manager. If you see a folder named upgrade that holds old files, a past update may have stopped there. Also open the plugins folder. A plugin folder that looks half empty, or has a strange extra name, can block a new update.
Take a full backup before you change anything in the plugins folder. A wrong delete can remove plugin settings files or custom code. Make sure you have a copy of any custom plugin edits.
First, empty the contents of the upgrade folder, but keep the folder itself. Next, rename the damaged plugin folder, for example by adding the word old to the end. This deactivates the plugin. Then install a fresh copy from the Plugins screen. Your settings are usually stored in the database, so most plugins keep them. If you are unsure, export the settings first, if the plugin offers it.
To verify, check that the plugin appears in the list with the new version number and activates without errors. If the plugin works, you can delete the renamed old folder later. If downloads are still failing, go to Step 6. If the plugin also causes a critical error, see our guide on the WordPress critical error.
Step 6: Test the Connection to WordPress.org
This step fixes the blocked connection cause. To check, open Site Health and look at the Status tab. A message about not reaching WordPress.org means your server cannot download updates. A Download failed error on a free plugin shows the same thing.
Also check the Site Health warning about background updates and about loopback requests. A loopback is a request your site makes to itself, and failures here point to a firewall or host rule. Look in your wp-config.php file for a setting that blocks external requests. Site Health lists this as a critical issue when it is on.
To fix it, ask your host if outgoing connections to WordPress.org are allowed. Many hosts allow them by default, but a firewall rule may block them. Check your security plugin or firewall for a rule that blocks outgoing requests. Take a backup before you change any security or firewall setting.
To verify, return to Site Health and see if the warning has gone. Then run the update again. If the error persists, and the plugin is a paid one, go to Step 7.
Step 7: Fix a Premium Plugin License
This step fixes the license cause. To check, see if the failing plugin is a paid one. If it is, open its settings page and look for a license section. An expired or missing key is a common cause. The plugin may show a message that the license is invalid, or the update may not appear at all.
Log in to the account on the vendor website. Check that your license is active and that it covers this site address. Some licenses cover only one site. If you moved your site to a new address, you may need to switch the license to the new one.
To fix it, enter the license key again in the plugin settings, save, and press the button to check for updates. Take a backup before you update a premium plugin, because vendors may change many files. If the vendor server is not reachable, try again later, or contact vendor support.
To verify, return to the Plugins screen and check that the update is offered. Run it and check the version. If the license is fine and the update still fails, go to Step 8.
Step 8: Check Version Compatibility and Conflicts
This step fixes the compatibility and conflict cause. To check, open the plugin details on the Plugins screen or on its WordPress.org page. Look for the required versions of WordPress and PHP. Then compare them with your own versions on the Site Health Info tab. If your versions are lower, the update may be blocked or may break your site.
A plugin conflict can also stop an update, or can cause errors after it. To test, use a staging site, not your live site. Deactivate other plugins and update again. If the update works, turn plugins back on one at a time to find the one that clashes. Our guide on how to find a WordPress plugin conflict walks through this method.
If your PHP version is too low, ask your host to raise it, but first check that your other plugins and your theme support the newer version. Take a backup before any version change. If your WordPress version is old, update WordPress first, then the plugin.
To verify, run the update and check that the site still loads and the plugin works. If everything passes, you are done. If updates are still blocked, go to Step 9.
Step 9: Check for Settings That Block Updates
This step fixes the blocked-by-settings cause. To check, open wp-config.php and look for a line that sets DISALLOW_FILE_MODS to true. The documentation says this blocks plugin and theme installs and updates from the dashboard. If this line is there, WordPress will never run the update from the admin area.
Also check your security plugin and your host settings. Some tools block file changes, lock the plugins folder, or stop admin requests that look odd. Look for an option such as file change protection or admin lockdown.
Take a backup before you edit wp-config.php. If the constant is there on purpose, because your host or developer manages updates, ask them first. If it is not needed, change the value to false or remove the line. If a security plugin is blocking updates, switch off that one rule for a short time and run the update.
Turn the rule back on after the update, so the site stays safe. To verify, reload the Plugins screen. The update button should now work, and the update should finish. If it still fails, use Step 10.
Step 10: Update the Plugin Manually
This step fixes the case where the one-click method does not work on your server. Use it when none of the earlier steps helped, or when you want a quick workaround. To check, confirm that you can reach your files through a file manager or SFTP. Then check the plugin page on WordPress.org for the newest version number.
Take a full backup of your files and database first. Download the new plugin zip from the WordPress.org plugin page, or from your vendor account for a paid plugin. Unzip it on your computer. Using your file manager or SFTP, go to the plugins folder inside wp-content.
Rename the existing plugin folder, for example by adding the word old. This also deactivates the plugin. Upload the new folder. Then open the Plugins screen in your dashboard and activate the plugin. Your settings should be intact because they live in the database.
To verify, check the version number on the Plugins screen, and test the main features of the plugin. If all works, delete the renamed old folder. If the site shows an error after activation, rename the new folder and restore the old one, then ask the plugin author for help.
Best Practices to Prevent WordPress Plugin Update Failures in Future
Each habit below stops one or more of the causes above. Together they make updates routine and safe.
Back up before every update. A recent backup lets you undo any broken update in minutes. Use a tool that saves both files and the database, such as the one in our guide on backing up WordPress with UpdraftPlus. This guards against every cause in this guide.
Test updates on a staging site. A staging copy shows conflicts and version problems before they reach visitors. Update one plugin at a time, so you know which one caused trouble. Read the changelog for big changes.
Keep your server healthy. Set a sensible memory limit, keep some free disk space, and watch your storage usage. Keep PHP on a version your plugins support. Run Site Health once a month and fix warnings about file permissions and blocked connections.
Keep file permissions correct. Do not use 777. Ask your host to confirm correct ownership after a move or a restore. Keep your licenses for paid plugins current, and note their renewal dates.
Review security tools and constants. Know which rules in your security plugin can block updates. Write down why any constant in wp-config.php is set. Remove plugins you no longer use, so there are fewer updates to run. Update during quiet hours, when fewer visitors are on the site, so a stuck maintenance message affects fewer people. If your CSS edits ever fail to show after an update, our guide on fixing WordPress CSS changes that are not showing can help.
Conclusion
A failed plugin update is stressful, but it is almost always fixable. The signs include a red error message, a stuck maintenance screen, a spinner that never ends, or a plugin that vanishes after the update. Reading the exact message tells you where to look.
The main causes are a stuck maintenance file, low memory or time limits, a full disk, wrong file permissions, a damaged plugin or upgrade folder, a blocked connection to WordPress.org, an invalid license, version and conflict problems, settings that block updates, and servers that cannot run one-click updates.
The fix process runs from simple to deep. Remove the maintenance file, raise limits, free space, correct permissions, clear damaged folders, test the connection, check the license, test compatibility, review blocking settings, and finally update by hand. Take a backup before any step that touches files or settings.
To prevent trouble, keep backups, test on staging, keep your server healthy, and review security rules. With these habits, your next update will finish without drama.
James is an experienced WordPress and WooCommerce specialist with over 10 years of practical experience. At WPChatSupport, he creates clear guides that help website owners fix WordPress issues, improve speed, secure their sites, and manage WooCommerce stores with confidence. His expertise includes store setup, plugin configuration, theme customization, payment gateway integration, and website troubleshooting. Through simple and helpful content, James supports users in solving technical problems and following best practices for online business growth.