Introduction
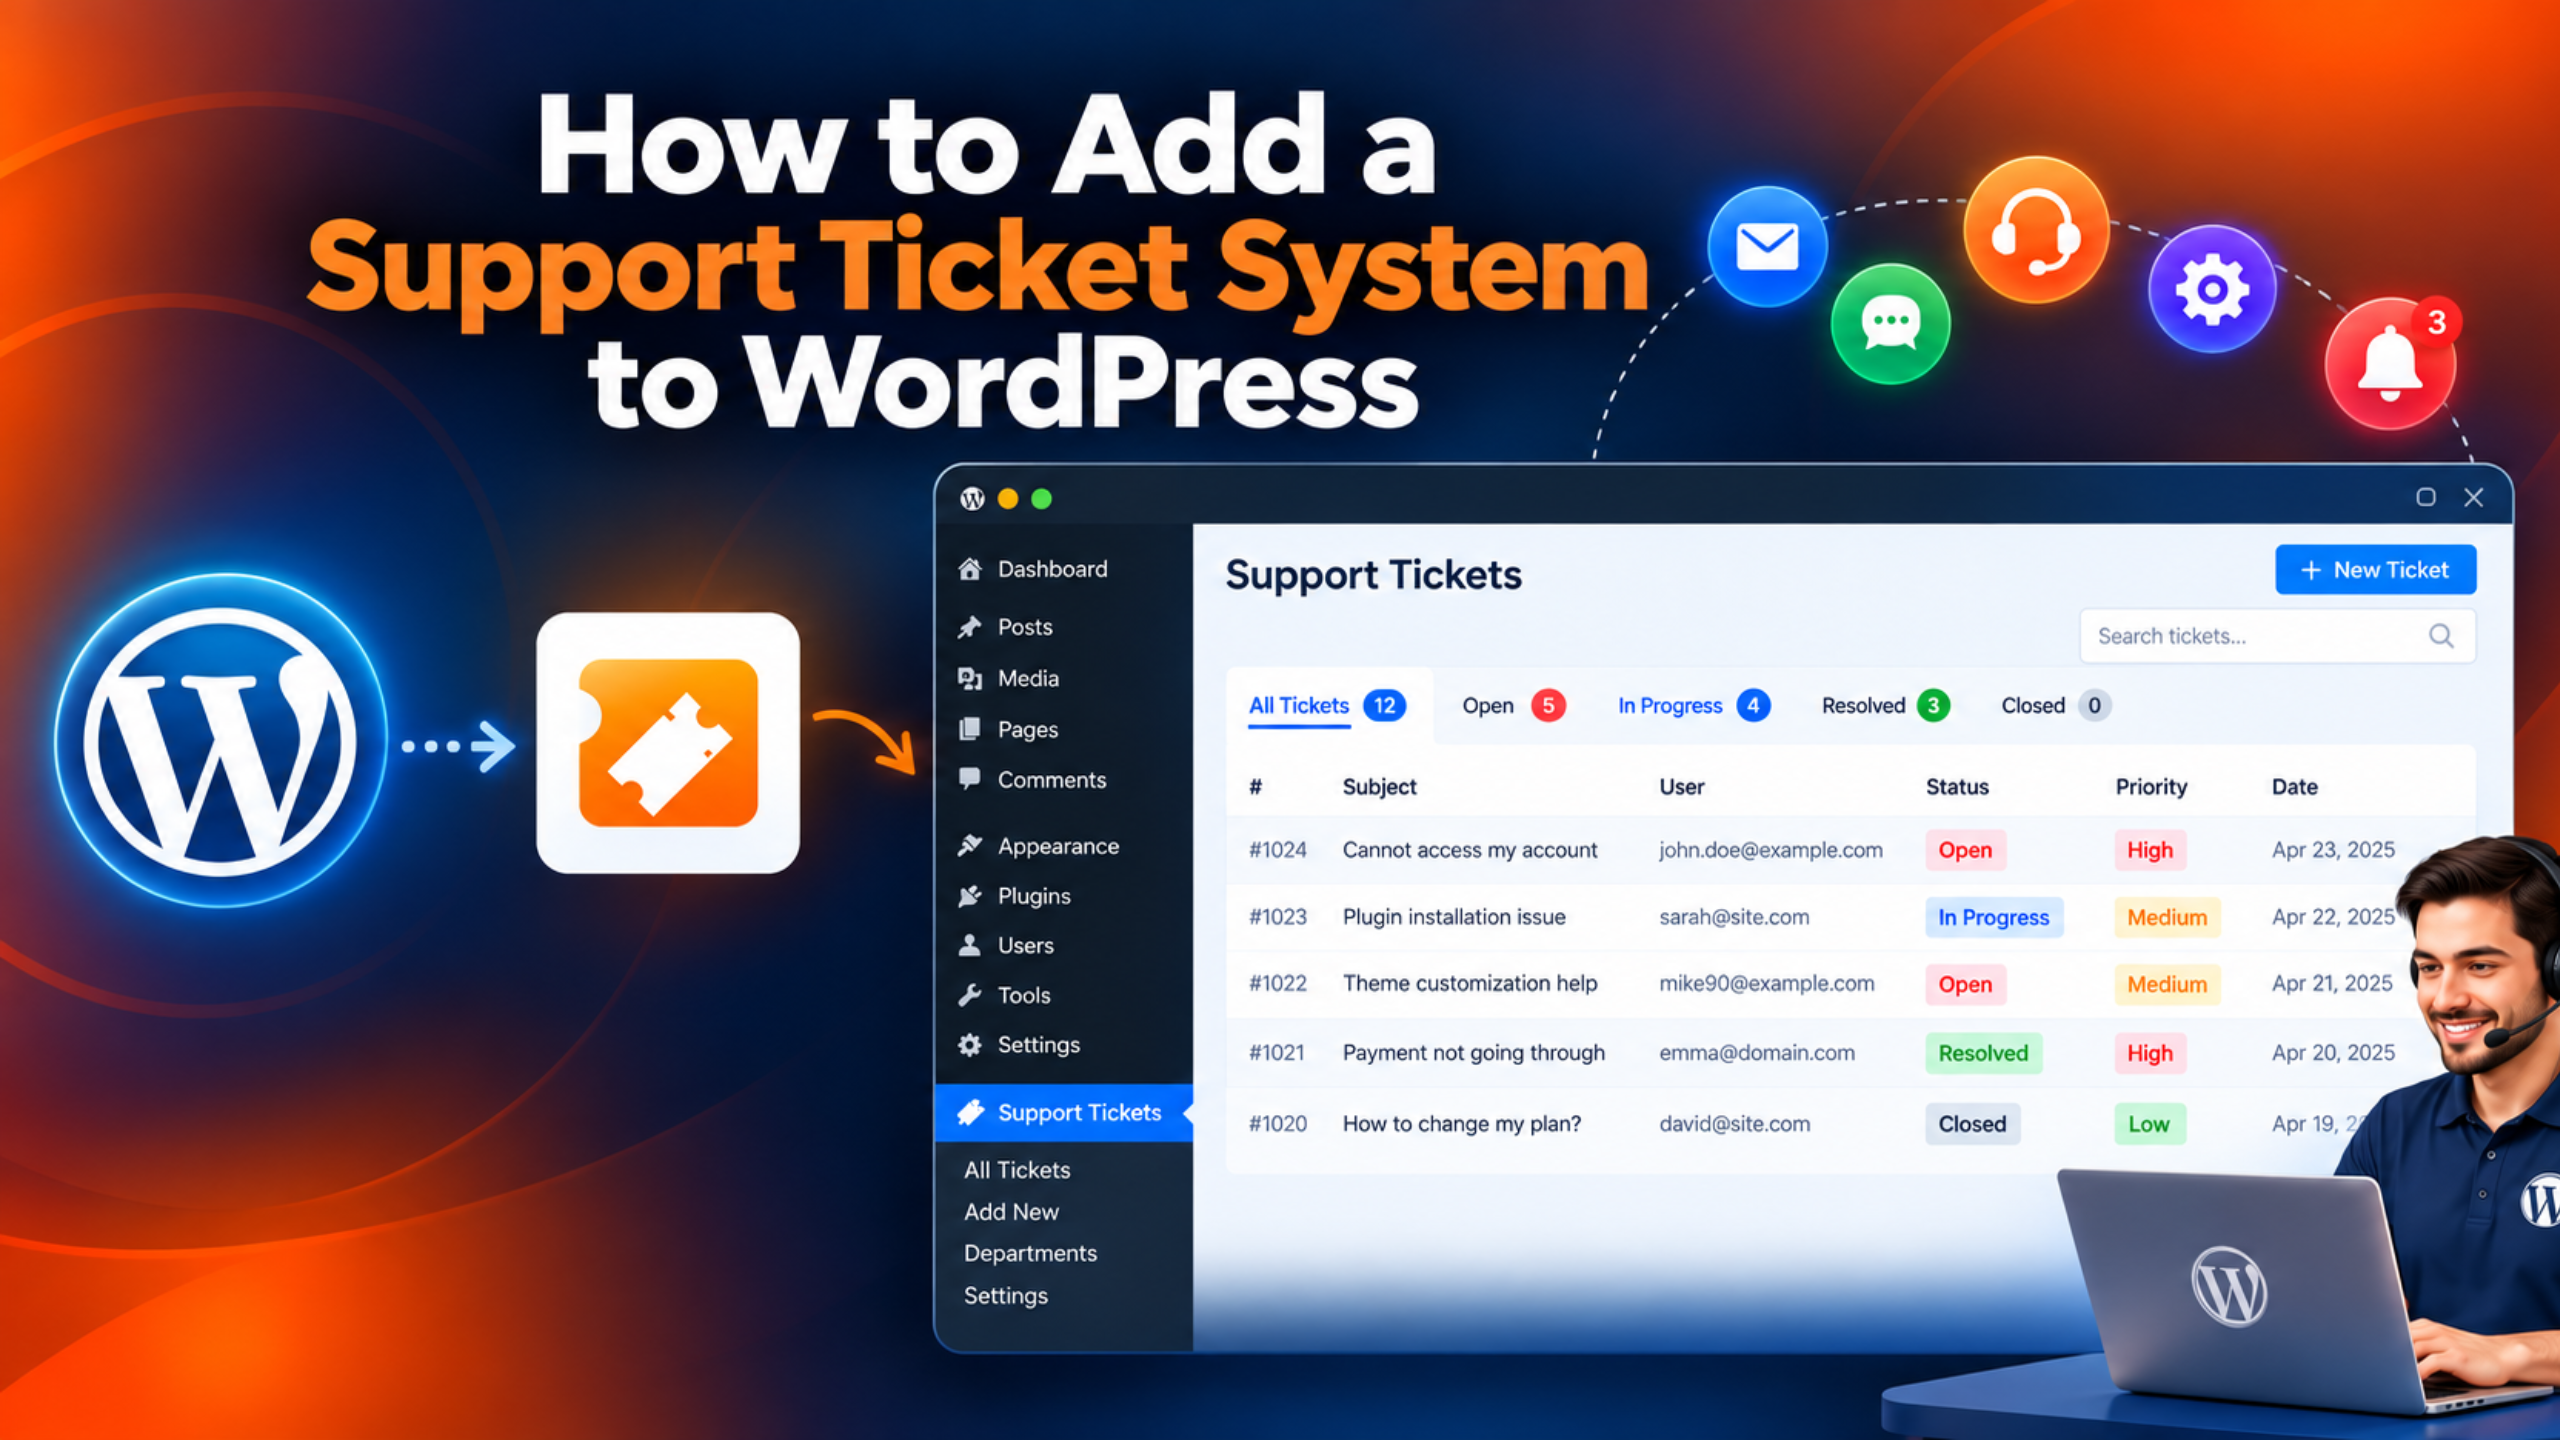
Support email slips away far too easily. A question arrives, someone reads it, and then a busier day arrives. Two weeks later the customer writes again, annoyed. A ticket system stops that happening. Each request lands with an ID, a state and a named owner. Nothing goes quiet by mistake.
Below, you will build a WordPress support ticket system from nothing. It uses SupportCandy for the worked example, because the free version does everything a small team needs. The same steps apply to most ticket plugins with different menu names. By the end you will have a working support page, agent accounts, working email and a tested customer journey.
Why Your WordPress Site Needs a Support Ticket System
A contact form is not a support system. It sends one email and then forgets. There is no record on your site and no status to check. If two people read the inbox, both may reply or neither may.
A ticket system keeps the whole conversation in one record. The first message, every reply and every file stay together. Any teammate can open it and read what happened before.
Customers benefit just as much. They get a reference number instead of silence. They can log in and check progress themselves. That removes most “any update?” emails on its own.
There is a reporting gain too. At last you can count the requests, group them by theme and time your own replies. Those numbers tell you whether to hire, write documentation or fix a product problem. A plain inbox shows you none of that.
What You Need Before You Start
Administrator rights on the WordPress dashboard are essential. Only an administrator can install plugins and change site-wide settings. If you manage the site for someone else, agree who holds that access first.
Your site must also be able to send mail. People skip this, and it breaks almost everything downstream. WordPress uses your server’s mail function by default, and many hosts block it. An SMTP plugin sends mail through a real mail provider instead. Set that up before you start, not after.
You need a recent backup. You will be adding a plugin, publishing pages and changing user roles. None of that is high risk, but a rollback point costs nothing. For a no-cost method, see our walkthrough on backing up WordPress with UpdraftPlus.
Finally, decide two things upfront. Who is allowed to open a ticket, and who will answer them? Those two answers shape almost every setting below. Write them down before you install anything.
Choosing Between a Plugin and a Hosted Help Desk
You have two real routes. A WordPress plugin keeps tickets in your own database. A hosted help desk keeps them on someone else’s servers and drops a widget on your site.
Ownership is total on the plugin route. Export the data, archive it or wipe it on your own schedule. There is no monthly fee for the basics. The cost is that your server does the work and your database grows.
The hosted route removes that maintenance. Nothing slows your site and nothing needs updating. You pay monthly, and you depend on their uptime and their export tools. That is a fair trade for many stores.
This guide follows the plugin route. It is the better default for most WordPress owners, and it is free to try. If you want to compare specific tools first, our roundup of the best WordPress help desk plugins for customer support ranks ten options with their real version and install data.
How to Add a Support Ticket System to WordPress Step by Step
Take these in sequence. Later steps lean on earlier ones. Jumping ahead tends to leave a dead portal, or mail that never sends.
Step 1: Back Up Your Site and Use Staging If You Can
Take a full backup before you install anything. That means files and database together, not just one of them. Park the copy somewhere other than the server itself. Cloud storage or your own laptop both work.
Better still, use a staging copy. That is a hidden twin of your live site, so nothing you break there reaches a customer. Many hosts offer a one-click staging option in their control panel. If yours does, build the whole ticket system there first.
The reason is practical rather than dramatic. You will publish new pages and change user roles during setup. A half-finished support page is confusing if a customer finds it. Building on staging means visitors only see the finished result.
Before moving on, confirm the backup actually restores. Download the file and check it is not zero bytes. An untested backup is not a backup.
Step 2: Install and Activate a Ticket Plugin
From the WordPress dashboard, head into the plugins area. Pick the option for adding a new one. Search for SupportCandy by name and install it, then activate it.
Check what you installed before going further. The correct plugin is published by PSM Plugins and describes itself as a support ticketing system. Several plugins have similar names, so read the author line.
If the install fails, the cause is usually file permissions or a memory limit. Our walkthrough of the WordPress plugin installation failed error digs into both.
After activation a new Support menu appears in your sidebar. Click into it once and have a look. Nothing needs changing yet. For now, just learn where each setting sits.
Step 3: Create Your Support Portal Page
The plugin needs a page to display on. Go to your pages section and add a new page. Call it Support, or Help Centre if that suits your brand better.
In the page content, add the shortcode [supportcandy] and nothing else. Think of a shortcode as a tag wrapped in square brackets. WordPress swaps it for the real feature when someone loads the page. The official WordPress developer documentation on shortcodes explains how that swap works.
That single shortcode builds the whole portal. It shows the customer ticket list, the create ticket form, the customer profile and the agent views. What each visitor sees depends on who they are.
Publish the page when you are done. Then load it in a private browsing window. You should see a login or ticket form rather than a bare shortcode. If you see the literal text [supportcandy], the plugin is not active. Go back and check step two.
Step 4: Tell the Plugin Which Page to Use
Publishing the page is not enough on its own. The plugin needs to know that this page is the support page. That link feeds the redirects, and it feeds the links inside your alert emails.
Open the Support menu and go to the general settings, then find the page settings section. There is a support page dropdown there. Select the page you just created and save the change. The official SupportCandy documentation on support pages shows the same sequence.
You can add two optional pages here as well. For an open ticket page, use [wpsc_open_ticket] instead. It lets a customer view one ticket using a ticket ID and a one-time password. That is useful when you want guests to check progress without an account.
A profile page uses the [wpsc_my_profile] shortcode. It shows the logged-in user their own details. Neither page is required, so skip them if you want a simple setup.
Step 5: Decide Who Can Open a Ticket
By default only registered users can create tickets. Guests are blocked. That is the right setting for a membership site or a client portal.
Most public businesses want the opposite. Forcing someone to create an account before asking a question loses you real customers. The guest option fixes that.
Go to the general settings under the Support menu and find the general tab. Look for the setting that controls who can create a new ticket. Change it to allow guests and save. Guests are then identified by the email address they enter.
Add spam protection at the same time. An open form on a public site will attract bots within days. Enable a captcha or an email verification step before you launch. Skipping this floods your queue with junk tickets and slows every real answer down.
Step 6: Add Your Support Agents and Set Their Roles
An agent is a person who answers tickets. Only existing WordPress users can be made agents. So create a normal user account for each team member first.
Open the Support menu and go to the support agents section, then the agents list. Pick the button for adding a new agent. Select the WordPress users you want and pick an agent role for them.
The agent role is the important part. It decides which tickets that person can see and what they are allowed to do. A junior agent might only reply. A supervisor might reassign, close and delete.
Be deliberate here, especially on an agency site. If one team member handles one client, restrict them to that client’s tickets. Give administrator-level agent roles to as few people as possible. Support queues often contain order details and personal data.
Step 7: Turn On Email Notifications and Prove They Send
This is the step that most setups get wrong. SupportCandy does not send email notifications by default. Its own documentation states this plainly. If you skip this step, tickets arrive and nobody hears about them.
Open the Support menu and go to the email notifications section. Turn on the notifications you actually need. At minimum, alert agents when a ticket is created, and alert customers when an agent replies.
Enabling them is only half the job. The plugin generates the email but does not deliver it. Delivery depends on your WordPress site being able to send mail at all. That needs a working SMTP setup, as covered earlier.
Now prove it works. Send a test email from your SMTP plugin and confirm it arrives. Then create a real test ticket and check that the alert lands. Look in the spam folder too. If nothing arrives, our guide to the could not instantiate mail function error in WordPress explains the usual cause.
Step 8: Build the Ticket Form Fields You Actually Need
The default form asks for a subject and a description. That is rarely enough. A vague ticket costs you two extra replies before real work starts.
Open the plugin settings and find the section for ticket fields or custom fields. Add the specific details your team always has to chase. Common examples are an order number, a site URL, a licence key or a product name.
Even so, resist a long form. Four or five fields hits the mark. Long forms make people give up and email you instead, which defeats the point.
Make only the essentials required. If an order number is genuinely needed for every ticket, mark it required. If it only applies to some, leave it optional. Clear field labels help more than strict rules. See our piece on how to describe a WordPress problem to support for the detail that gets answers faster.
Step 9: Test the Whole Journey as a Real Customer
Never launch a support system you have only seen as an administrator. Your admin account sees a completely different view. You need to check what a stranger sees.
Load the support page in an incognito window, signed out. Fill in the form as a customer would, using an email address you can check. Submit the ticket and watch what happens next.
Now check four things in order. Did a confirmation email reach the customer address? Did an alert reach the agent address? Does the ticket appear in the agent dashboard? Does an agent reply reach the customer inbox?
If any of those four fails, stop and fix it before launching. Of the four, a silent confirmation email hurts you most. The customer assumes nothing was sent and writes to you again, or gives up entirely.
Step 10: Put the Support Page Where People Will Find It
A support page nobody can find is not much use. Put it in the main menu. At the very least, drop it into the footer. Use plain wording such as Support or Help.
Link to it from the places customers already get stuck. Good spots include your order confirmation emails, your account page and the end of your FAQ. Each link removes a reason to send you a raw email.
Set expectations right on the page. Add one line above the form saying when you reply, for example within one working day. That single sentence prevents a lot of chasing. For sensible numbers, read our piece on how fast a WordPress support company should respond.
Finally, keep the page out of your cache. Cached pages can show one customer another customer’s view. Most caching plugins let you exclude a page by its URL. Add your support page to that exclusion list.
Turn Support Emails into Tickets with Email Piping
Your portal will not catch everything. Customers reply to notification emails out of habit. Without email piping, those replies land in a normal inbox and drop out of the system entirely.
Email piping closes that gap. The plugin checks a mailbox, reads new messages and turns them into tickets. Replies to an existing ticket join the right thread automatically. Your team keeps working in one place.
SupportCandy sells piping as a premium add-on. Three connection types are on offer. Those are Basic IMAP, Gmail and Microsoft Exchange. Fluent Support includes piping as a Pro feature and configures it through a business inbox.
Set up a dedicated mailbox for this, such as support@yourdomain.com. Do not point piping at a personal inbox, because it will import unrelated mail. Test it with a single message before switching your public support address over.
Common Problems After Setup and How to Solve Them
The support page shows the raw shortcode text. Either the plugin is switched off, or the shortcode is misspelled. Check the plugins list, then retype the shortcode by hand rather than pasting it.
Nobody receives any email. The plugin is generating messages but your site cannot deliver them. Install and configure an SMTP plugin, then send a test message from it directly. Fix delivery at the site level before blaming the ticket plugin.
Customers see an empty ticket list. This usually means they are logged out, or the page is being served from cache. Exclude the support page from caching first, then test again in a private window.
Guests cannot submit a ticket. The guest setting is off by default, so check that first. If it is on and submissions still fail, a security plugin or firewall may be blocking the form. Test with the security plugin paused on staging, never on the live site.
How to Keep Your Ticket System Fast and Secure
Ticket data grows quietly. Every message, reply and attachment adds records to your database. After a year of steady support, that adds up. Archive or delete closed tickets on a schedule, and set an attachment size limit.
Watch attachments in particular. Screenshots and log files are large and they live in your uploads folder. Cap the file size and restrict which file types you accept. Never allow executable files.
Keep the plugin updated. A support plugin holds names, email addresses and sometimes order details. That makes it a real target. Apply security updates quickly, and test major version jumps on staging first.
Review agent permissions every few months. People change roles and leave. An old agent account with full access is a genuine risk. Remove agents who no longer need access, and downgrade anyone whose job has narrowed. If keeping on top of this is more than you want to handle, our overview of what a WordPress support service includes explains what ongoing help usually covers.
Frequently Asked Questions About WordPress Support Ticket Systems
These questions come up most often when people plan a support ticket system for the first time.
Is there a free way to run support tickets in WordPress?
Yes. The free tiers here are far more than a teaser. SupportCandy, Fluent Support and JS Help Desk all offer free versions in the WordPress plugin directory. Each gives you tickets, replies, attachments, agent accounts and email notifications. The features usually held back are email piping, service level agreements and detailed reports. A small site can run on the free version for a long time before any of that matters.
Is any coding involved in the setup?
No. Every step in this guide happens in the WordPress dashboard. The only technical-looking part is the shortcode, and that is just text you paste onto a page. You do not edit theme files or touch the database. The one area where help is sometimes needed is email delivery, because that depends on your host.
How is a ticket system different from live chat?
They solve different problems. Live chat suits quick questions answered in minutes while someone is on your site. A ticket system suits detailed problems that take hours or days and need a record. Chat conversations vanish once the window closes. Tickets keep the history and the file attachments. Many businesses run both, using chat for sales questions and tickets for technical ones.
Will a ticket plugin slow down my WordPress site?
Not noticeably in normal use. Most of the work happens on admin screens your visitors never load. The public portal is one page, and it should be excluded from caching anyway. Slowdowns appear only when ticket volume grows very large. Fluent Support avoids that by storing tickets in its own database tables rather than the posts table.
Can customers open a ticket without an account?
Yes, once you enable guest tickets. The setting sits in the plugin’s general settings and is switched off by default. You change who can create a ticket so that guests are allowed. The guest is then identified by the email address they type in. Turn on spam protection at the same time, because open forms attract bots quickly.
What should I do about tickets that arrive by plain email?
Two options work. The simple one is an auto-reply on your support mailbox pointing people to the portal. The better one is email piping, which imports those emails as tickets automatically. Piping is a paid feature in most plugins. It is usually worth it once more than a third of your requests arrive by email.
At what team size does a ticket system earn its keep?
One is often enough. A solo owner still benefits from statuses, history and a searchable record. The gain grows sharply at two or more people, because that is when duplicate replies start. If several people share one inbox today, you already need this. Our guide to what a good 24/7 WordPress support plan includes covers what changes as the team grows.
Conclusion
Adding a support ticket system to WordPress is mostly a settings job. You install a plugin, publish one page with a shortcode and point the plugin at that page. Then you decide who can open tickets and who answers them.
Two steps decide whether it actually works. The first is email. Notifications are off by default and delivery needs a working SMTP setup, so enable both and test them. The second is the customer walk-through. Submit a real ticket while logged out and confirm every message arrives.
Once it is live, keep it tidy. Trim old tickets, cap attachment sizes and review agent permissions regularly. Update the plugin promptly, because it holds customer data. These habits take minutes and prevent the slow decline that catches most sites.
Start simple and grow from there. A free plugin, one clear support page and a realistic response time already beat a shared inbox by a wide margin. Add email piping, a knowledge base or reporting only when the volume genuinely demands it. Let your ticket numbers tell you when that day arrives.

James is an experienced WordPress and WooCommerce specialist with over 10 years of practical experience. At WPChatSupport, he creates clear guides that help website owners fix WordPress issues, improve speed, secure their sites, and manage WooCommerce stores with confidence. His expertise includes store setup, plugin configuration, theme customization, payment gateway integration, and website troubleshooting. Through simple and helpful content, James supports users in solving technical problems and following best practices for online business growth.