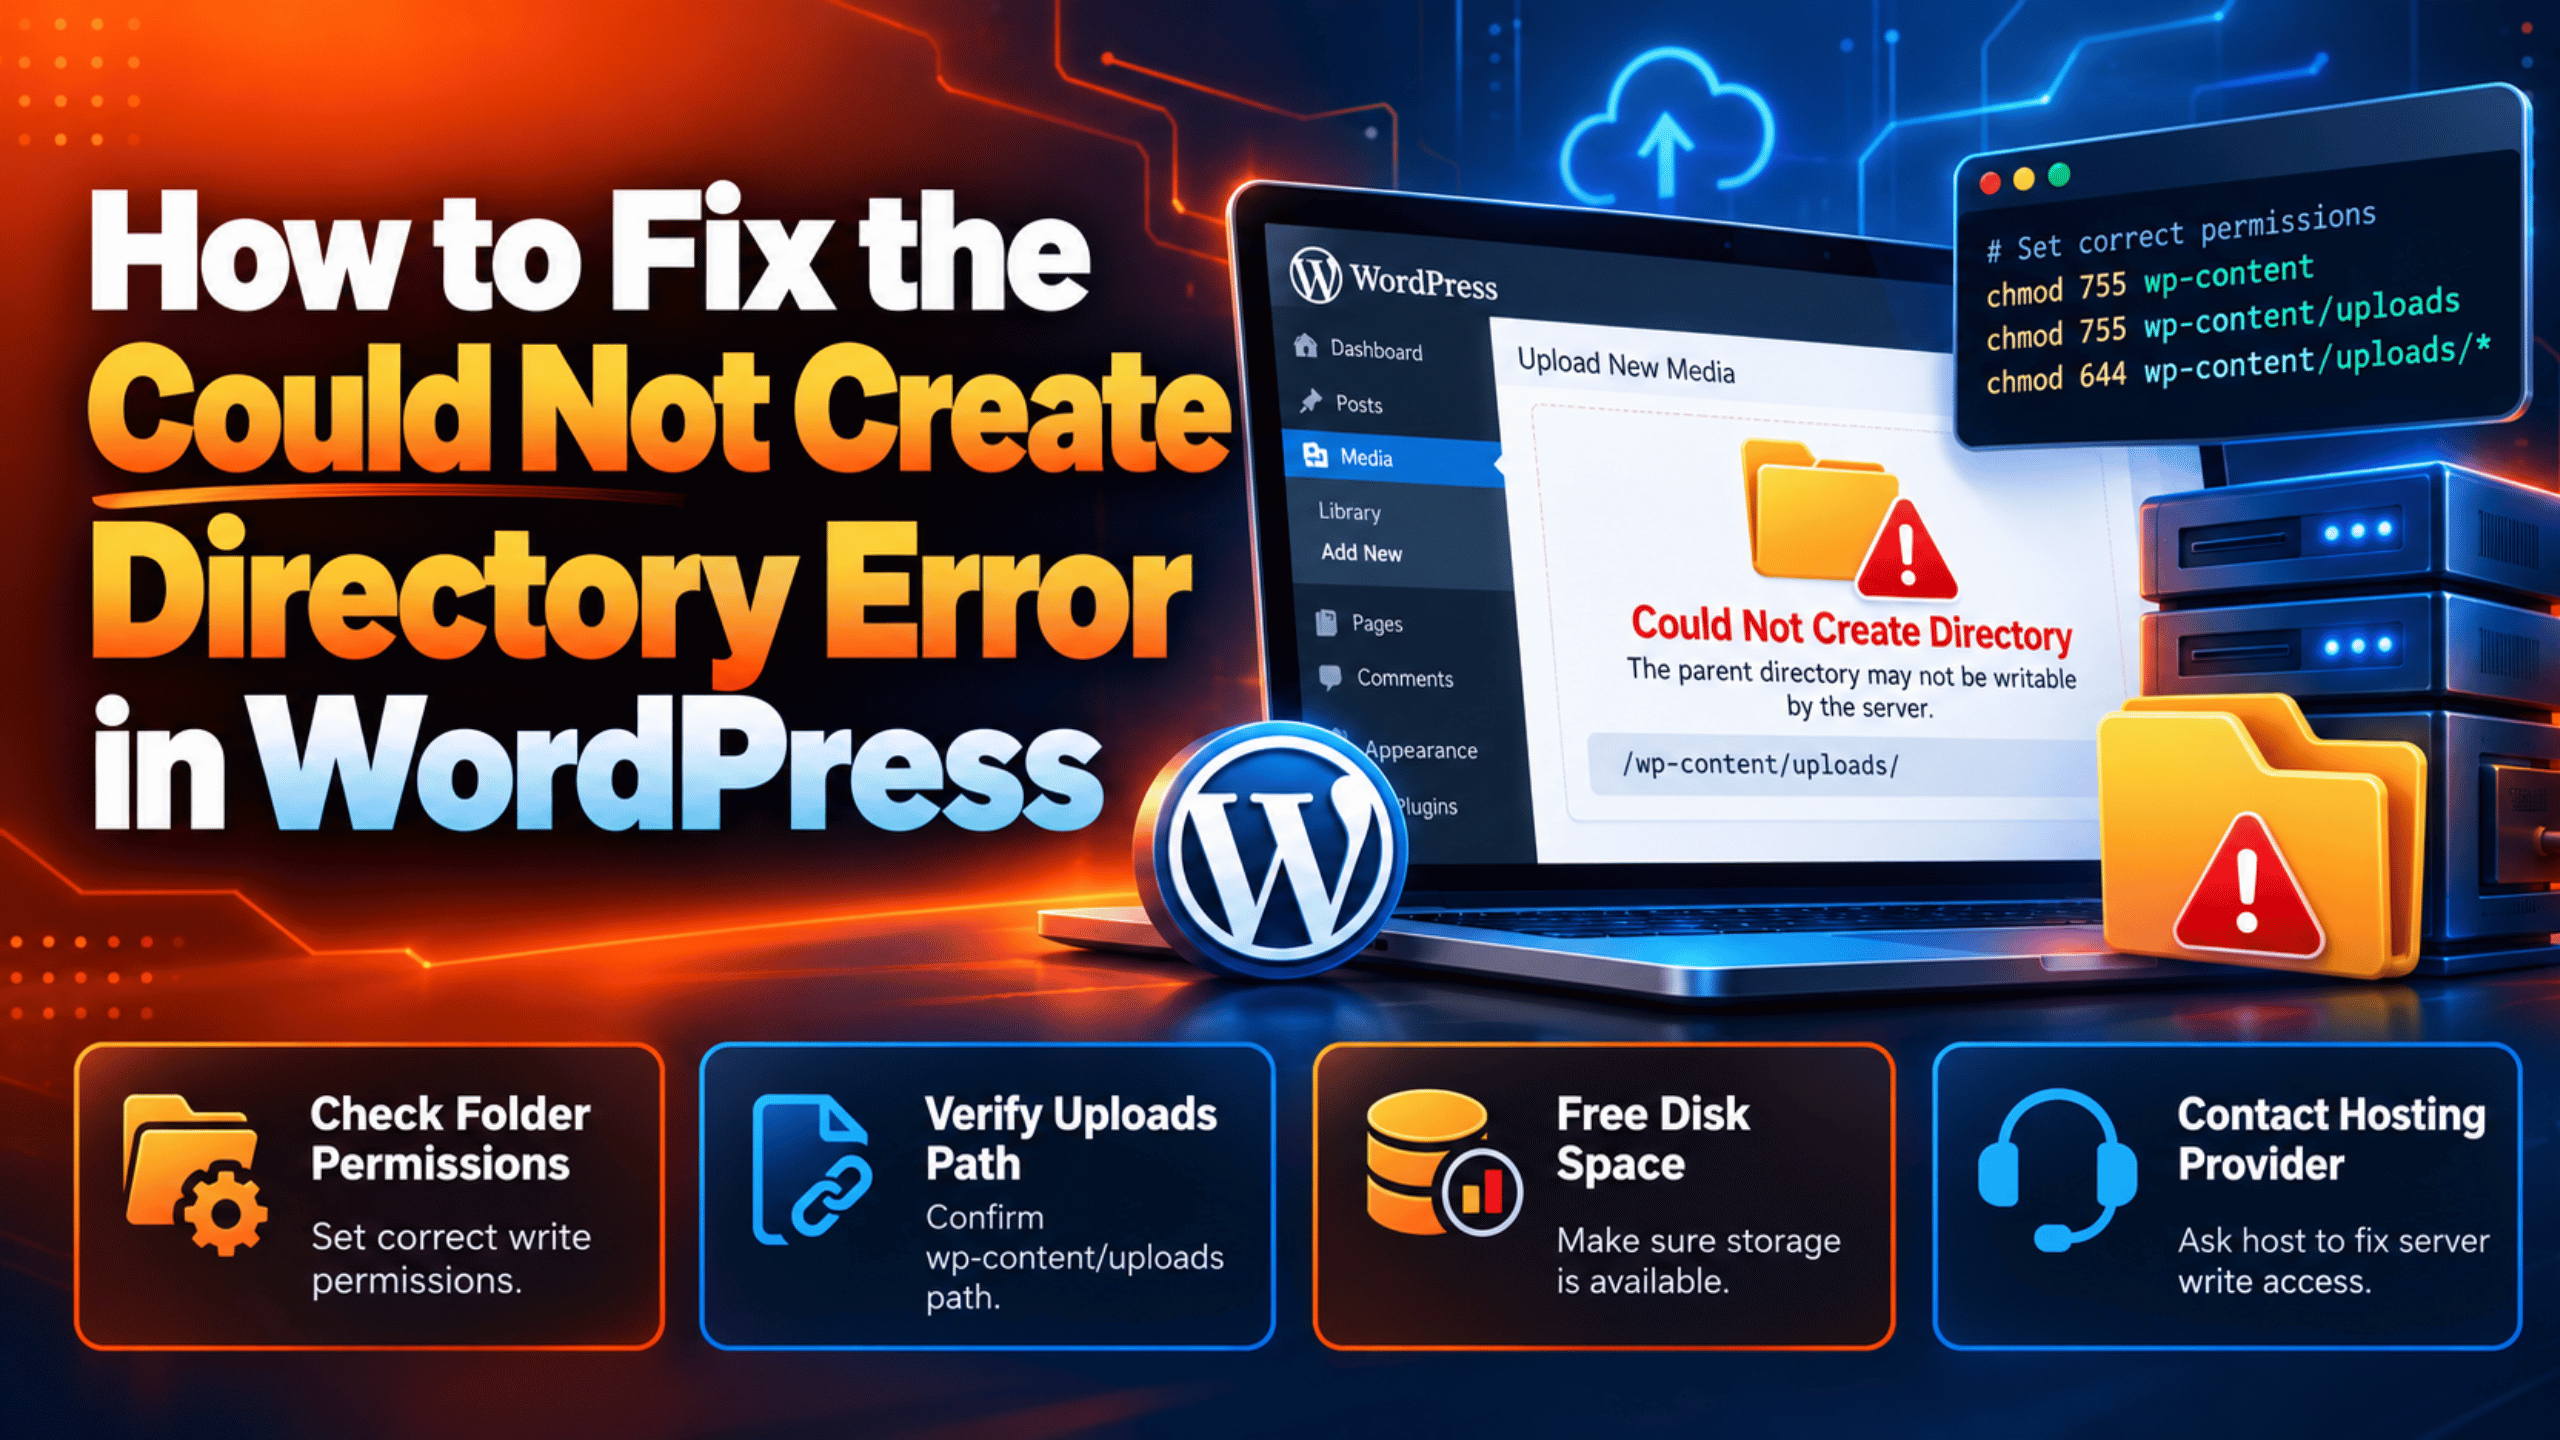
Introduction
You click Install Now on a plugin. The progress bar runs. Then WordPress stops and says “Installation failed: Could not create directory.”
It is a short message. It tells you almost nothing. You do not know which folder failed. You do not know why.
This is a write problem, not a plugin problem. WordPress tried to make a new folder on your server. The server said no. So WordPress gave up and showed you this line.
The same error can block a theme install. It can block a core update. It can stop an automatic update overnight. On some sites it also blocks image uploads, with slightly different wording.
It usually starts after something changes on the server. A host moves your account. Someone runs a bulk permissions reset. A disk fills up. A security plugin locks your folders. A migration copies files in as the wrong user.
This guide walks you through it in plain steps. You will learn the signs that confirm you have this error. You will learn every real cause. Then you will fix each cause, one at a time, and check that it worked.
You do not need to be a developer. You do need access to your files, through FTP, SSH, or your host’s file manager. Keep a backup ready before you change anything.
Signs That Show the “Could Not Create Directory” Error in WordPress
This error looks like other install failures. These signs tell you that you have this one, and not a lookalike.
- The install screen shows the line “Installation failed: Could not create directory.” The wording is short and ends with a full stop.
- Sometimes a folder path is printed under the message. It may look like
/home/user/public_html/wp-content/plugins/my-plugin. That path is your biggest clue. - Updates fail in the same way. The Plugins screen says the update failed, and the reason is the same line.
- It happens with every plugin, not just one. If one plugin fails but others install fine, you are probably looking at a different problem.
- Uploading a theme ZIP fails too. So does updating WordPress itself from the Updates screen.
- In the Media Library you may see a longer message instead. It reads “Unable to create directory wp-content/uploads/2026/10. Is its parent directory writable by the server?” That is the upload version of the same write problem.
- Your site itself still works. Pages load. Posts open. Only writing new folders is broken.
Two things tell you it is not this error. If WordPress asks you for FTP details instead, that is a different path through the same code, and the message is “Could not access filesystem.” If you see “Destination folder already exists,” the folder is there and the problem is the opposite one. We cover that case in our guide to the “Destination folder already exists” error in WordPress.
Reasons Why the “Could Not Create Directory” Error Happens
WordPress only shows this line in one situation. It asked the server to make a folder. The server refused, and the folder still was not there afterwards. Everything below is a different reason the server can refuse.
The Target Folder Is Not Writable
WordPress installs plugins into wp-content/plugins. It installs themes into wp-content/themes. To add a new one, it must create a folder inside those.
A folder’s permissions decide who may write inside it. If those permissions are too strict, nothing can be created there. WordPress asks, the server says no, and you get this error. This is the single most common cause.
A Broken Leftover Folder From an Earlier Failed Install
Failed installs sometimes leave rubbish behind. You may end up with a half-made folder with no write access. You may even end up with a file sitting exactly where WordPress wants a folder.
WordPress then tries to create that path again. The create fails, and afterwards the path is still not a usable folder. So the error repeats every single time, no matter how often you retry.
This cause has a signature. It always fails on the same plugin, at the same path, while other plugins install fine.
The wp-content/upgrade Folder Is Missing or Broken
WordPress does not unzip a plugin straight into the plugins folder. It unpacks it in a scratch folder first. That folder is wp-content/upgrade.
WordPress creates wp-content/upgrade on demand and makes a sub-folder inside it for each package. If it cannot create either one, you get this error before the plugin ever reaches the plugins folder.
This cause is easy to miss. Your plugins folder may be perfectly writable. The scratch folder is the one that is broken.
The Files Are Owned by the Wrong User
Permissions are only half the picture. Ownership is the other half.
Your site files belong to a user account on the server. PHP also runs as a user account. On most hosts those are the same account. When they are not, PHP is treated as an outsider.
An outsider often gets read access only. So PHP can read your plugins folder but cannot write into it. Permissions can look perfect and the install still fails. This happens a lot after a migration, because copied files often arrive owned by root or by a different account.
The Uploads Path Points Somewhere That Does Not Exist
This cause produces the Media Library version of the error.
WordPress works out your uploads folder from a few settings. There is an old database option called upload_path. There is a constant called UPLOADS that can be set in wp-config.php. Either one can override the normal wp-content/uploads location.
If one of them points to a folder that is gone, WordPress tries to build the missing path and fails. Migrations cause this often, because the old server’s folder path no longer exists on the new one.
The Disk or Inode Quota Is Full
A folder takes almost no space. But a server cannot create one on a full disk.
Hosts also cap the number of files and folders you may have. That cap is called an inode limit. You can be far below your storage limit and still be out of inodes.
There is a detail here that trips people up. WordPress does check free space before unzipping, and it has a clear message for it: “Could not copy files. You may have run out of disk space.” But that check only runs during a cron request, which means during automatic updates. When you click Install Now yourself, the check is skipped. A full disk then surfaces as “Could not create directory” instead. So this message can be a disk-space message in disguise.
WordPress Is Writing Through FTP Instead of Writing Directly
WordPress has more than one way to write files. The fastest is direct writing from PHP. It can also write over FTP or over SSH.
WordPress picks a method automatically. It tests whether PHP can create a file that it then owns. If that test fails, it falls back to FTP or SSH. A site owner or host can also force a method with the FS_METHOD setting in wp-config.php.
When the FTP method is in use, folders are created by the FTP account, not by PHP. That account may be locked to a different starting folder. It may not have write access where WordPress needs it. So the folder creation fails, and you see this error.
A Security Plugin or Host File Lock Is Protecting the Folders
Many security plugins offer file hardening. One common option makes your plugin and theme folders read-only. Some managed hosts do the same thing at the server level.
This is a deliberate lock, not a mistake. It stops malware writing to your site. It also stops WordPress installing anything. The lock usually stays invisible until the moment you try to install a plugin.
SELinux or Another Server Security Layer Is Blocking the Write
Some servers add a security layer above normal permissions. SELinux is the common one. It is usual on CentOS, Fedora, Rocky Linux and similar systems.
SELinux can block a write even when the permissions and the owner are both correct. The refusal looks exactly like a permission error, which is why this cause is so often missed. WordPress has no way to tell the difference, so it shows the same message.
How to Fix the “Could Not Create Directory” Error in WordPress (Step by Step)
Each cause above has one step below that fixes it, in the same order. The steps run from the safest check to the deepest server work. Every step names the cause it fixes, shows you how to confirm that cause is yours before you change anything, and tells you how to verify the fix.
Start by reading the folder path. WordPress passes the failing path along with the error, and many admin screens print it right under the message. If no path is shown, add define( 'WP_DEBUG', true ); and define( 'WP_DEBUG_LOG', true ); to wp-config.php, retry the install, and read wp-content/debug.log. Turn debugging off again afterwards, because leaving it on can expose details you do not want public. That path tells you which step to try first.
Before you start, take a full backup of your files and your database. Several steps below change file permissions or edit wp-config.php. A mistake there can take your site offline. If you can, test on a staging copy first. Our guide to backing up WordPress with UpdraftPlus walks through making that backup.
Step 1: Check and Correct Your Folder Permissions
This step addresses the cause where the target folder is not writable. Strict permissions stop the server creating anything inside the folder, which is exactly what the error describes. It is the most common cause, so it is the right place to start.
WordPress will tell you which folders it can write to. Open your dashboard and go to Tools, then Site Health, then the Info tab. Expand the section named Filesystem Permissions. You will see a short list covering the main WordPress directory, the wp-content directory, the uploads directory, the plugins directory and the themes directory. Each one says either Writable or Not writable.
A healthy result is Writable beside wp-content, plugins and themes. A broken result is Not writable beside any of them. One warning about this screen, though. It does not list wp-content/upgrade, so it can show everything as Writable while the install still fails. If that happens, go straight to Step 3.
If a folder is not writable, fix it. Changing permissions on a live site carries real risk, so take a backup first and work on staging if you have one. Connect over FTP or SSH, or open your host’s file manager. WordPress recommends 755 or 750 for directories, and 644 or 640 for files. The official WordPress file permissions guide explains the numbers in detail.
In an FTP client, right-click a folder and choose File Permissions. Clear the numeric box and type 755, then confirm. Over SSH you can set directories and files separately, like this:
find wp-content -type d -exec chmod 755 {} \;
find wp-content -type f -exec chmod 644 {} \;
Never set a folder to 777. WordPress’s own documentation is blunt about this. On most modern hosting, PHP runs as the owner of your files, so it can already write to a 755 folder. Using 777 gives every other process on the server write access as well, and buys you nothing.
To verify, reload Site Health and check Filesystem Permissions again. Everything should now read Writable. Then retry the plugin install. If it still fails, permissions were not your cause, so move on to the next step.
Step 2: Clear a Broken Leftover Folder
This step addresses debris from an earlier failed install. A half-made folder with no write access will block every retry, because WordPress keeps trying to create the same path and keeps failing.
To confirm this is your cause, use the path from the error message. Go to that exact location over FTP or in your file manager. A healthy result is that nothing is there at all, which means the path is clear and this is not your cause. A broken result is a folder you cannot open or write to, or a file sitting where the folder should be. A file with the plugin’s name and no extension is a classic sign of a failed unpack.
Before you delete it, download a copy to your computer. A partly installed plugin folder can still hold a licence file or custom templates you cannot get back. Then delete the broken folder or file from the server.
If the delete itself is refused, the leftover is owned by a different user account. Do not fight it over FTP. Note the exact path and ask your host to remove it, or move on to Step 4, which covers ownership.
To verify, confirm the path is now empty and retry the install. A healthy result is a clean install. If the error returns at the same path and nothing was there beforehand, the problem is further up the tree, so continue to the next step.
Step 3: Repair the wp-content/upgrade Scratch Folder
This step addresses the missing or broken scratch folder. WordPress unpacks every plugin and theme ZIP inside wp-content/upgrade before moving it into place. If it cannot build a folder in there, the install dies early and you get this exact error.
To confirm this is your cause, open wp-content over FTP or in your file manager. Look for a folder named upgrade. A healthy result is that it exists and is writable. A broken result is that it is missing, or that it is there with read-only permissions, or that it is stuffed with old half-extracted folders from past failures.
If it is missing, create a folder named exactly upgrade inside wp-content, then set it to 755. If it exists but is read-only, set it to 755. If it is full of old folders, you can safely delete what is inside it. WordPress clears that folder itself at the start of every install, so nothing in there is needed.
While you are there, check for a folder named upgrade-temp-backup. WordPress uses it to hold the old copy of a plugin during an update. It needs to be writable too, so give it 755 if it exists.
To verify, retry the install. If the error moves on to a different message, that is progress and you should follow the new message. If it still says the same thing, continue to the next step.
Step 4: Check and Fix File Ownership
This step addresses wrong ownership. PHP writes as a specific user account. If your files belong to a different account, PHP is an outsider and only gets read access, however good the permissions look.
You need SSH to check this properly, or a host support agent who can check for you. Run a listing that shows the owner:
ls -la wp-content/The third and fourth columns are the owner and the group. A healthy result is that your site files are owned by your own hosting account, and that the same account runs PHP. A broken result is files owned by root, or by www-data, or by an account name you do not recognise, while other folders on the site are owned by your account. Mixed owners inside wp-content are a strong sign of a bad migration.
Do not guess the correct owner and do not run a recursive ownership change on a live site unless you are certain. The command is chown, and getting it wrong can lock you out of your own files. The safe move is to open a ticket with your host, paste the listing, and ask them to reset ownership to the correct account for your site. Most hosts have a one-click tool for exactly this.
To verify, run the listing again and confirm the owner is consistent. Then retry the install. If the folder is created this time, ownership was your cause.
Step 5: Fix a Wrong Uploads Path
This step addresses the wrong uploads path. It is the one to use when the failing path sits under wp-content/uploads, or when the message mentions a parent directory being writable.
To confirm, check two places. First, open wp-config.php and search for UPLOADS. If a line defines it, note the folder it points to. Second, check the database option upload_path. In phpMyAdmin you can find it in the options table, or you can run wp option get upload_path over SSH.
A healthy result is that UPLOADS is not defined at all and upload_path is empty. That is the default, and it makes WordPress use wp-content/uploads. A broken result is a path that points to a folder that no longer exists, often one carrying the old server’s directory structure.
Editing wp-config.php can take your whole site down if you make a typo, so copy the file to your computer before you touch it. To fix the problem, remove the stale UPLOADS line, or clear the upload_path option so WordPress falls back to the default. If you genuinely need a custom path, create that folder on the server and set it to 755.
To verify, upload a small image in the Media Library. A healthy result is that it uploads and shows a thumbnail. If it still fails, the uploads folder itself is probably not writable, so go back to Step 1 and include wp-content/uploads. Our guide on WordPress media library images not showing covers what to do when old images break as well.
Step 6: Check Your Disk Space and Inode Usage
This step addresses a full disk or a full inode quota. The server cannot create a folder when either one is exhausted, and on a manual install WordPress shows this error rather than a space warning.
To confirm, open your hosting control panel and find the usage panel. Look at two numbers, not one. Storage used against your storage limit, and files used against your inode limit. Over SSH you can check both like this:
df -h .
du -sh wp-content/*
A healthy result is comfortable headroom on both numbers. A broken result is storage at or near 100 percent, or an inode count at your cap. Either one will block folder creation.
To free space safely, start with things you can rebuild. Old backup archives sitting in wp-content are usually the biggest offender, and a single backup plugin can hoard many gigabytes. Cache folders are safe to empty. Old debug logs can be deleted. Clear out wp-content/upgrade as well. Download anything you might want before deleting it, and never delete files you cannot identify.
To verify, recheck the usage figures and then retry the install. A healthy result is a successful install. If space was fine all along, this was not your cause and the next step is the one to try.
Step 7: Check Which Filesystem Method WordPress Is Using
This step addresses WordPress writing through FTP or SSH instead of writing directly. When it does, folders are created by that remote account, and that account may have no write access where WordPress needs it.
To confirm, open wp-config.php and search for FS_METHOD. Also watch what happens when you install. A healthy result is that WordPress installs silently, without ever asking you for connection details. That means it is writing directly. A broken result is WordPress prompting you for FTP or SSH credentials, or an FS_METHOD line that forces a remote method on a host where direct writing would work.
The valid values are direct, ssh2, ftpext and ftpsockets. The official reference for get_filesystem_method() explains how WordPress chooses between them.
Back up wp-config.php first. If a line forces a remote method and your host supports direct writes, remove the line and retry. If no line exists and WordPress keeps asking for FTP details, that is usually an ownership problem, so return to Step 4 rather than forcing direct here.
WordPress’s own guidance is to change this setting only when you are already having update trouble, and to put it back if it does not help. Follow that advice. Forcing direct on a server that cannot support it will replace this error with a different one.
To verify, retry the install and watch for a credentials prompt. No prompt and a successful install means you are writing directly and the cause is cleared.
Step 8: Turn Off a Security Plugin or Host File Lock
This step addresses a deliberate file lock. Security hardening can make your plugin and theme folders read-only, and that blocks folder creation just as firmly as a wrong permission number does.
To confirm, think about timing first. If installs worked last month and fail now, and nothing else changed, a hardening option is a strong suspect. Then open your security plugin’s hardening or file-protection settings and read them. A healthy result is that no option locks the plugin or theme folders. A broken result is an active lock on exactly the folders WordPress is trying to write to.
Turn off only that one option. Do not deactivate your whole security plugin and leave it off, because that exposes the site while you work. Install your plugin, confirm it activates, then switch the lock straight back on.
Some managed hosts apply the same lock at the server level, where no plugin setting will show it. If your plugin settings look clean, ask your host directly whether they make wp-content/plugins read-only. Many do, and many will lift it briefly on request.
To verify, retry the install with the lock off. A healthy result is a successful install, which confirms the lock was your cause. If it still fails with the lock off, re-enable the lock and move to the last step.
Step 9: Rule Out SELinux
This step addresses a server security module blocking the write. SELinux denies writes in a way that looks identical to a permissions problem, so it comes last, after everything simpler has been ruled out.
To confirm, first check whether SELinux is even present. It is normally only on Red Hat family systems such as CentOS, Rocky Linux and Fedora. If you are on Debian or Ubuntu you can usually skip this step. Over SSH, run getenforce. A healthy result is Disabled or Permissive, which means SELinux is not blocking anything. A broken result is Enforcing, which means it could be your cause.
If it is enforcing, look for the denial records. Run audit2allow -w -a and read the output. You are looking for a denied write naming one of your WordPress folders. If you find one, you have your answer.
Do not disable SELinux on a production server to test this. That removes a real security layer from the whole machine, not just your site. Send the denial output to your host or system administrator and ask them to set the correct context for your web folders instead. That is a small, targeted change rather than switching protection off.
To verify, retry the install once the context has been corrected. If you have now worked through every step without success, the problem is almost certainly server-side and specific to your account. Share this list of checks with your host, or get help from our team, as we explain in our guide to emergency WordPress support when your site breaks.
Best Practices to Prevent the “Could Not Create Directory” Error in Future
Each habit below shuts down one of the causes above. Together they stop this error coming back.
Keep Permissions and Ownership Correct After Every Move
Bad permissions and bad ownership are the top two causes. Both are usually created by a migration or a bulk reset.
So treat every move as a permissions job as well as a file copy. After a migration, a host change, or a restore from backup, check Tools, then Site Health, then Info, then Filesystem Permissions. Confirm wp-content, plugins and themes all read Writable before you do anything else. Ask your host to confirm ownership at the same time. Five minutes there saves you a broken install later.
Watch Your Storage and Your File Count, Not Just Storage
A full disk and a full inode quota both block folder creation, and the inode limit is the one people forget.
Check both numbers in your hosting panel once a month. Set your backup plugin to keep only two or three archives, and to send the rest off-site. Delete old cache folders and debug logs. If your file count keeps climbing with no obvious reason, look for a plugin writing logs or thumbnails without limit.
Keep the wp-content/upgrade Folder Clean
A clogged or read-only scratch folder causes installs to fail even when everything else is perfect.
After any failed install or update, open wp-content and look inside upgrade. Delete anything left behind. Confirm the folder itself is still writable. The same goes for upgrade-temp-backup. This is a thirty-second check that prevents a repeat of Step 3.
Test Every Install and Update on Staging First
Most of these causes show up at install time. Staging is where you want to discover that.
Use a staging copy for plugin installs, theme changes and core updates whenever the site matters. Many hosts give you a one-click staging site. If a folder cannot be created there, you learn it without any visitor seeing a failure. Our guide to fixing the WordPress plugin installation failed error covers the other install messages you may meet while testing.
Document Your Security Hardening
Plugin file locks and SELinux rules are invisible until they bite. Months can pass between switching a lock on and hitting an install failure because of it.
Keep a short note of every hardening option you turn on, and where. Note it when your host applies a server-level lock too. When an install fails later, you will check that note in seconds instead of spending an hour on permissions that were never the problem.
Take a Backup Before Touching Files or Permissions
Several fixes in this guide edit wp-config.php or change permissions across wp-content. Both can take a site offline.
Keep automatic daily backups running, with copies stored away from your server. Take an extra manual backup right before you start any fix. Then confirm you can actually restore it. An untested backup is a guess, not a safety net.
Conclusion
“Could not create directory” is one of the shortest messages WordPress shows, and one of the easiest to misread. It never means your plugin is faulty. It means the server refused to make a folder.
You now know the signs that confirm it. A failed install, the same wording every time, a site that otherwise works fine, and sometimes a folder path printed underneath. That path is the fastest clue you have.
You also know the real causes. Folders that are not writable. Files owned by the wrong user. A missing or clogged wp-content/upgrade folder. A full disk or a full inode quota. A stale uploads path. Writing through FTP instead of directly. SELinux. A security plugin file lock. And rubbish left behind by an earlier failure.
The fix is a sequence, not a guess. Read the path. Check Site Health. Correct permissions. Repair the scratch folder. Check ownership. Clear a bad uploads path. Check space and inodes. Check the filesystem method. Then rule out the security layers. Back up before each change, and verify after each one.
Prevention is simpler still. Re-check permissions after every migration. Watch storage and file counts. Keep the upgrade folder clean. Test installs on staging. Write down your hardening. Keep backups you have actually restored.
Do that and this error stops being a mystery. It becomes a short checklist you can work through in a few minutes.

James is an experienced WordPress and WooCommerce specialist with over 10 years of practical experience. At WPChatSupport, he creates clear guides that help website owners fix WordPress issues, improve speed, secure their sites, and manage WooCommerce stores with confidence. His expertise includes store setup, plugin configuration, theme customization, payment gateway integration, and website troubleshooting. Through simple and helpful content, James supports users in solving technical problems and following best practices for online business growth.