Introduction
You pick an image, drag it into the media library, and the upload stops. A red box appears with the single word “HTTP error.” Nothing else is explained. The post you wanted to publish is now stuck.
This problem is common, and it is rarely serious. The message is a catch-all. WordPress shows it when the server cuts off the upload or fails while it makes the image sizes. It does not tell you why.
The trigger is often small. A new plugin, a theme change, a bigger photo from a new phone, or a host update can all start it. Sometimes caching or a firewall rule gets in the way.
This guide shows you how to find the real cause. You will learn the signs, the likely reasons, and seven fixes in a safe order. Each fix tells you how to check it first and how to confirm it worked. A section on prevention comes at the end. If your images upload but look broken afterwards, read our guide on media library images not showing instead.
Signs That Show the WordPress HTTP Error When Uploading Images
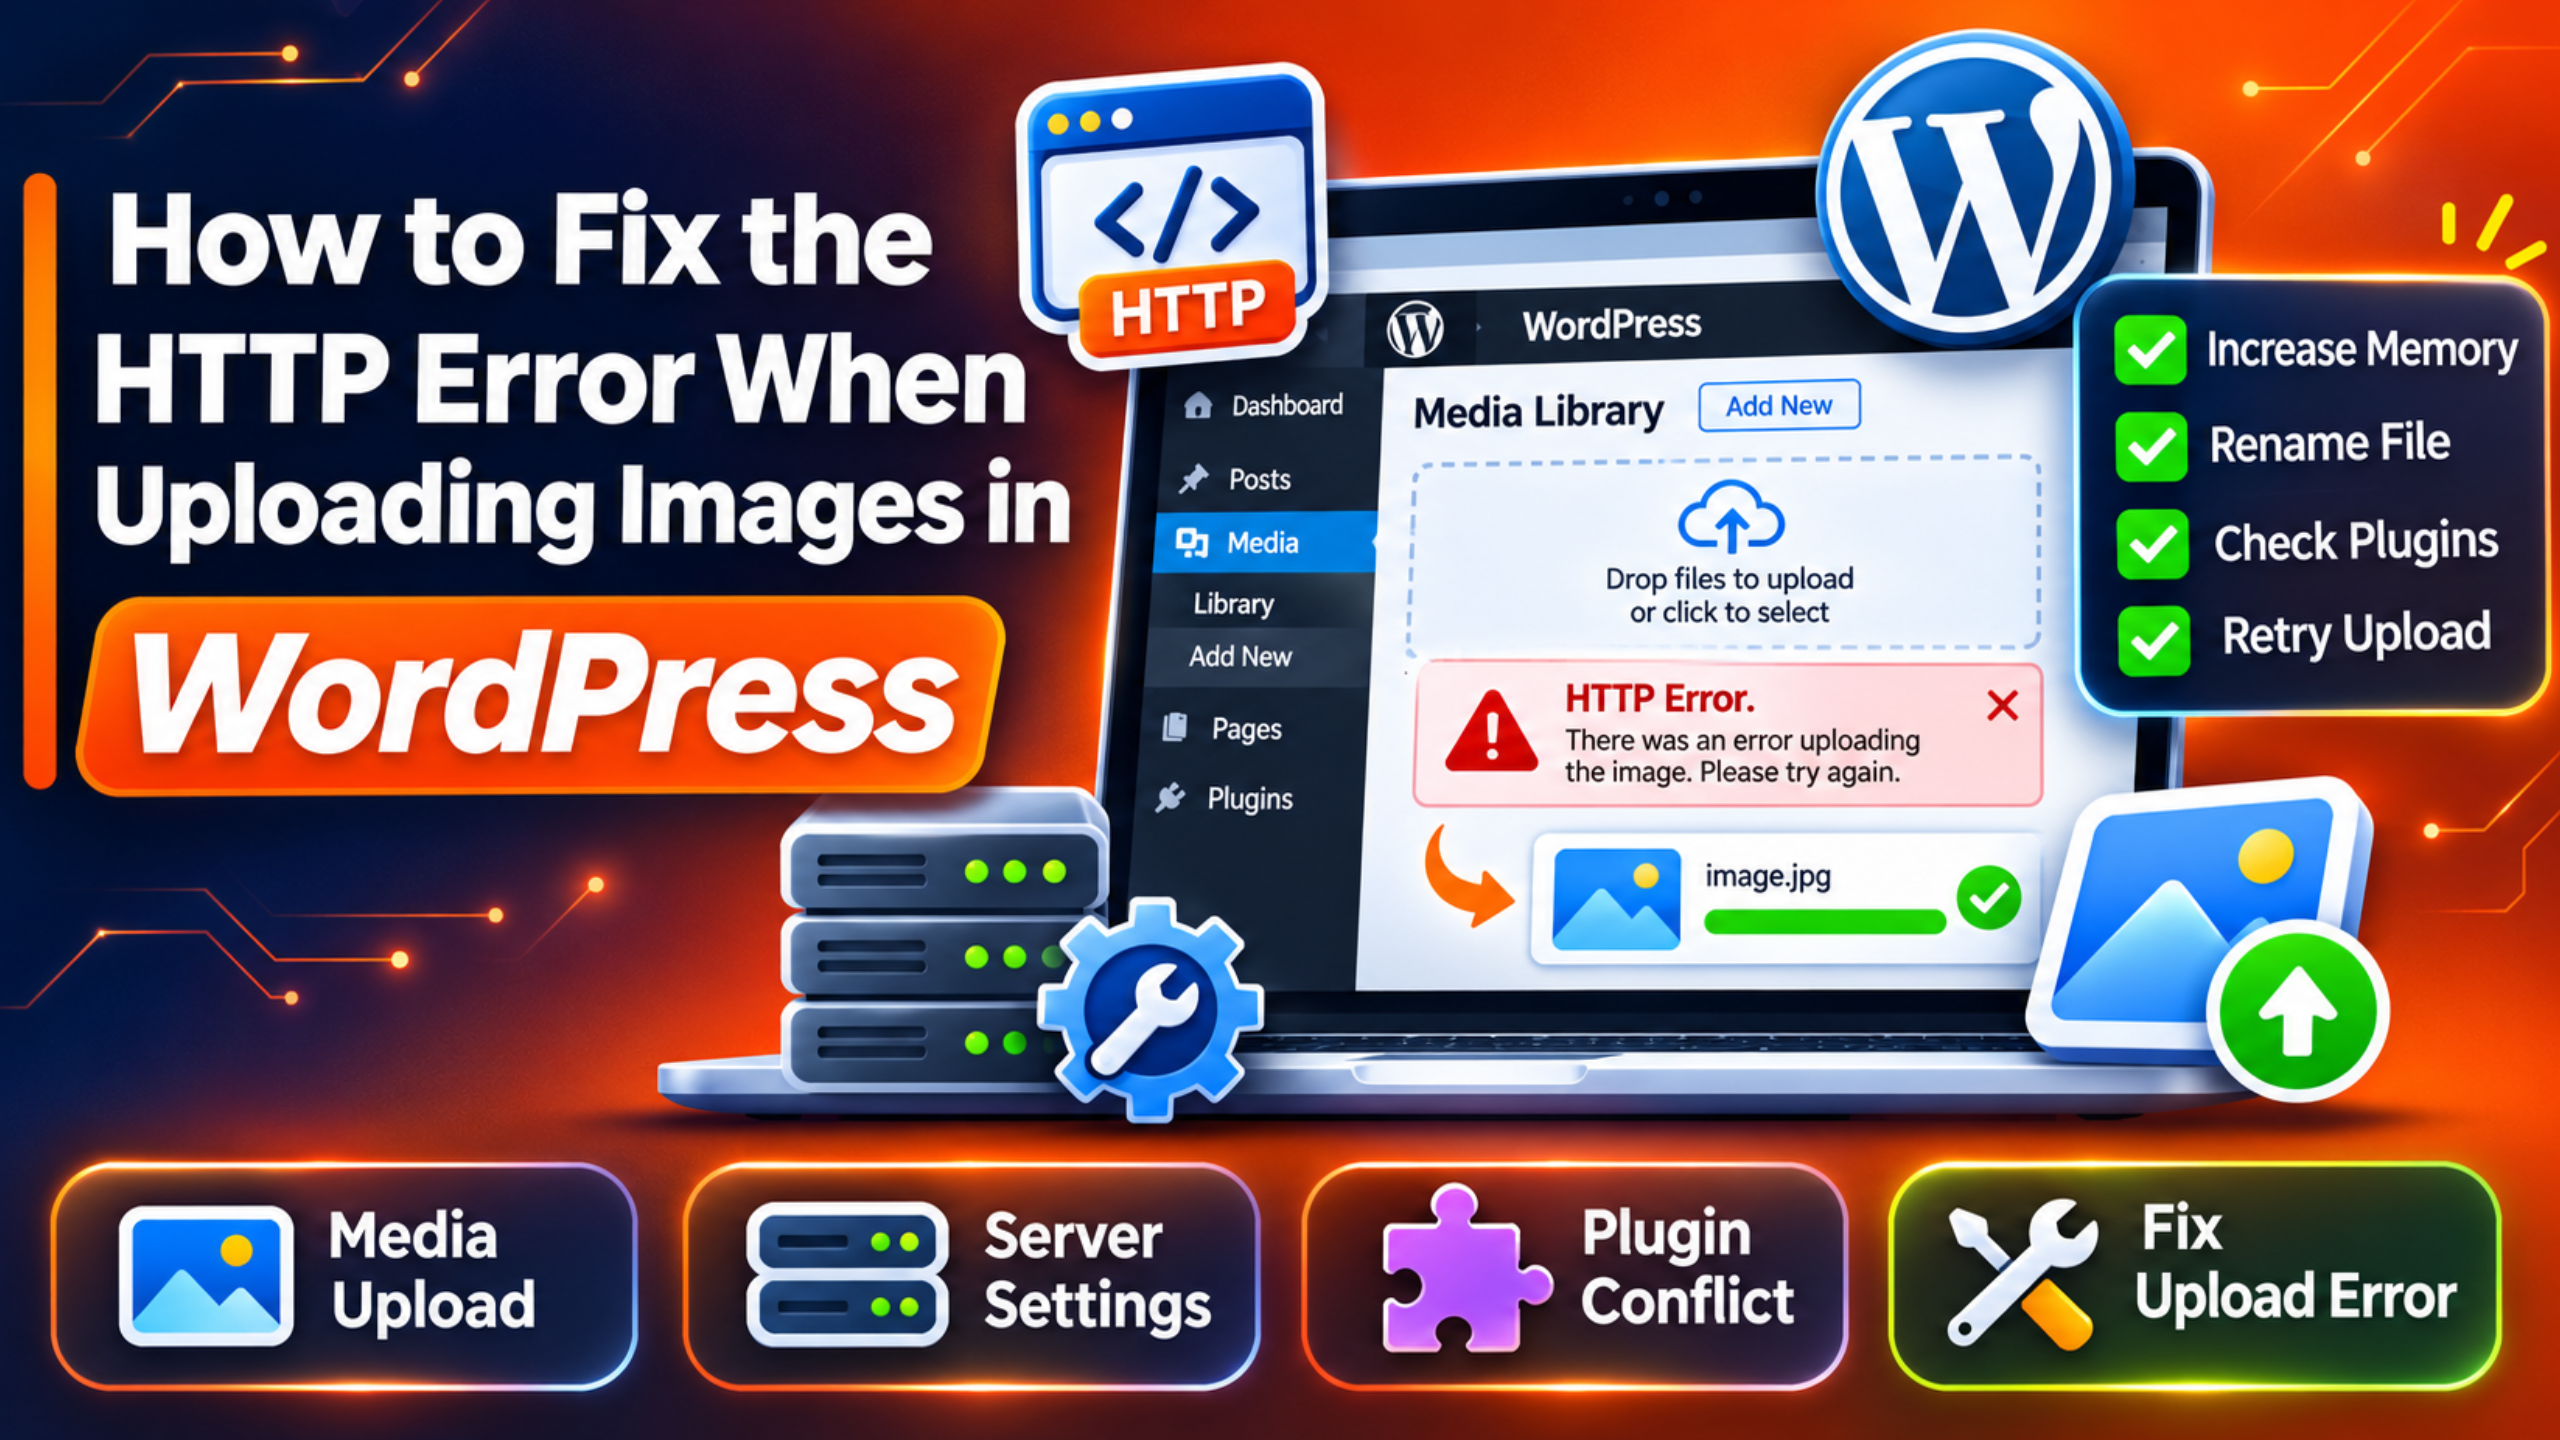
The main sign is a red error under the file name in the uploader. It says “HTTP error.” The file shows a crossed-out thumbnail. Sometimes the bar fills to 100 percent and then fails. That detail matters, because it points to a problem after the upload, not during it.
Look at which files fail. If every image fails, the cause is likely server-wide, such as a firewall or a plugin. If only large photos fail, the cause is probably memory or a size limit. If only one file fails, the file itself may be the problem.
Check whether the file appears in the media library after the error. Sometimes the original is saved but the smaller sizes are missing. That means WordPress received the file and then failed while resizing it. This is a strong hint toward memory or the image library.
Also note where the error appears. It can show in the media library, in the block editor, and in page builders. If it shows in only one place, a plugin tied to that tool may be to blame. Different messages, such as “413 Request Entity Too Large” or “Missing a temporary folder,” are separate problems. We cover them in their own guides.
Reasons Why the WordPress HTTP Error When Uploading Images Happens
This section lists the real causes. Each one links to a fix with the same number in the next section.
Oversized or Unusual Image Files. WordPress must decode an image before it can resize it. The memory needed depends on the pixel size, not the file size. A small file with huge dimensions can use a lot of memory. Odd file names with symbols or very long names can also fail.
A Low PHP Memory Limit. PHP runs with a memory cap. WordPress creates several smaller copies of each image. If the cap is too low, PHP stops in the middle. The browser then sees a broken response and shows the HTTP error.
Trouble With the Image Library. WordPress resizes images with an image editor. By default it tries Imagick first and falls back to GD. If Imagick is missing, broken, or limited by the host, resizing can fail. The upload then ends with the same vague message.
A Plugin Conflict. Image optimizers, security plugins, and media plugins hook into uploads. A bug or a clash between two of them can break the process. The upload may work after you turn the plugin off.
Firewall or Server Security Rules. A web application firewall may block an upload that looks suspicious. Server rules can also reject certain requests. The browser gets a refused or empty reply, and WordPress shows the HTTP error.
Time and Size Limits. PHP limits how long a script may run and how large an upload may be. A slow connection or a heavy resize can hit the time limit. A big file can hit the size limit.
Folder Permissions or Full Disk. WordPress must write into the uploads folder. If the folder is not writable, or the account has no space left, the save fails. The error appears as a plain HTTP error in many setups.
How to Fix the WordPress HTTP Error When Uploading Images (Step by Step)
Work through the steps in order. They start with the safest checks. Take a full backup before any step that touches settings files or code. Test an upload after each step.
Step 1: Resize and Rename the Image
This step fixes oversized or unusual files. Large pixel sizes force WordPress to use a lot of memory. A strange file name can also trip up the server. To confirm this is your cause, try a different small image. If a small JPG named “test.jpg” uploads fine, your original file is the problem.
Open the failing image in any editor on your computer. Check the pixel size. Photos from modern phones can be 4000 pixels wide or more. Resize it to about 2000 pixels on the long side. Save it as JPG or PNG. Rename it with only lowercase letters, numbers, and hyphens. Then upload it again.
If it now uploads, you have your answer. The server is near its limits, so Step 2 will still help for future photos. If the small test image also fails, the cause lies elsewhere. Move on to Step 2.
Step 2: Raise the PHP Memory Limit
This step fixes a low memory cap. The resize runs out of memory, PHP stops, and the browser shows the error. To confirm, turn on the debug log first. If the log shows “Allowed memory size exhausted” during an upload, memory is your cause.
Back up your site and your wp-config.php file first. A typo in this file can take the whole site offline. Open wp-config.php through your host’s file manager. Add these lines above the comment that says “That’s all, stop editing.”
define( 'WP_MEMORY_LIMIT', '256M' );
define( 'WP_DEBUG', true );
define( 'WP_DEBUG_LOG', true );
define( 'WP_DEBUG_DISPLAY', false );
The first line asks for more memory. The other lines write errors to a log file at wp-content/debug.log without showing them to visitors. Some hosts ignore this setting and need the change in their control panel. Upload again. If it works, remove the debug lines when you are done. Our guide on the WordPress memory exhausted error covers more options. If the error stays, read the log for new clues and go on to Step 3.
Step 3: Switch the Image Editor From Imagick to GD
This step fixes trouble with the image library. WordPress tries Imagick first, then GD. If Imagick is the part that fails, forcing GD can get uploads working again. To confirm, look at Tools, then Site Health, then the Info tab. Open the Media Handling section. It shows which library is active. If the log from Step 2 shows an Imagick error, this is likely your cause.
This step edits code, so take a backup first. Use a child theme or a code snippets plugin. Do not edit a parent theme file directly. Add this short snippet.
add_filter( 'wp_image_editors', function() {
    return array( 'WP_Image_Editor_GD' );
} );
Save it and try the upload again. If images upload, the Imagick setup on your server is the problem. Ask your host to check it, and then remove the snippet. If nothing changes, remove the snippet too. Then continue with Step 4.
Step 4: Test for a Plugin Conflict
This step fixes a plugin that interferes with uploads. Optimizers and security tools are the usual suspects. To confirm, deactivate your image optimization plugin and your security plugin first. Then upload a small image. If it works, one of them is the cause.
Take a backup before you deactivate anything on a live store. If the site is busy, use a staging copy instead. Turn plugins back on one at a time. Test an upload after each one. The plugin that brings the error back is the culprit. Check its settings for an option that compresses or converts images on upload. Turn that option off, or replace the plugin. Our full guide on how to find and fix a plugin conflict explains the process in detail.
If the error remains with every plugin off, test with a default theme such as a Twenty-series theme. If it works there, your theme has a problem. If it still fails, the cause is not in your plugins or theme. Move on to Step 5.
Step 5: Check Firewall and Security Rules
This step fixes uploads blocked by a firewall. A cloud firewall or server rule may treat the upload as an attack. To confirm, look at the firewall log. Most firewall services show blocked requests with a time and a rule name. If a block matches the time of your failed upload, you have found it.
Be careful here. Firewalls protect your site. Do not switch them off for good. Instead, add an exception for the upload request or the rule that fired. If you cannot see the logs, contact your host. Ask them to check the server error log for the time of your upload. Give them the exact time and the file name. Upload again after the change. If no block shows in any log, go on to Step 6.
Step 6: Check Upload Size and Time Limits
This step fixes limits on size and run time. A heavy resize on a slow server can hit the time limit. A big file can hit the size limit. To confirm, open Media, then Add New. WordPress shows “Maximum upload file size” below the uploader. If your file is near or above that number, this is the cause. A slow upload that fails at the same point each time points to a time limit.
Ask your host to raise the upload size and the script run time. Many hosts let you change these in their PHP settings panel. Avoid editing server files unless you are sure what you are doing. A wrong edit in a server configuration file can cause a 500 error. If a size error appears, read our guide on the 413 request entity too large error. For time limits, see the guide on the maximum execution time exceeded error.
Step 7: Check Folder Permissions and Disk Space
This step fixes a folder that WordPress cannot write to. If the uploads folder is locked, or your account is full, the save fails. To confirm, open Site Health and look for a message about the uploads directory. Then check your host panel for disk usage. A full account is a clear sign.
Back up before you change permissions. Wrong values can leave your site open to attack. Folders usually need 755 and files 644 on most hosts. If you are unsure, ask your host to fix ownership. Our guide on file and folder permission errors shows the safe values. Free some space if the disk is full, then upload again. Related errors are covered in our guides on the could not create directory error and the missing temporary folder error.
Best Practices to Prevent the WordPress HTTP Image Upload Error in Future
Most upload errors come back when you ignore the cause. Prevention is mostly about habits. Each habit below matches a cause you saw above.
Resize images before you upload them. Aim for about 2000 pixels wide for full-width photos. This keeps memory use low and stops the first cause. Use a clear file name with lowercase letters and hyphens.
Keep a healthy memory limit. Ask your host what the PHP limit is. Check it after any host change. Run the Site Health screen once a month. It warns about the image library, the uploads folder, and other problems early.
Test plugin updates on a staging site. Image optimizers and security plugins change often. A staging test catches a conflict before your visitors or your editors see it. Keep a recent backup, so you can roll back at once.
Review your firewall rules after any change. Note which rules block uploads. Add narrow exceptions for your own admin users. Keep PHP up to date, and ask your host to confirm that Imagick works. Watch disk space, and delete old backups from the server. Finally, test one upload after each major update. A thirty-second test saves hours later. If the editor itself fails to load, see our guide on the WordPress block editor not loading. For the settings used in this guide, see the official wp-config.php documentation.
Conclusion
The HTTP error on image upload is vague, but the causes are known. You saw that it shows as a red error under the file, often after the bar reaches 100 percent. The common causes are big images, low memory, a failing image library, plugin clashes, firewall blocks, size and time limits, and folder or disk trouble.
The fix process runs from simple to deep. Resize and rename the image first. Then raise memory, switch the image editor, test plugins, check the firewall, review limits, and confirm permissions and space. Check each cause before you change anything, and test after each step.
To stop it from coming back, resize before you upload, watch memory, test updates on staging, and keep backups. Most sites fix this in under an hour. If you have tried every step and uploads still fail, contact your host with the log details. Our team at WP Chat Support can also take a look.

James is an experienced WordPress and WooCommerce specialist with over 10 years of practical experience. At WPChatSupport, he creates clear guides that help website owners fix WordPress issues, improve speed, secure their sites, and manage WooCommerce stores with confidence. His expertise includes store setup, plugin configuration, theme customization, payment gateway integration, and website troubleshooting. Through simple and helpful content, James supports users in solving technical problems and following best practices for online business growth.