Introduction
Your WordPress site worked fine yesterday. Today the browser hides it behind a red warning screen. Or the padlock is gone and the address bar says “Not secure”. Visitors see that warning before they see a word of your content. Most of them leave at once. Shops lose checkouts. Membership sites lose logins. Contact forms stop getting filled in.
SSL certificate errors in WordPress almost always have a small, findable cause. A certificate quietly expires because auto-renewal broke. The certificate covers your bare domain but not the www version. A theme update drags an old http:// image back into a page. Your site moves host and the domain still points at the old server. A CDN gets switched to the wrong mode. From the outside all of these look the same. Each one needs a different fix.
This guide takes you through the whole thing in order. First you will learn to read the warning your browser shows you. Then you will work out which cause is yours. After that you will fix it, starting with the safest checks. At the end you will set up habits that stop it coming back. You do not need to be a developer to follow along.
One note before you start. A few steps here touch your database, your wp-config.php file or your .htaccess file. A mistake in any of those can take a live site offline. Each of those steps tells you to take a backup first, or to work on a staging copy. Please do not skip that part.
Signs That Show SSL Certificate Errors in WordPress
These errors do not all look alike. Telling them apart saves you hours of guessing. So start by looking carefully at what is on screen. Note the exact words in the warning. Note whether every page breaks or only some. Note whether other people see it too. Write your answers down before you change a single setting.
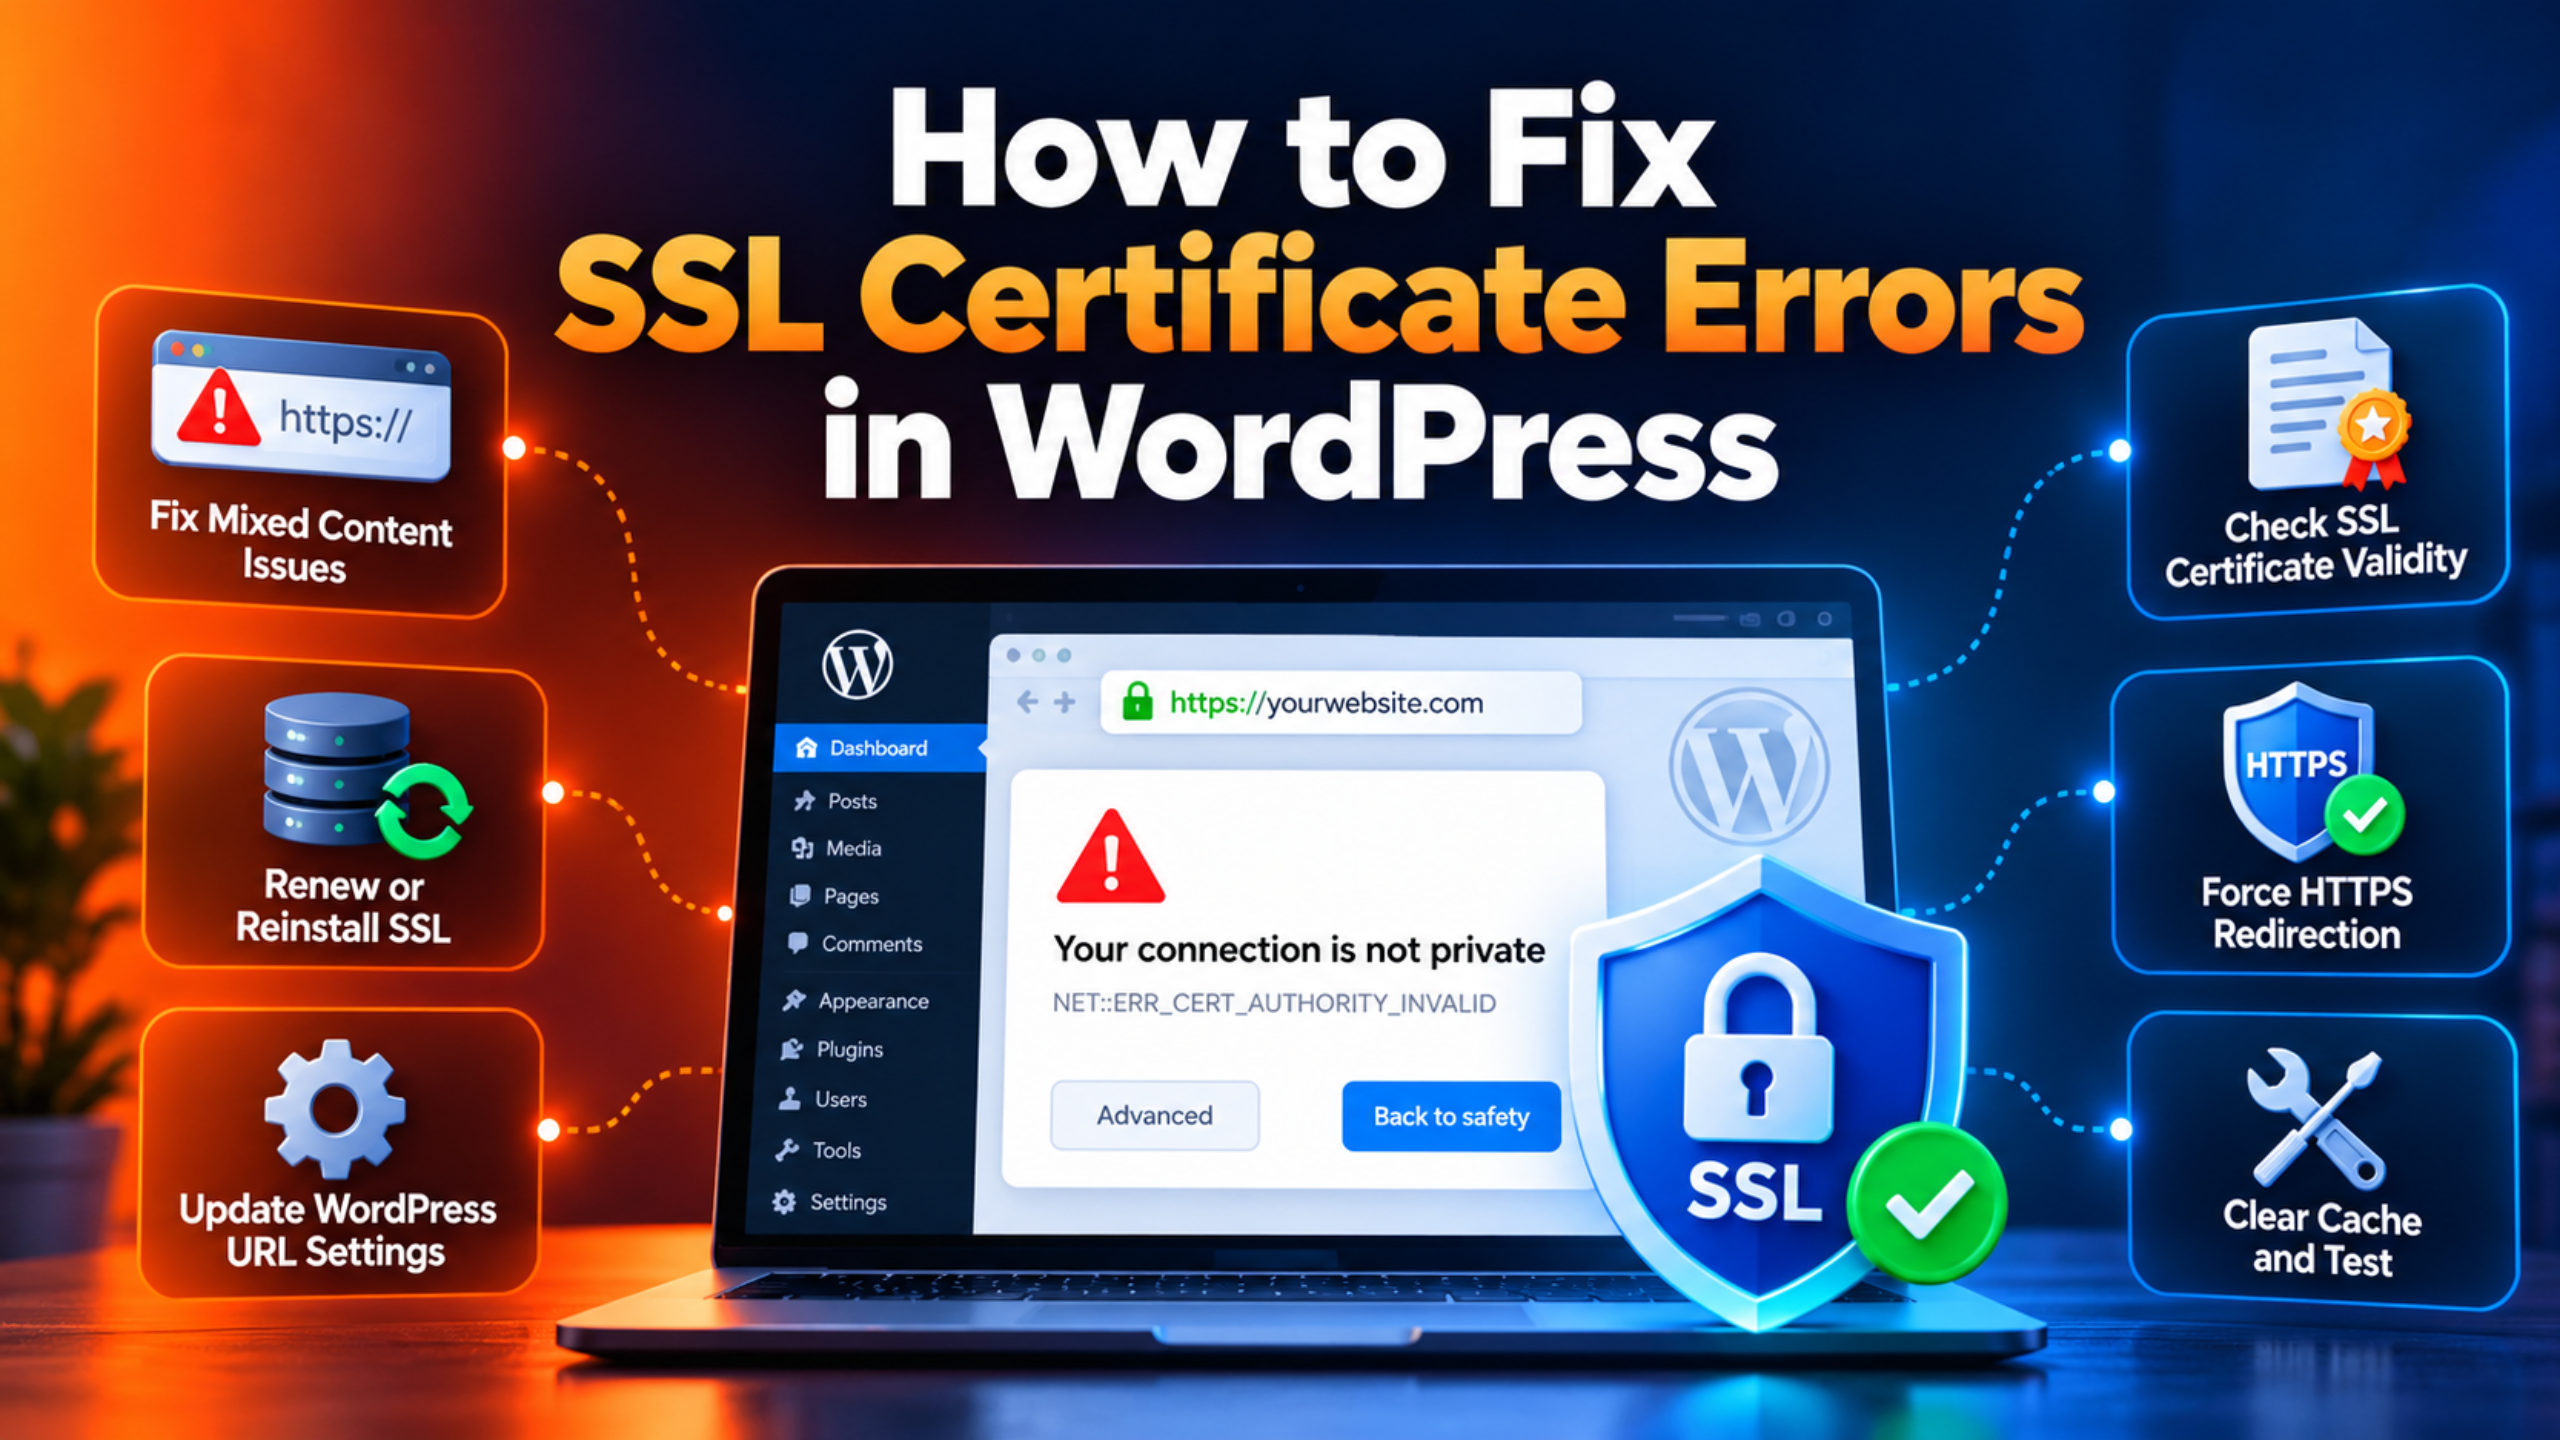
The loudest sign is a full-screen browser warning. The page never loads at all. Chrome says “Your connection is not private”. Firefox says “Warning: Potential Security Risk Ahead”. Safari says the site may not be who it claims to be. Below that message sits a short code in capital letters. That code is the single most useful clue you have.
Here are the codes you are most likely to see, and what each one is telling you:
- NET::ERR_CERT_DATE_INVALID – the certificate has run out, or its start date is still in the future.
- NET::ERR_CERT_COMMON_NAME_INVALID – the certificate was issued for a different name than the one you typed.
- NET::ERR_CERT_AUTHORITY_INVALID – the browser does not trust whoever signed it.
- SSL_ERROR_BAD_CERT_DOMAIN – the Firefox version of a name mismatch.
- SEC_ERROR_UNKNOWN_ISSUER – Firefox cannot trace the certificate back to a trusted root.
A much quieter sign is the missing padlock. The page loads normally and nothing looks broken. But the address bar shows “Not secure”, or a padlock with a line through it. This usually means mixed content. The page itself arrived over HTTPS. Some image, script or font on it arrived over plain HTTP. The browser served the page but refused to call it secure.
Watch for bits of your design going missing as well. Sliders stop sliding. Fonts drop back to a plain default. Images show as empty boxes. Map blocks leave white gaps. That pattern means the browser blocked those files on purpose. Blocked scripts leave holes that look exactly like a theme bug but are not one. Our guide on broken images in WordPress covers that symptom in more depth.
Where the error appears matters too. Some sites warn on the front end while the dashboard is fine. Others warn only inside wp-admin. Some break on www and work without it. Some work on your laptop and fail on your phone. That last pattern is a strong hint on its own. Not every browser and app can go and fetch a missing piece of the certificate chain for itself. Desktop browsers often can. Phones, older devices and payment gateways often cannot.
Then check whether the problem follows the visitor or the site. Ask someone on another network to open your site. Try your own phone on mobile data instead of your Wi-Fi. If you are the only one seeing the warning, the cause is on your device. If everyone sees it, the cause is on your server. That one test decides which half of this guide you need.
One last sign sits inside WordPress itself. Open your dashboard and go to the Tools area, then Site Health. A broken HTTPS setup is often flagged there in plain English. You may also see update failures that mention “cURL error 60”. That is a separate certificate problem, on the server side rather than the visitor side. Step 11 deals with it.
Reasons Why SSL Certificate Errors Happen in WordPress
Every warning above comes from one of a short list of causes. Each cause has its own mechanism. Read these first, because the fix section below maps one step to each one.
The certificate has expired. Every certificate is valid only between two fixed dates. Your browser compares today’s date to the end date and refuses anything past it. Free certificates from Let’s Encrypt last 90 days by default, so they renew often. That renewal is meant to run by itself in the background. It breaks quietly when the renewal job stops running, or when the check it uses to prove you own the domain gets blocked. Nothing warns you at the time. You find out on day 91, when the warning appears.
The certificate does not cover the name people type. A certificate lists the exact names it is good for. A browser compares the name in the address bar against that list. If the certificate says example.com and the visitor typed www.example.com, the match fails. The same happens with a shop on a subdomain that was never added. This is why a site can work perfectly on one address and warn on another.
The certificate chain is incomplete. Your certificate is not signed by a root authority directly. It is signed by a middle certificate, called an intermediate, which is signed by a root. Browsers only trust roots, so they need the whole path. Your server is supposed to send your certificate and the intermediate together. When it sends only your certificate, the path is broken. Some clients can go and fetch the missing piece on their own, which is why it works on your laptop. Many phones, apps and payment services cannot, which is why it fails for them.
WordPress still stores http:// addresses. WordPress keeps two addresses in its database: the WordPress Address and the Site Address. It builds menu links, canonical tags, redirects and asset paths from them. If they still begin with http://, WordPress will keep sending secure visitors back to the insecure version. When your server also pushes everyone to HTTPS, the two fight each other and you get a redirect loop. Our guide to the ERR_TOO_MANY_REDIRECTS error in WordPress explains that loop in full.
Some files on the page still load over HTTP. This is mixed content. The page arrives securely, but a few items on it do not. Hard-coded http:// links hide in old post content, theme files, widgets and page-builder data. Browsers treat the two types differently. Scripts and iframes get blocked outright, because a tampered script could rewrite the whole page. Images and fonts usually still load, but the padlock disappears. Mixed content can also stop the block editor and the theme customiser from loading, which our post on the WordPress Customizer not working error covers.
Nothing forces HTTP visitors onto HTTPS. Installing a certificate does not switch anyone over. It only makes the secure version available. Both versions keep answering unless you add a redirect. Old bookmarks, printed links, email signatures and search results keep sending people to the plain version. Those people see no padlock and sometimes no warning either. Search engines may also index both copies, which splits your rankings.
A CDN or proxy is set to the wrong mode. Services like Cloudflare sit between your visitor and your server. They have their own setting for how they talk to your server behind the scenes. Flexible mode encrypts the visitor side only, then connects to your server over plain HTTP. If your server pushes every HTTP request to HTTPS, the two bounce the request back and forth forever. Full mode expects a working certificate on your server instead. Choosing the wrong one produces loops, warnings or both.
Caching keeps serving the old copy. This cause does not break anything by itself. It hides your fix. Your caching plugin, your host’s page cache, your CDN and your own browser all keep stored copies of pages. Those copies still hold the old http:// links. So you make the right change, reload, and nothing looks different. Browsers also remember an instruction called HSTS, which pins your site to HTTPS for a set time.
WordPress has its own certificate list, and it can go stale. This one surprises people. WordPress ships a bundle of trusted authorities inside its own files, at wp-includes/certificates/ca-bundle.crt. Your server uses that bundle to check WordPress.org and other services it calls. When the bundle is old, altered or missing, those checks fail. You then see “cURL error 60” and a message about not getting a local issuer certificate. Updates, plugin installs and licence checks all stop working, even though your public site looks perfect.
The domain still points at a server with no certificate. After a move, the certificate lives on the new host. Your domain may still resolve to the old one, either because the records were never changed or because the change has not spread yet. Visitors land on a server that has no certificate for your name. The certificate is fine; it is simply on the wrong machine. This also happens when only one of several records was updated.
The problem is on the visitor’s own device. A browser checks the certificate dates against the device clock. If that clock is wrong by weeks, every site on the internet looks expired. Antivirus tools that scan HTTPS traffic swap in a certificate of their own, and that swap sometimes fails. Public Wi-Fi hotspots intercept the first request to show a sign-in page. Very old phones and computers no longer hold the newest trusted roots. In all of these cases your site is healthy and one visitor is not.
How to Fix SSL Certificate Errors in WordPress (Step by Step)
Work through these steps in order. They start with the quickest and safest checks. They end with the ones that touch files and settings. Each step tells you how to confirm it applies to you before you change anything. If a step does not apply, move straight to the next one.
Step 1: Rule Out Your Own Computer and Browser
This step handles the last cause above, where the fault sits on the visitor’s device. It matters first because it is free and takes two minutes. A wrong device clock makes every certificate look expired, so you could spend an afternoon on a server that was never broken.
Confirm it like this. Open your site on a phone using mobile data, not your home Wi-Fi. Then ask someone in another city to open it. If they see the site normally and you see a warning, the cause is yours. If everyone sees the warning, skip to Step 2 now.
To fix it, start with the clock. Check the date, time and time zone on your computer and set them to update automatically. Then open your site in a private window, which ignores extensions and stored data. Next clear your browser’s cached files and cookies for your domain. If you run antivirus or security software, look for an option about scanning HTTPS or secure traffic and turn it off briefly. Turn off any VPN. On a very old device, install the pending system updates, because trusted certificate lists arrive with them.
Verify by reloading your site in a normal window. The padlock should come back and the warning should be gone. If the warning survives all of that, your device is not the problem. Move on to Step 2.
Step 2: Check the Expiry Date and Renew the Certificate
This step fixes an expired certificate. An expired certificate is the single most common cause of a sudden full-screen warning, because the error arrives on a schedule rather than after a change you made. Nothing on your site needs to have changed for it to happen.
Confirm it before you touch anything. Click the padlock or warning icon in your address bar, then open the certificate details. You will see a “Valid from” and a “Valid to” date. A healthy certificate has an end date in the future, usually weeks away. If the end date has passed, this is your cause. The browser code NET::ERR_CERT_DATE_INVALID points here too.
To fix it, log in to your hosting control panel and find the SSL or security area. Most hosts list your domains with a status and an expiry date next to each. Look for a button to issue, renew or reinstall the certificate, and use it. If your host offers a free certificate with automatic renewal, switch that on while you are there. If the renewal fails with a message about a challenge or verification, that is the clue: something is blocking the check that proves you own the domain. The usual blockers are a redirect rule in .htaccess that catches every request, or a firewall rule. Ask your host to clear the path for that check, or pause the rule, then renew again.
Verify by reloading the certificate details in your browser. The new end date should sit comfortably in the future. Reload your home page in a private window and look for the padlock. If the dates are now fine but a warning remains, the cause is a different one. Continue to Step 3.
Step 3: Check the Certificate Covers the Exact Domain Visitors Type
This step fixes a name mismatch. It is the cause behind a site that loads on one address and warns on another. The browser is not being awkward. It genuinely cannot tell a deliberate mismatch from an attack, so it has to refuse.
Confirm it in the same certificate details panel. Look for a section listing the names the certificate is valid for, often called Subject Alternative Name. Compare that list with the exact address in your browser. Check both the bare domain and the www version. Then check any subdomains you actually use, such as a shop or a members area. If the address you typed is not in the list, this is your cause. The code NET::ERR_CERT_COMMON_NAME_INVALID confirms it.
To fix it, go back to the SSL area of your hosting panel. Reissue the certificate so that it covers every name you use. For most sites that means two names: the bare domain and the www version. Many hosts add both by default, but some only add the one you asked for. A shop or portal on its own subdomain needs that subdomain listed too, or a wildcard certificate that covers all of them. If you run several domains on one site, each one needs its own certificate or its own entry.
Verify by opening each address in turn in a private window. The bare domain, the www version and every subdomain should all show a padlock. Keep going to Step 4 if one of them still warns.
Step 4: Confirm Your Domain Points at the Server Holding the Certificate
This step fixes the cause where the domain still points at an old server. It belongs here, early, because it is quick to check and because every later step is wasted if you are testing the wrong machine. People hit this right after a host migration.
Confirm it by comparing two numbers. Find the IP address of your current hosting account; it is usually on the main page of your control panel. Then look up what your domain actually resolves to, using any free DNS lookup tool. If the two numbers differ, your visitors are reaching a different server than the one you have been fixing. A site that still loads your old design is another giveaway.
Save a copy of your current DNS records before you change them. Take a screenshot of the whole list. A slip here can take down your email as well as your site, and that screenshot is what gets you back.
To fix it, log in wherever your domain’s DNS is managed. That may be your registrar, your host, or a service like Cloudflare. Leave your mail records exactly as they are. Update the A record for your bare domain to the correct IP address. Update the record for www as well, whether it is an A record or a CNAME. Save and then wait. DNS changes spread gradually, and the old answer can linger for several hours depending on the time-to-live value on the record. Our guide on migrating a WordPress website away from GoDaddy walks through this part of a move in detail.
Verify by running the lookup again after an hour or two. Both records should return the new IP address. Then load the site and check the padlock. Move on to Step 5 if the warning is still there.
Step 5: Install the Missing Intermediate Certificate
This step fixes an incomplete chain. Reach for it when the site is fine in your desktop browser but fails on phones, in apps, or in a payment gateway’s test tool. That split is the signature of this cause, and it is easy to dismiss because the site looks fine to you.
Confirm it with a free online SSL checker. Enter your domain and read the chain section of the result. A healthy chain shows your certificate, then one or more intermediates, then a trusted root. A broken one says the chain is incomplete, or that an intermediate is missing. Firefox is a useful second opinion here, because it reports SEC_ERROR_UNKNOWN_ISSUER in this situation more readily than Chrome does.
To fix it, go back to the SSL area of your hosting panel. Most panels have a field for the certificate itself and a separate field for the certificate authority bundle or chain. The chain field is the one that is empty or wrong. Download the correct bundle from whoever issued your certificate, paste it into that field, and save. On many hosts the simplest route is to delete the certificate and reinstall it, because the installer fetches the full chain for you. If your host manages certificates for you, send them the checker result and ask them to reinstall with the full chain.
Verify by running the online checker again. It should now report a complete, trusted chain. Then test on a phone and, if you run a shop, inside your payment provider’s dashboard. Continue to Step 6 if anything still warns.
Step 6: Change the WordPress and Site Addresses to HTTPS
This step fixes the cause where WordPress still stores http:// addresses. It is the one most often missed, because the certificate is already working at this point. WordPress builds links and redirects from those stored addresses, so until you change them it keeps steering people back to the insecure version.
Take a backup before this step. You are about to change values that control how your whole site is reached. Get a full backup of files and database first, or make the change on a staging copy. Our walkthrough on backing up WordPress using UpdraftPlus covers this in a few minutes.
Confirm it is your cause by opening your dashboard and going to the Settings area, then General. Look at the two address fields near the top. If either still begins with http://, this applies to you. Your Site Health screen often flags the same thing.
To fix it, modern WordPress makes this easy. Open the Tools area, then Site Health, and look at the HTTPS status. When your server already supports HTTPS correctly, WordPress offers a single button to switch both addresses for you. That is the safest route, because WordPress checks the result afterwards and undoes the change if it did not work. It also rewrites insecure links in your content as pages are served, so the switch does not depend on a database find-and-replace. If you prefer to do it by hand, edit both fields on the General settings screen so each begins with https://, then save. One warning: if those fields are greyed out, they are being set in wp-config.php instead, and you need to edit the WP_HOME and WP_SITEURL lines in that file.
Verify by logging out and loading your home page. Click through a few menu links and check the address bar stays on https://. If you get locked out of the dashboard, restore the backup you just made and try again on staging. Then go to Step 7.
Step 7: Find and Replace the HTTP Links Causing Mixed Content
This step fixes mixed content. It is the cause when the page loads but the padlock is missing, or when a slider, font or map goes blank. The browser is blocking those files because a page cannot be called secure while parts of it travel in the open.
Confirm it by finding the exact files at fault. Open the page, press F12 to open your browser’s developer tools, and look at the Console tab. Mixed content warnings name each offending URL, and each one will start with http://. Reload the page with the console open so you catch everything. A long list usually points at old post content. A short list often points at the theme or one plugin.
This step can change thousands of database rows, so back up first. A bad search-and-replace is very hard to undo by hand.
To fix it, start with the easy wins. Edit any page where the console named an image or embed, and reinsert that item so it picks up the current address. For a site-wide problem, install a reputable search-and-replace plugin, or use the SSL fixer offered by your host. Replace http://yourdomain.com with https://yourdomain.com across post content, post meta and widget options. Leave other domains alone, because you do not control their certificates. If the console named a file inside your theme, the link is hard-coded in a template, so put the fix in a child theme rather than editing the parent. Our post on fixing broken images in WordPress is useful if images stay missing afterwards.
Verify by reloading the page with the console still open. The mixed content warnings should be gone and the padlock should be back. Check a product page, a blog post and your home page, since each pulls in different files. Then move to Step 8.
Step 8: Redirect Every HTTP Request to HTTPS
This step fixes the cause where nothing forces visitors onto the secure version. Until you do this, both versions of your site answer requests. Every old bookmark and every outdated search result keeps landing people on the unprotected copy.
Confirm it by typing your address with http:// at the front, in a private window. Watch the address bar after the page settles. If it rewrites itself to https://, your redirect already works and you can skip this step. If it stays on http:// and the page loads anyway, you need the redirect.
You are about to edit .htaccess, which can take the site down if it goes wrong. Download a copy of the current file first so you can put it straight back.
To fix it, use your host’s own switch if there is one. Many control panels have a “Force HTTPS” toggle, and that is the best option because your host maintains it. The next best option is a well-reviewed HTTPS plugin, which adds the redirect for you. If you would rather do it yourself on an Apache server, add a rewrite rule to the top of .htaccess that sends any request not already secure to the https:// version of the same URL. On Nginx the same job is done in the server block, which usually means asking your host. While you are at it, add define( 'FORCE_SSL_ADMIN', true ); to wp-config.php so logins and the dashboard always use HTTPS.
One trap to know about. If your site sits behind a proxy that handles HTTPS for you, your server may think every request is insecure. Forcing a redirect then creates an endless loop, and WordPress documents a short snippet for that case which reads the forwarded protocol header instead. If you hit a loop right after this step, that is almost certainly why.
Verify by typing the http:// address again. It should jump to https:// on its own. Then log out and log back in to make sure the dashboard still works. Continue to Step 9 if you use a CDN.
Step 9: Set the Right SSL Mode in Cloudflare or Your CDN
This step fixes a CDN set to the wrong mode. It applies only if a service sits in front of your site. Skip it if you connect straight to your host. When it does apply it often explains an error that survived every other fix, because you have been correcting your server while the warning comes from the layer in front of it.
Confirm it by logging in to your CDN dashboard and finding the SSL or encryption mode setting. Cloudflare calls these Off, Flexible, Full and Full (strict). If yours is on Flexible while your server also forces HTTPS, you have found your cause. The usual symptom is a redirect loop rather than a certificate warning.
To fix it, choose the mode that matches your server. If your server has a valid certificate, which it should after the steps above, set the mode to Full (strict). Cloudflare’s own documentation is clear that Flexible should not be used when your server redirects HTTP to HTTPS, because the proxy connects over plain HTTP and the request bounces forever. Full (strict) also checks that your server’s certificate is valid, which is what you want. Make sure your server is listening on port 443 for these modes, since Flexible uses port 80 instead. After changing the mode, purge the CDN cache.
Verify by loading your site in a private window, then checking a few inner pages. The loop should be gone and the padlock should hold. Then go to Step 10.
Step 10: Clear Every Cache Layer and Test Again
This step handles the cause where caching keeps serving the old copy. It is the reason a correct fix can look like a failed one. Your real pages are already fixed; the stored copies are what you keep seeing.
Confirm it in seconds. Open your site in a private window, or on a device that has never visited it. If the private window is clean and your normal window still warns, caching is all that is left.
To fix it, clear the layers in order, from your server outwards. Start with your caching plugin and use its option to delete all cached files. Then clear your host’s own page cache, which usually sits in the control panel or a dedicated menu in your dashboard. Purge your CDN cache next. Finally clear your own browser’s cached files for your domain. If you turned on the HSTS option anywhere, know that browsers remember it for as long as you told them to, and the only way to clear that early is in the browser’s own settings.
Verify by loading several pages in a normal window on more than one device. Everything should show the padlock. If an old insecure page still appears, one cache layer has been missed, so work through the list again. Then finish with Step 11.
Step 11: Update WordPress’s Own Certificate Store to Clear cURL Error 60
This step fixes the stale certificate bundle inside WordPress. It is a different problem from everything above. Your public site can show a perfect padlock while this one is broken, because it affects the calls your server makes out to other services rather than the ones visitors make in.
Confirm it from inside your dashboard. Try to install a plugin or run an update. If you see “cURL error 60” or a message about being unable to get a local issuer certificate, this is your cause. The Site Health screen reports the same failure as a problem reaching WordPress.org.
This step means editing core files, so back up and work carefully. A staging copy is the right place to try it.
To fix it, update WordPress to the current version first. Each release ships a refreshed bundle, so an upgrade often solves it outright and costs you nothing. If you are already current, connect over SFTP and look at wp-includes/certificates/ca-bundle.crt. A file that is zero bytes, or that was clearly edited, is the problem. Replace it with the copy from a fresh download of the same WordPress version. If the error survives that, the trust store belongs to the server rather than to WordPress, and your host needs to refresh it. Send them the exact error text, because it is a request they will recognise.
Verify by installing a small plugin, or by loading the updates screen. Both should work without a certificate message. Then recheck Site Health, where the WordPress.org warning should have cleared.
Best Practices to Prevent SSL Certificate Errors in WordPress in Future
Every cause above can be designed out. The habits below each close off one of them, so you are not fixing the same thing twice a year.
Make renewal automatic, then watch it. Expiry is the most common cause and the easiest to prevent. Turn on your host’s automatic renewal and make sure the email address attached to the certificate is one you read. Add a free uptime monitor that checks the certificate and warns you before it lapses. Let’s Encrypt advises renewing while about a third of the lifetime is left, which is around 30 days for a standard 90-day certificate. Industry rules are shortening these lifetimes over the coming years, so automation will matter more, not less.
Add new names to the certificate as you add them to the site. Name mismatches creep in when a site grows. Launching a shop on a subdomain, or adding a new domain, means reissuing the certificate to cover it. Make that part of the launch checklist rather than something you discover from a customer email.
Check the full chain after every certificate change. An incomplete chain is invisible on a desktop, which is exactly why it reaches production. Run a free SSL checker after any renewal or reinstall, and look at the chain section specifically. Also open the site once on a phone. Those two checks take a minute and catch the cause that is hardest to spot later.
Keep your stored addresses and your redirect in agreement. Mismatched addresses and missing redirects are both configuration drift. After any migration, restore or domain change, check the two address fields on the General settings screen and confirm an http:// request still redirects. Keep FORCE_SSL_ADMIN in place so the dashboard never slips back.
Test every theme and plugin update on staging. Mixed content usually arrives with new code or new content. A staging copy lets you load key pages with the browser console open before anything reaches visitors. Scan the console for http:// warnings as part of that check. This habit also protects you from the risky file edits in Steps 6 through 11, because you get to make the mistake somewhere harmless.
Write down your CDN’s SSL mode and leave it alone. Wrong proxy modes usually come from someone trying a setting during an unrelated problem. Record which mode you use and why. If you turn on HSTS, understand that browsers will remember it, so test thoroughly before enabling it.
Make cache clearing the last step of every change. Caching does not cause the error but it reliably hides the fix, which wastes real time. Keep a short list of your layers: caching plugin, host cache, CDN, browser. Clear them in that order whenever you change anything about HTTPS.
Stay current on WordPress and PHP. A stale certificate bundle, and the cURL error 60 that comes with it, is largely a symptom of an out-of-date install. Running the current WordPress release keeps the bundle fresh. A supported PHP version keeps the server’s own trust store maintained by your host. Both reduce the number of certificate problems you ever meet.
Keep a working backup you have actually restored. Several steps here touch the database, wp-config.php, .htaccess and core files. A backup you have never tested is a guess. Run one restore onto staging so you know the process works before you need it in a hurry.
Conclusion
SSL certificate errors in WordPress look alarming but they are rarely mysterious. The signs tell you a lot before you change anything. A full-screen warning with a date code means an expired certificate. A warning on one address but not another means a name mismatch. A clean desktop and a broken phone means an incomplete chain. A missing padlock on a page that loads fine means mixed content. A redirect loop usually means your stored addresses and your server disagree, or a CDN is in the wrong mode.
The causes fall into three groups. Some sit with the certificate itself: expired, wrong name, broken chain. Some sit with WordPress and your server: stored http:// addresses, mixed content, no redirect, a proxy in the wrong mode, a stale certificate bundle. A few sit with the visitor, their clock or their antivirus. Knowing which group you are in cuts the work down enormously.
The fix process follows the same shape. Rule out your own device first, because it is free. Then check the certificate’s dates, names and chain. Confirm your domain points at the right server. Then bring WordPress into line: switch the stored addresses to HTTPS, clear the mixed content, force the redirect, and set the CDN mode correctly. Clear every cache before you judge the result. Finish with the certificate bundle inside WordPress if updates are failing. Back up before any step that touches files or the database.
Prevention is mostly a few small habits. Automate renewal and monitor it. Add new names to the certificate when you add them to the site. Check the chain after every renewal. Test updates on staging with the console open. Keep WordPress and PHP current. Do those things and the red warning screen stops being part of your year.
If your site is down right now and none of this has moved it, the problem may not be the certificate at all. A server that refuses the connection outright shows a different error, which our guide to fixing ERR_CONNECTION_REFUSED in WordPress covers. For the official reference on the settings used above, see the WordPress HTTPS documentation, the Let’s Encrypt notes on certificate lifetimes, and Cloudflare’s documentation on Flexible mode.

James is an experienced WordPress and WooCommerce specialist with over 10 years of practical experience. At WPChatSupport, he creates clear guides that help website owners fix WordPress issues, improve speed, secure their sites, and manage WooCommerce stores with confidence. His expertise includes store setup, plugin configuration, theme customization, payment gateway integration, and website troubleshooting. Through simple and helpful content, James supports users in solving technical problems and following best practices for online business growth.